How to Use My Calligraphy Animal Flourishes Procreate Brush Pack
I earn small commissions for purchases made through links in this post. Proceeds help me to continue producing free content.
Happy Friday!
Learn how to use my Animal Flourish Calligraphy Brushes for Procreate with instructions for each and every step. I’m using three winged animal flourishes in this design: swan, goose, and bee. Then I add a decorative, leafy border using symmetry guides, and flourished script calligraphy.
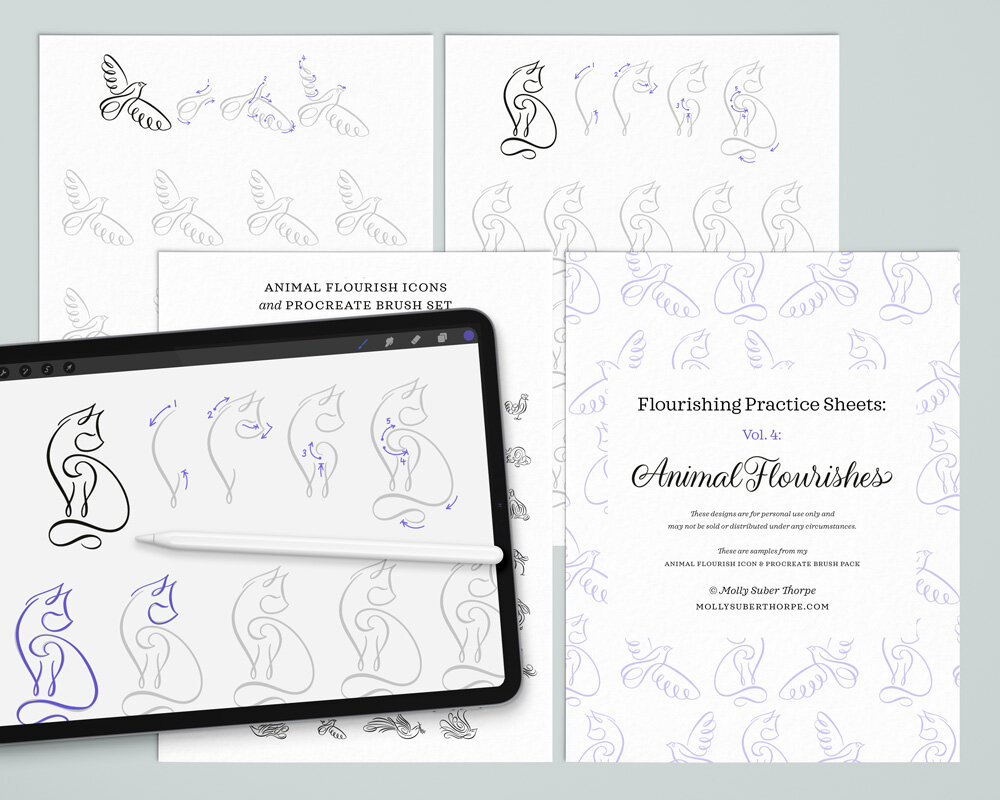
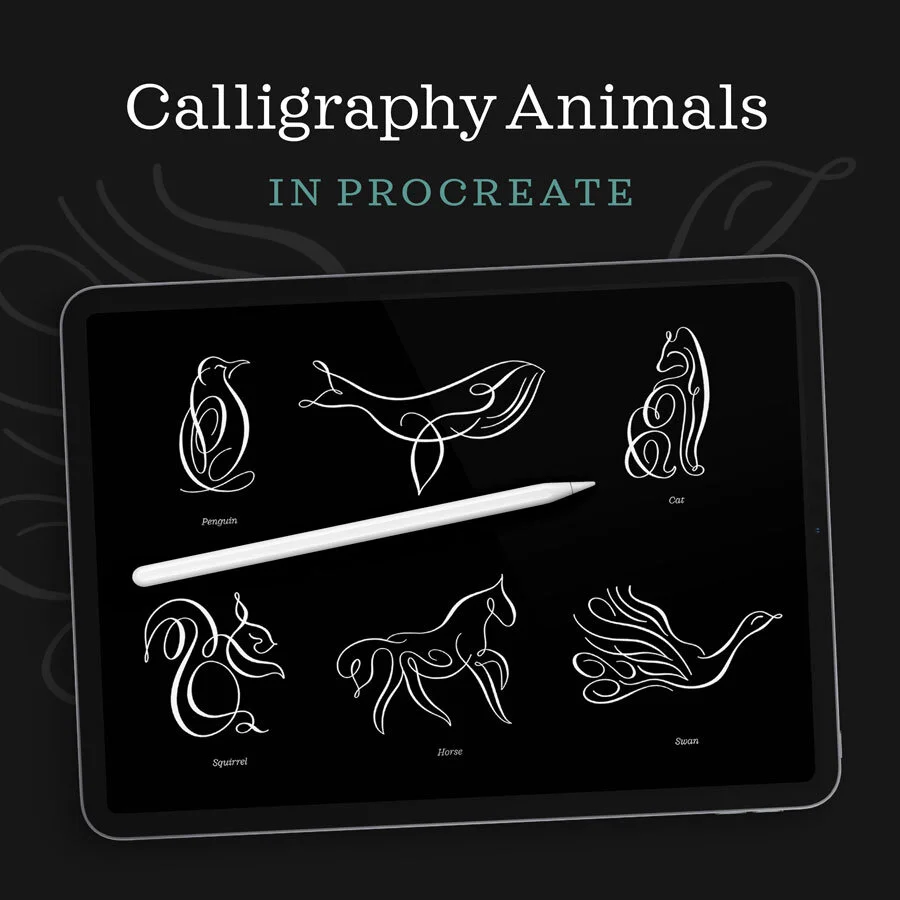
Last week I released a new product for designers and artists: my Animal Flourishes Vector and Procreate Brushes Pack. This is a collection of forty calligraphic illustrations that come as both premium vectors and a complete set of Procreate stamp brushes. In the description below, you can find a link to my website where you can learn more and purchase this pack. But in today's demonstration, I'm going to show you how I personally like to use these illustrations by incorporating them into a piece of Procreate artwork. You will see how I use these brush stamps in a flourished border design.
The applications for these illustrations are endless.
I can imagine them being used in branding, like for unique logos, in stationery or wedding invitations or greeting card designs, or even incorporated into other arts and craft projects like scrapbooking. Learn more about these brushes here.
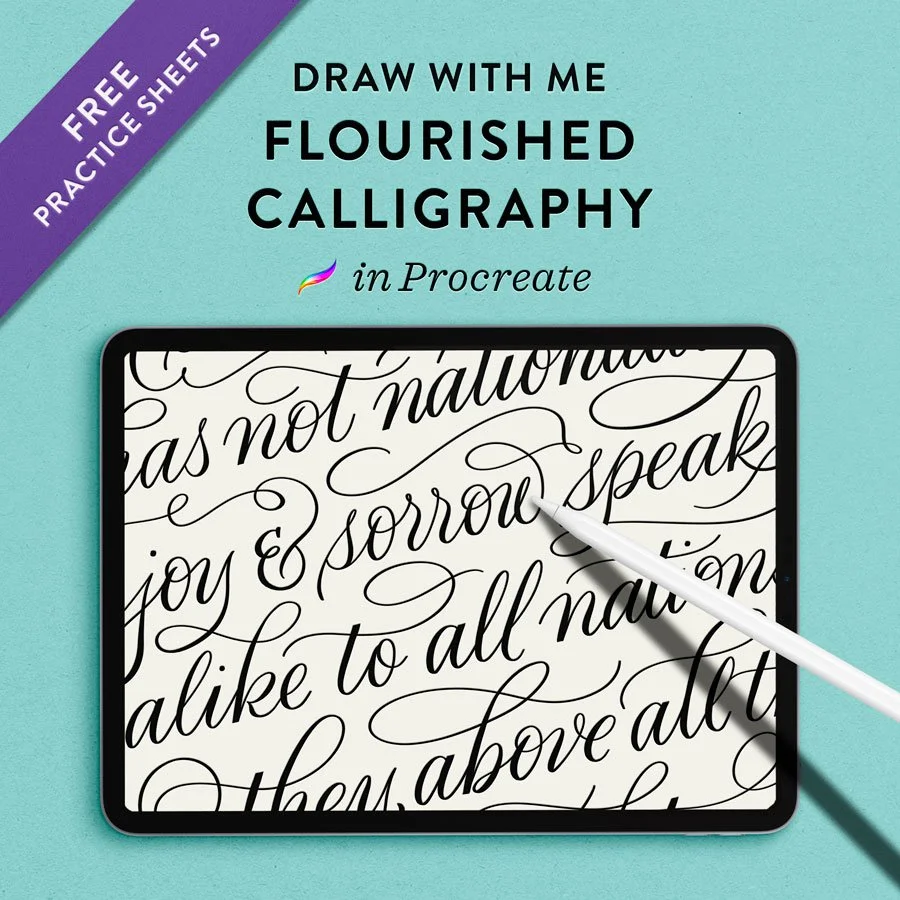
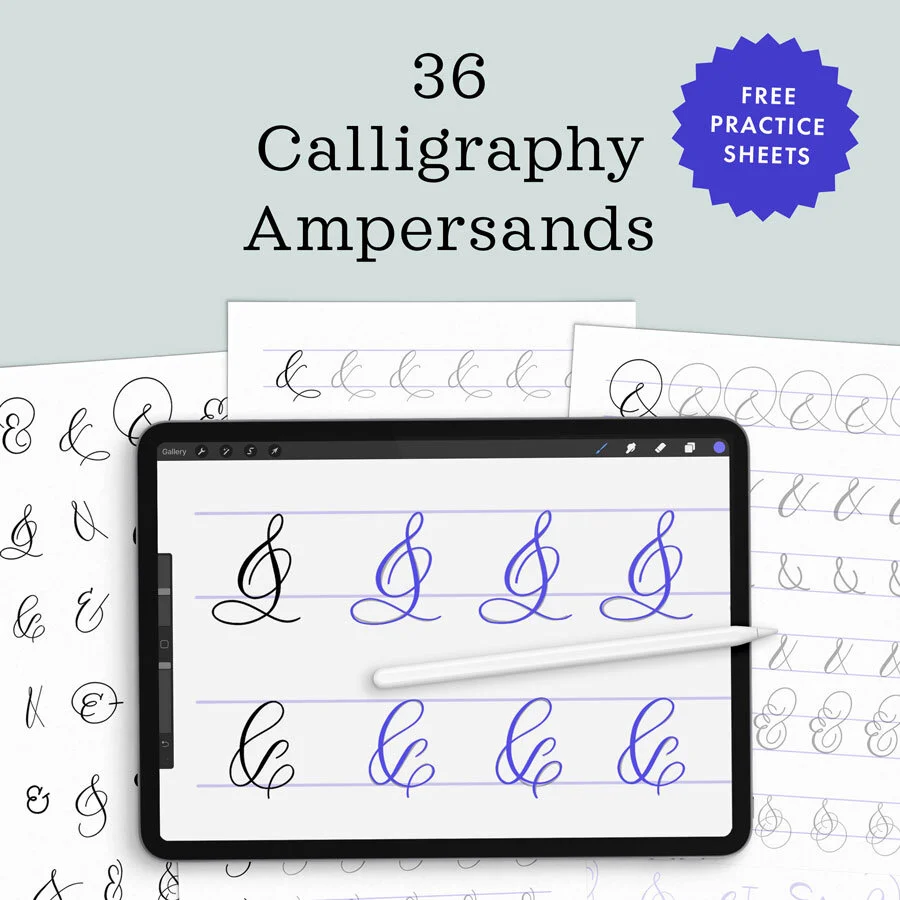
If you're one of my subscribers, you'll know that last week I also released a free download based on two of the illustrations from this pack. If you're one of my subscribers, you'll know that last week I also released a free download based on two of the illustrations from this pack. That freebie includes instructions for how to draw them yourself – either in Procreate or printable PDF format. It includes stroke directional arrows and traceable versions of the illustrations so you can learn how to make your own calligraphic animal designs. If you want to gain access to these freebies and a bunch more, just head over to Molly’s Lettering Toolkit.
Read the full video transcript and find links to all the resources below!
Transcript
Click an image to enlarge it.
Select 3–4 flourished calligraphy animal icons.
I start by scrolling through the Animal Flourish Procreate Brush Pack that has forty different, calligraphic illustrations. I’ll select the particular illustration that I want to start with in my design.
The illustration size is adjusted by the size of the brush, so I go back and forth a few times just to see what size I want this illustration to be. I then go about selecting a couple other illustrative brushes that I want to incorporate into the border, and then adjust their orientation, their slant, and their placement.
In a few minutes, I'm going to switch over to symmetry drawing, so you're going to see that I'll be able to duplicate these across, in a mirrored effect, to the other side of the border. That's why initially I'm only designing them on the left side so that I can just mirror them later quite easily.
Sketch a flourished vine pattern.
With my Fine Point Calligraphy Pen brush (from my Calligraphy Nibs Brush Pack), and a new color, I'm going to create a sketch of a really flourished leaf pattern to fill in the gaps in between these illustrations. Again, I'm just making it on the left side because I'm going to go over it again in just a little bit so that it mirrors across and around the canvas.
Turn on Symmetry Guides.
Then I'm going into Settings, turning on Drawing Guide, then going to Edit Drawing Guide so I can turn on Symmetry.
In the symmetry options, I want to make sure that it's set to Vertical, and that Assisted Drawing is turned on.
When it's turned on, you'll see that the layer name in your layers palette has the word “Assisted” right underneath it. That is what enables it to mirror around your canvas when you're drawing. If it doesn't say “Assisted,” then you'll just be drawing without the mirror effect.
Trace over your entire design.
Now I'm able to go over that leafy border sketch and, with assisted drawing on, my drawing mirrors around the canvas.
I have a lot of videos that incorporate the symmetry drawing guides (full playlist here). It's one of my absolute favorite tools for making really flourished beautiful, unique designs.
Add small dot details.
To add some depth and more visual interest to the design, I'm going in with my Monoline Calligraphy Pen brush – also from my Calligraphy Nibs Brush Pack – to create little white dots at the ends of the different leafy fronds.
Add color fills.
I'm also filling in half of each leaf. With the bold calligraphy that I'm about to do in the middle of the canvas, I feel that adding these dots and filled-in parts really complement the calligraphy bit better than just unfilled line drawings.
Recolor the elements to your liking.
I'm now using my absolute favorite method for filling in – or recoloring – layers of artwork in Procreate. This is a nondestructive method where you create a blank layer on top of your art layer. You choose a new color, then tap the layer once and click Fill layer. Then you tap it again and you click Clipping mask. This makes it so that the color that you just filled into your blank layer only fills in the art that is in the layer below it.
Select a dotted line brush.
Now I am going over to my Calligraphy Composition Maker Brush Pack and selecting the Dotted Line Maker brush. This is a brush that I created that draws dotted lines, and the size changes according to your brush size.
It’s certainly not mandatory to use this brush. If you're trying to create dotted lines, you can draw one dot after another using a monoline brush. But I find it a lot faster to be able to draw continuous, evenly-spaced dotted lines, especially with the mirrored effect, using this particular brush.
Draw an inner border.
So now I'm creating dotted borders throughout my artwork, which really complement those little white dots that I put around the leafy fronds. This also creates the frame that I'm going to use to put my calligraphy in.
Add an outer border, too.
Continuing using the Dotted Line Maker brush, I'm drawing myself some borders around the edge of the artwork. I still have drawing assist turned on, and that's why the border is mirroring around the whole opposite edge.
Then I am selecting my artwork, making sure that Uniform and Snapping are turned on, and shrinking and centering it so that the border will have some breathing room.
Draw in calligraphy guide lines.
I want to draw myself some really rough calligraphy guides here in the middle of the screen to sketch out my calligraphy with, so I've gone back into my Calligraphy Composition Maker Brush Pack, and selected a contrasting color.
On a new, blank layer, with a contrasting color, I’ll draw in some really basic lettering guides with baselines and slant lines. This is my Modern 65° Pattern Brush.
I'll now adjust those guides a little bit further because I want my calligraphy to have a slanted baseline rather than horizontal. So I'm just using my selection tool to transform the angle of the grid that I drew.
Sketch your calligraphy with pencil.
On a blank layer above the new guidelines, using a pencil brush and the color white, I'm just going to quickly sketch my calligraphy. (You can use any of the pencil brushes that come with Procreate.)
When I’m done, I want to adjust it further so that it fits in the framed space a bit better. I'm going to my selection tool, choosing the Warp setting, and I'm pushing and pulling that calligraphy sketch so that it fits the frame better.
Trace your lettering with a calligraphy brush.
Then I'm back to my Fine Point Calligraphy Pen brush – the same one I used to make the leafy border – and I'm going over my calligraphy in a much more polished way.
Color the calligraphy to pop.
As a finishing touch, I'm recoloring the calligraphy in a contrasting color, using the same fill and clipping mask technique that I used to color the border.
Export and share!
Now I am ready to export this to my computer or share it online, add it to a product, turn it into a greeting card, whatever I would like to do with it.
Please be sure to check out the other symmetry calligraphy videos, and the brush packs that are used to create this design (linked in the Resources section below).
As always, tag me and your work on Instagram (@mollysuberthorpe) so that I can see what you create from my tutorials, free downloads, books, and products.
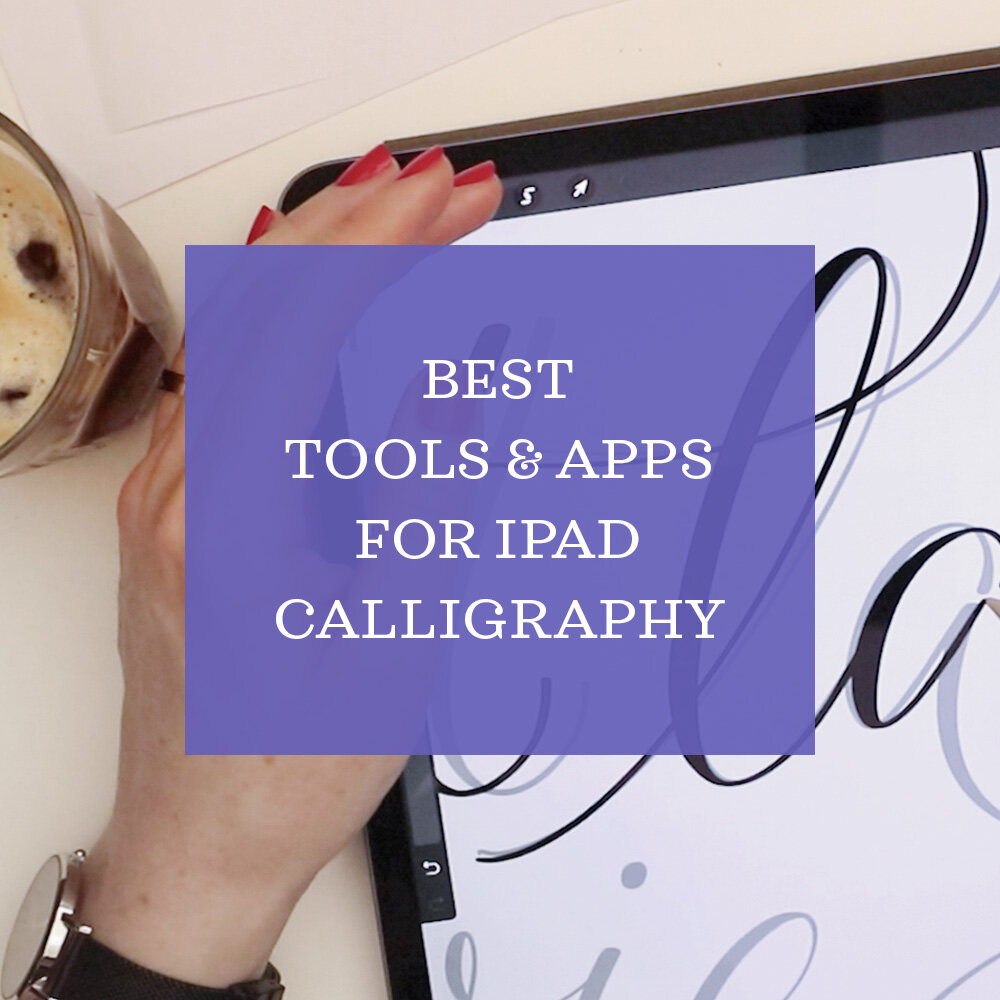
Looking to get a new iPad or accessories?
My article about which iPad to buy might help! I compare different iPads (answering the popular question about whether the Pro or Air is better), and share my favorite accessories, art apps, and Procreate brushes.
Resources
Procreate brushes used in the video:
Swan, Bee, and Goose Illustration Stamps
from my Animal Flourishes Procreate Brush & Vector Icon Pack
“Fine Point Calligraphy Pen – Smooth”
“Monoline Calligraphy Pen”
from my Calligraphy Nibs Procreate Brush Pack
“Dotted Line Maker”
“Modern 65° Pattern Brush”
from my Calligraphy Composition Maker for Procreate
Free Animal Flourish Practice Sheets:
from my Molly’s Lettering Toolkit
More iPad layout design videos:
Complete Procreate Symmetry Guides Playlist
Follow Along: Calligraphy Layout & Flourished Border
My Technique for Flourishing Calligraphy in Procreate
Written on Waves: Modern Calligraphy Layout
Flourished Calligraphy Circles in Procreate
French Lyrics Layout in Procreate
Flourished Calligraphy Quote in Real-Time for Procreate
Like this post? Please Pin it! Share it! Tweet it!
It’s the best, free way to support artists you appreciate.


Learn how to draw a 3D drop cap letter with retro vibes, geometric dimension, and real texture on your iPad.