
iPad Calligraphy: Recommended Tools, Brushes & Apps
• updated january 2026 •
Digital calligraphy has changed enormously over the past decade, and the iPad has become one of the most powerful tools available to lettering artists. I’ve been using the iPad Pro and Procreate professionally for calligraphy and illustration since 2015, and I’ve tested just about every iPad lettering tool, app, accessory, and workflow along the way.
In this article, I’m answering your most frequently-asked questions about the tools I use for designing calligraphy on the iPad, from the exact hardware I own to the Procreate calligraphy brushes I use and love.
Choosing the right iPad setup feels overwhelming, I know—especially when it’s such a significant financial investment and the differences between iPad models are not necessarily obvious. So I’ll also share my thoughts about what iPad to buy, because selecting a tablet for making art—versus, say, watching movies—comes with special considerations. My recommendations here are for beginners just getting started with iPad lettering, as well as experienced calligraphers looking to build a professional Procreate workflow.
Jump ahead to a section:
Game Changers • iPad Models • Apple Pencil • iPad Accessories • Procreate
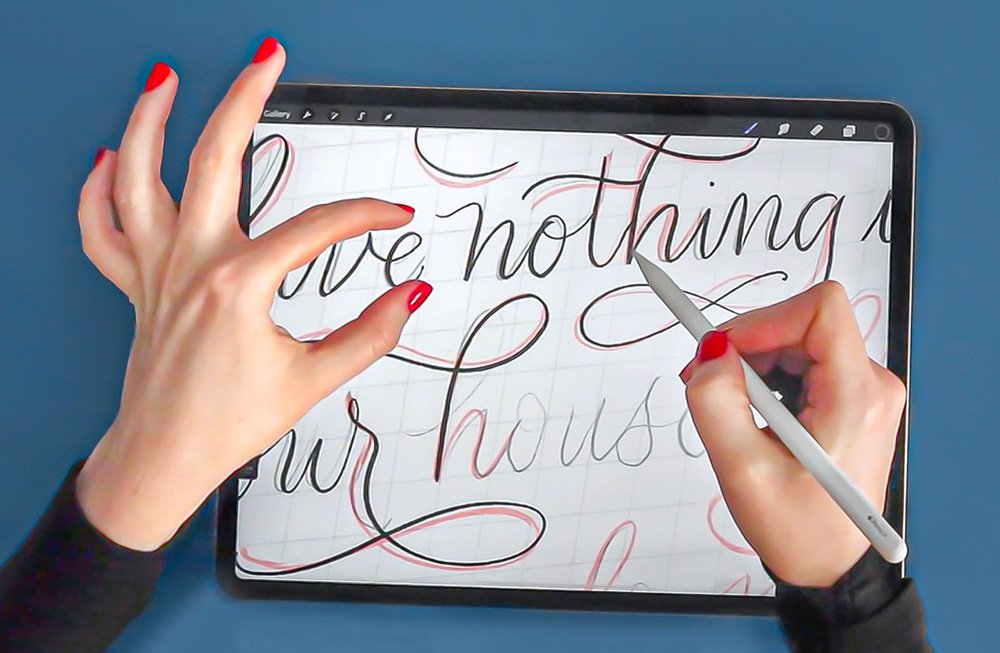
The Game Changing Trio
It would be hard to overstate what a game changer the trio of iPad, Apple Pencil, and Procreate app was to my career.
I used to spend hours sitting at my iMac, digitizing my ink-on-paper calligraphy. That involved scanning my hand-drawn work at very high resolution, then using Adobe Photoshop to clone out dust, boost the contrast, and often remove the background before sending it off to a printer. (If you want to learn how I do all that, I teach a Skillshare class about it.) That workflow also meant staring straight ahead at a screen while refining my work with a Wacom Tablet—an unnatural way to write and draw, separating the hand and the line of sight, instead of directing both to a singular point. (I still exclusively use a Wacom Intuos Pro for desktop work, though, and prefer it to a mouse because the stylus gives me much finer motor control.)
Every one of those digitization steps was streamlined or eliminated once the iPad and Procreate entered my workflow. Today, I can create print-ready, high-resolution lettering while sitting on the couch or on an airplane. I can use transparent backgrounds, adjust colors as I work, and move between sketching and refining all on the same canvas.
All the time I used to spend scanning and Photoshopping calligraphy that needed to be digitized can now be spent creating.
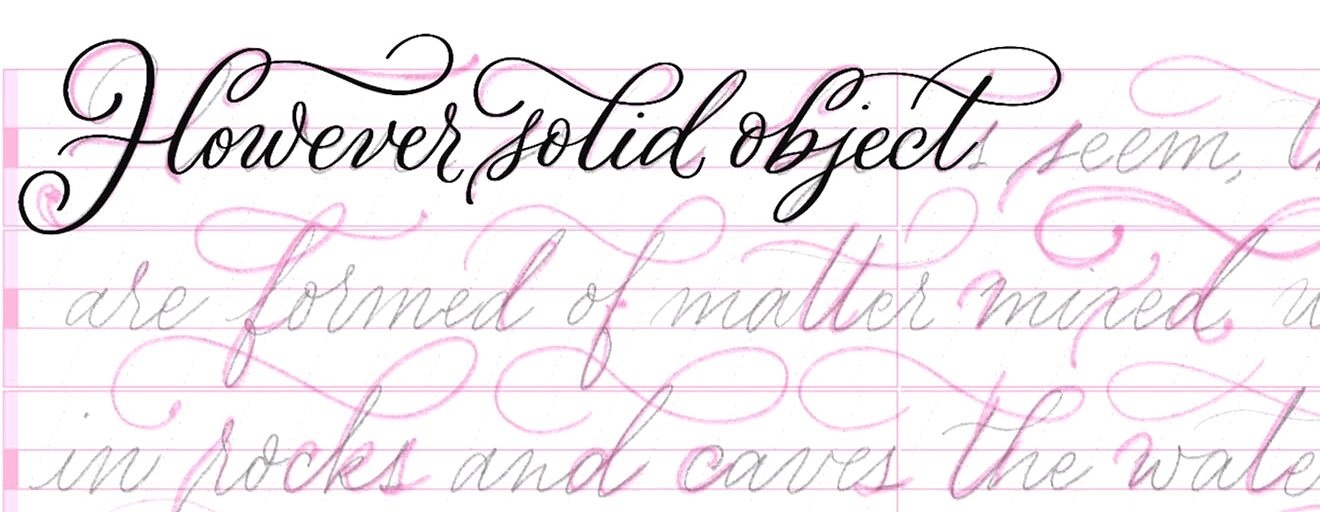
By using Procreate’s transparent layers, I can work with guidelines, pencil sketches, and digital ink on the same canvas, then turn off the guides and sketches when I’m done.
Perhaps best of all, the workflow feels closer to real drawing than computer illustration ever did. The iPad + Apple Pencil combination changed digital calligraphy because it made lettering feel tactile again.
Of course I still write ink-on-paper calligraphy for myself and for clients. I will never stop loving the ritual of getting out my ink, prepping my nib, and writing letters on paper. But no longer needing to do that for every client job that must ultimately be digitized has allowed me to return to the days that I sat down at my calligraphy desk from a place of pure enjoyment, not one of necessity.
The Best iPad for Calligraphy
and Procreate lettering
My own iPad
I currently use the 13-inch iPad Pro (8th generation). Before this, I owned several generations of the 12.9-inch Pro models, dating back to the original 2015 release. Following the evolution of the iPad Pro has allowed me to determine which features really matter to my workflow and which are nonessential for digital artists.
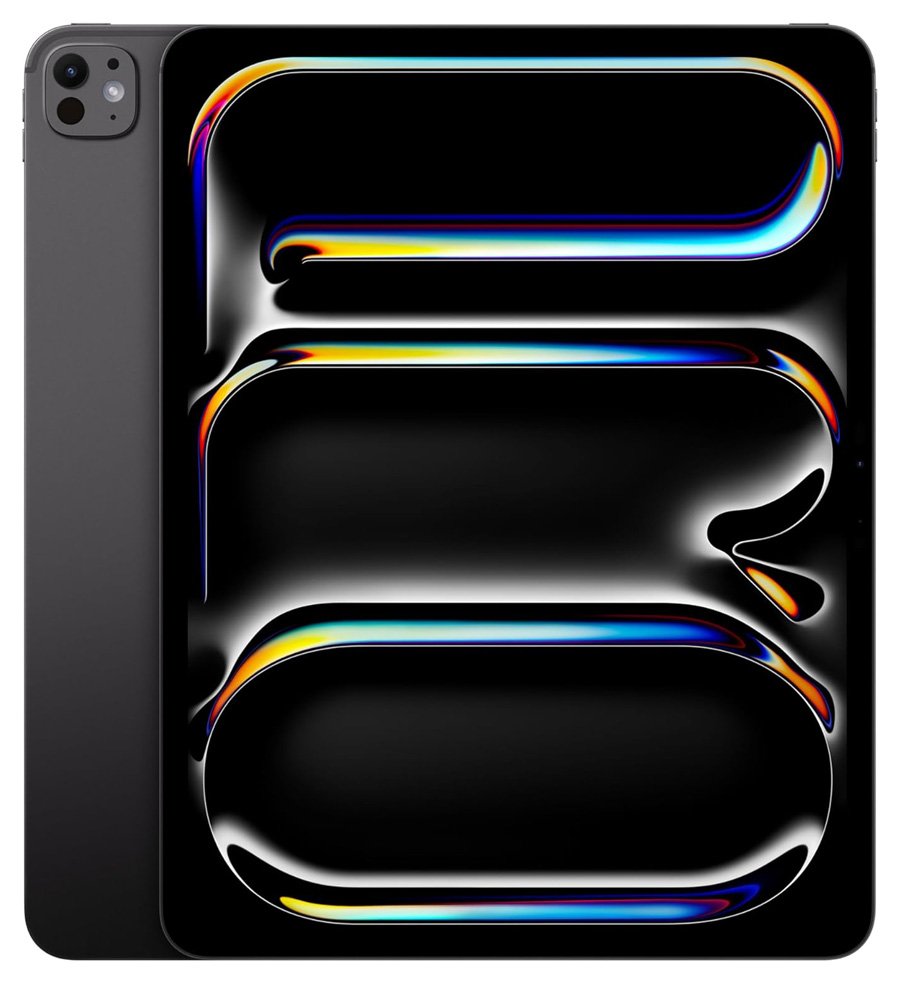
13-inch iPad Pro (8th generation)
If you’re buying an iPad primarily for art-making, a handful of factors matter far more than others, so I’ll be breaking down each one:
Screen size
RAM / Procreate layer capacity
Screen refresh rate / lag time
Storage space
Before I give my recommendations, I’ll start with a caveat: I can’t speak to using the iPad for much else than making art. I have all my iPad’s notifications turned off—and usually WiFi, too—to emulate the immersive experience of working on paper as closely as possible. As a professional lettering artist, I regularly create very large, layered Procreate files, film long screen recordings, and integrate the iPad into my workflow with Adobe Creative Cloud. Thus, my own requirements may be greater than those of an amateur artist, and very different from those of a casual user.
Screen size: larger or smaller?
The biggest decision most iPad artists face is screen size.
I love the larger, 13-inch iPad (previously called 12.9-inch) because its drawing surface feels closer to the size of a pad of paper. My arm movement is also more natural and less cramped than on a smaller device. (For reference, the 13-inch is comparable in size to a typical laptop screen—though much thinner and lighter.)
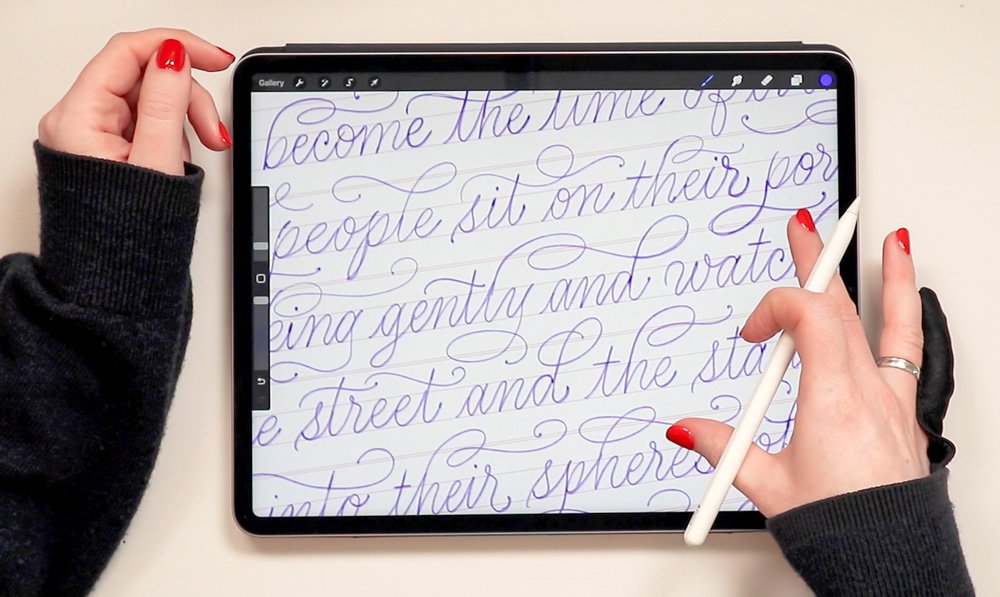
Having a 13-inch iPad lets me view more of my canvas at once, and it feels closer to working on a pad of paper.
That said, many lettering artists are perfectly happy with the smaller, 11-inch iPad models. The smaller tablet size is more portable, less expensive, and still extraordinarily capable for Procreate lettering and digital calligraphy.
iPad Pro or iPad Air?
Until very recently, there was a clear answer to this question. But in 2026, the gap between the iPad Pro and iPad Air is much smaller than it was a few years ago.
Today, both the iPad Pro and the newest iPad Air models are excellent for most iPad lettering artists.
However, I still recommend the iPad Pro models (in either screen size) for artists who:
use very large canvases and/or create files with 20+ layers
create long screen recordings
multitask between multiple powerful apps
use their tablet for video editing
The biggest functional difference between the iPad Pro and iPad Air for Procreate users is layer capacity. Procreate limits the number of layers available in an artwork file based largely on your iPad’s RAM—its short-term working memory, basically—and your Procreate canvas size. The larger and higher-resolution your artwork becomes, the fewer layers Procreate can support. Put another way, the more powerful your iPad is, the more complex and layered your art files can be.
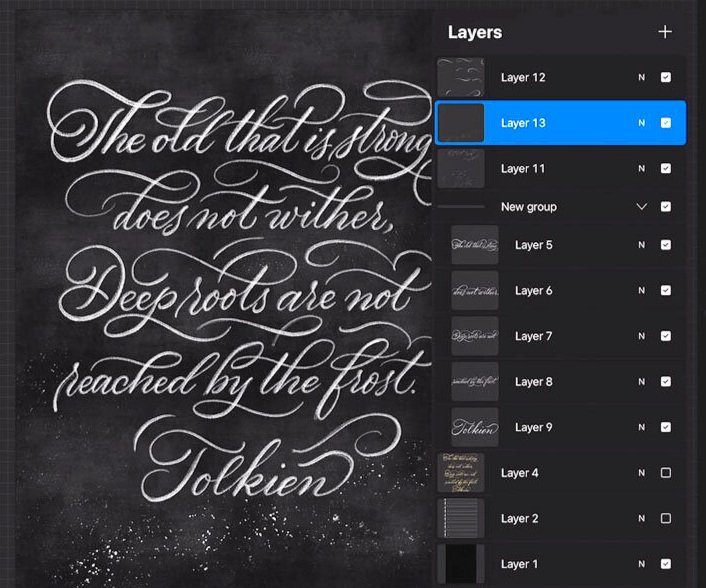
A Procreate calligraphy composition can have a surprising number of layers: lines of text, colors, textures, background images, guidelines, sketches, and refinements add up quickly.
Procreate’s website has a Maximum Layer Limit Calculator where you can pair different iPad models with different canvas sizes to see how many layers will be available in a file. Iva Mikles of “Art Side of Life with Iva” has compiled excellent visual comparisons of iPad models, RAM, and Procreate layer counts.
For everyday lettering practice, these layer limits are rarely an issue. But if you work on large canvases or build highly-layered compositions (especially illustrations), the limits become noticeable quickly. The Pro models handle these larger workflows much more comfortably than the Air models, which is one of the main reasons I still recommend the iPad Pro for serious digital calligraphy and illustration work.
Another advantage of the Pro models is the quality of their display. They utilize Apple’s ProMotion refresh technology, which makes drawing on screen feel even closer to paper. There’s no perceptible lag between the Apple Pencil’s movement and the strokes appearing on screen. (I remember the first iPad Pro feeling astonishingly fast, but compared to a decade ago, the tech has improved dramatically.) For calligraphy and handwriting, with letters’ pressure shifts and fast changes in stroke direction, ProMotion’s responsiveness has a noticeable impact on the writing experience.
If you tick the boxes above but budget is a major concern, consider an older or refurbished recent-generation iPad Pro—or a Pro without much storage space (see the next section). Among older models, the past couple generation Pros are still incredibly powerful and can often be found for the same price as a brand new Air.
Storage space: how much do I really need?
Storage is one of the easiest places to overspend.
Hard drive size is a big factor in pricing, and also an easily misunderstood one. When I bought my first iPad Pro, I was convinced that I would need a lot of storage, so I got the largest hard drive possible, which was 512 GB at the time…and I paid a huge a premium for it. But it turned out that I didn’t need that much after all. Not even close.
I don’t use my iPad for downloading movies. I don’t use it for storing thousands of photos in the gallery. I don’t use it for anything except art-making (and web browsing when I travel). For these reasons, when I purchased my second iPad Pro, I downgraded my storage space. Today, in 2026, my newest iPad is still a 256 GB model, even though the newest generation iPad Pros go up to 2 TB. The price difference between the 256 GB and 2 TB models is nearly $900 USD.
I don’t hold back when it comes to making large, layered files, and I even take lots of screen recordings—which are big files. Despite that, I’ve only used about 150 GB of storage. But if I ever come close to using up the available space, I know that it won’t be with files I still need to access from my iPad, so I’ll simply transfer them to my computer and delete them from the tablet.
For most artists, a 256 GB iPad hard drive is plenty. Even large Procreate files are manageable if you delete older work periodically. If you create hundreds of massive, layered illustrations or store extensive video footage directly on the iPad, you may prefer 512 GB or higher. But for most people doing lettering and drawing in Procreate, upgraded storage matters far less than screen size and RAM.
My storage size recommendation:
256 GB — ideal for most lettering artists who don’t use their iPad for much else (like me!)
512 GB — for heavy workflows that involve video work
1 TB and up — unnecessary for most users who primarily use their iPad for art
If you ever do find yourself needing additional space on your iPad, external solid state drives now work beautifully with iPads—and cost much less than Apple’s storage upgrades. (You can’t go wrong with a Samsung SSD, which you can plug into tablets and computer.)
The bottom line: Save the money from storage upgrades and put it toward a screen size upgrade!
The Apple Pencil
for iPad Lettering
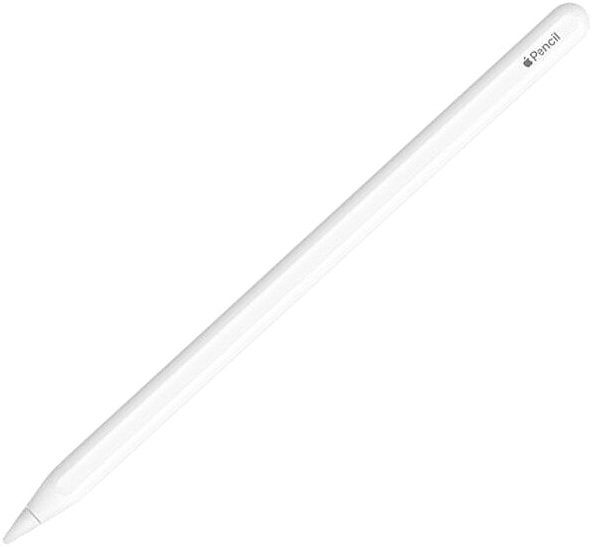
The pressure sensitivity of the Apple Pencil for writing and drawing is unparalleled.
The release of the first Apple Pencil in 2015 changed the digital lettering and illustration world forever. It was the first stylus that felt precise enough for pointed pen calligraphy and brush script because it is so highly-responsive and pressure sensitive, allowing for variations in stroke weight and transparency.
While the functionality of the first-generation Apple Pencil was superior to any other lettering stylus, there were clear drawbacks. The grip was slippery plastic so most people (myself included) needed to purchase a pen grip. It had a small cap over the charger plug that could easily get lost. And charging it required using the iPad’s only port, meaning the iPad couldn’t charge at the same time as the Pencil.
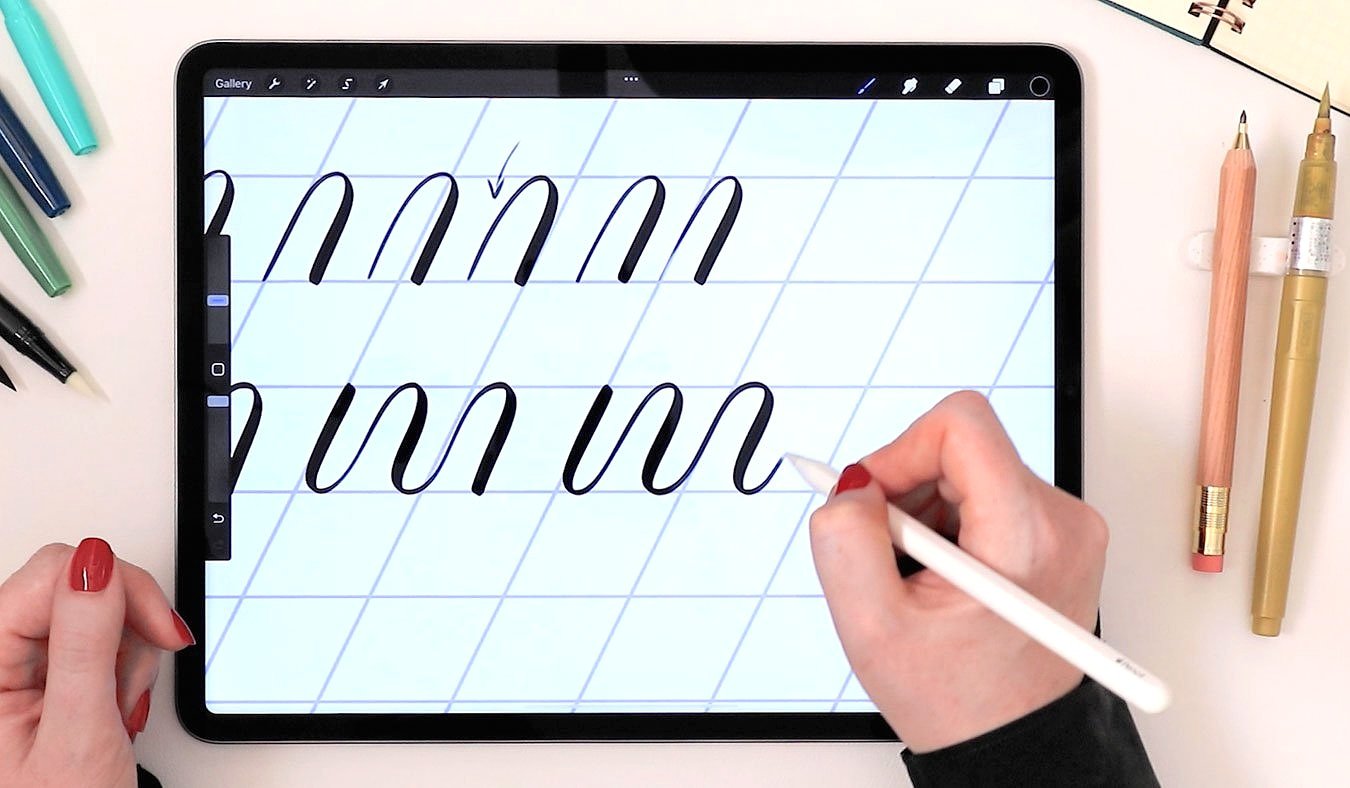
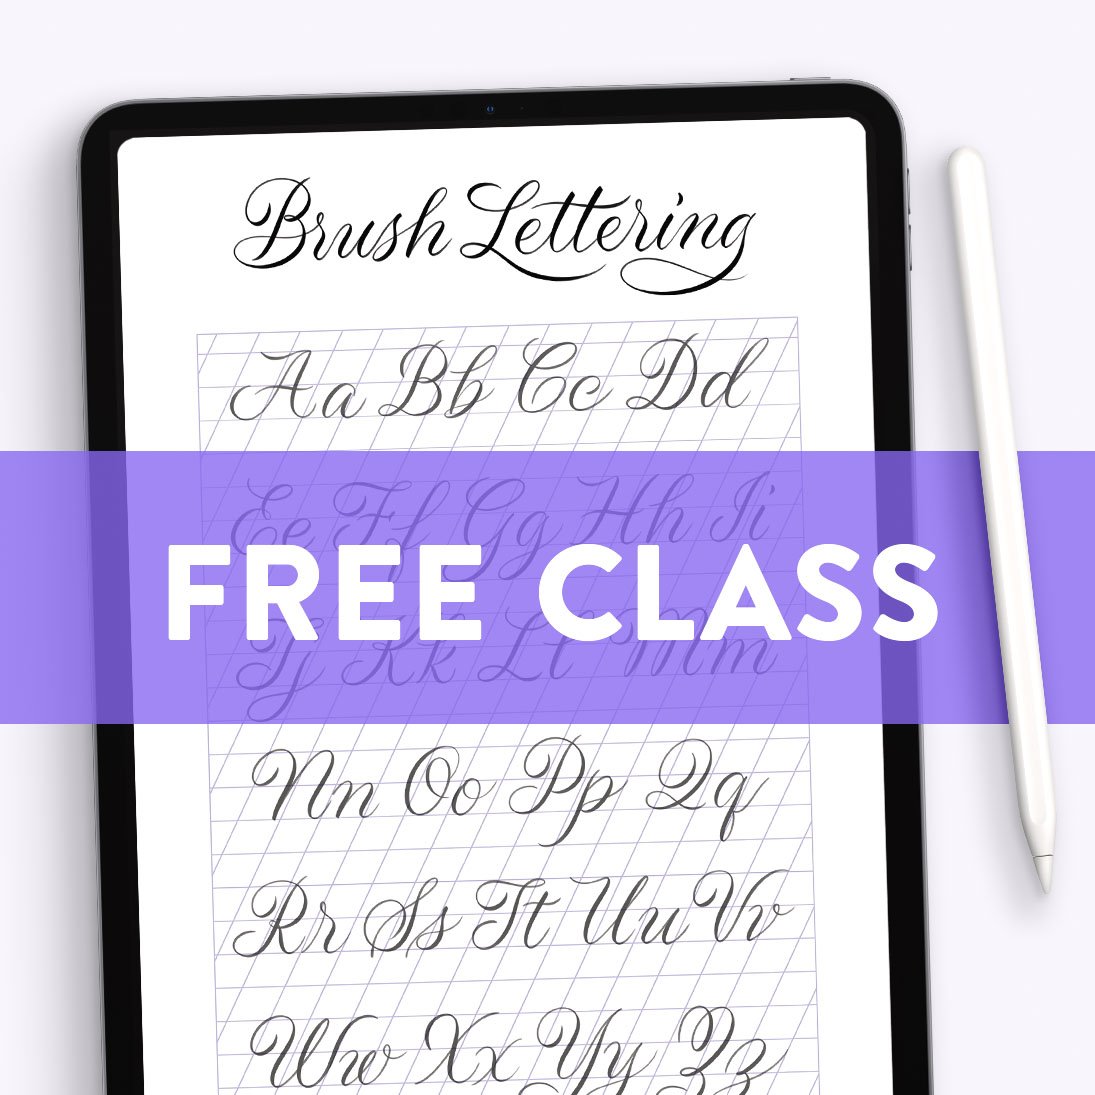
I teach the ins and outs of using the Apple Pencil to emulate pointed pen calligraphy in my Skillshare class, Brush Lettering in Procreate for Beginners.
The next generation Apple Pencil solved all of these issues, and came with improved responsiveness. The Pencil now uses inductive charging, magnetically snapping to the edge of the iPad. The magnetic side of the Pencil is also flat, which keeps it from rolling off the desk—much like the hexagonal body of a wooden pencil.
Even if you buy a refurbished iPad, I still recommend buying a new Apple Pencil. It’s impossible to guarantee the quality of a used stylus that may have been dropped dozens of times, so the difference in price doesn’t justify the gamble.
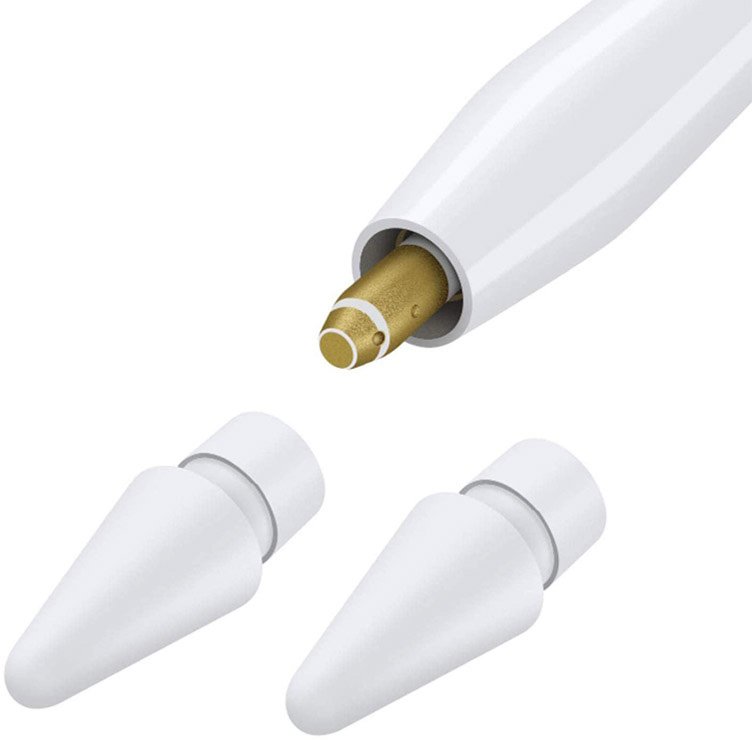
If your Pencil tip wears down from being used on a textured screen protector, fear not, because you can buy replacement Apple Pencil tips. (I share my thoughts about this type of screen protector below. Spoiler: I don’t like them.)
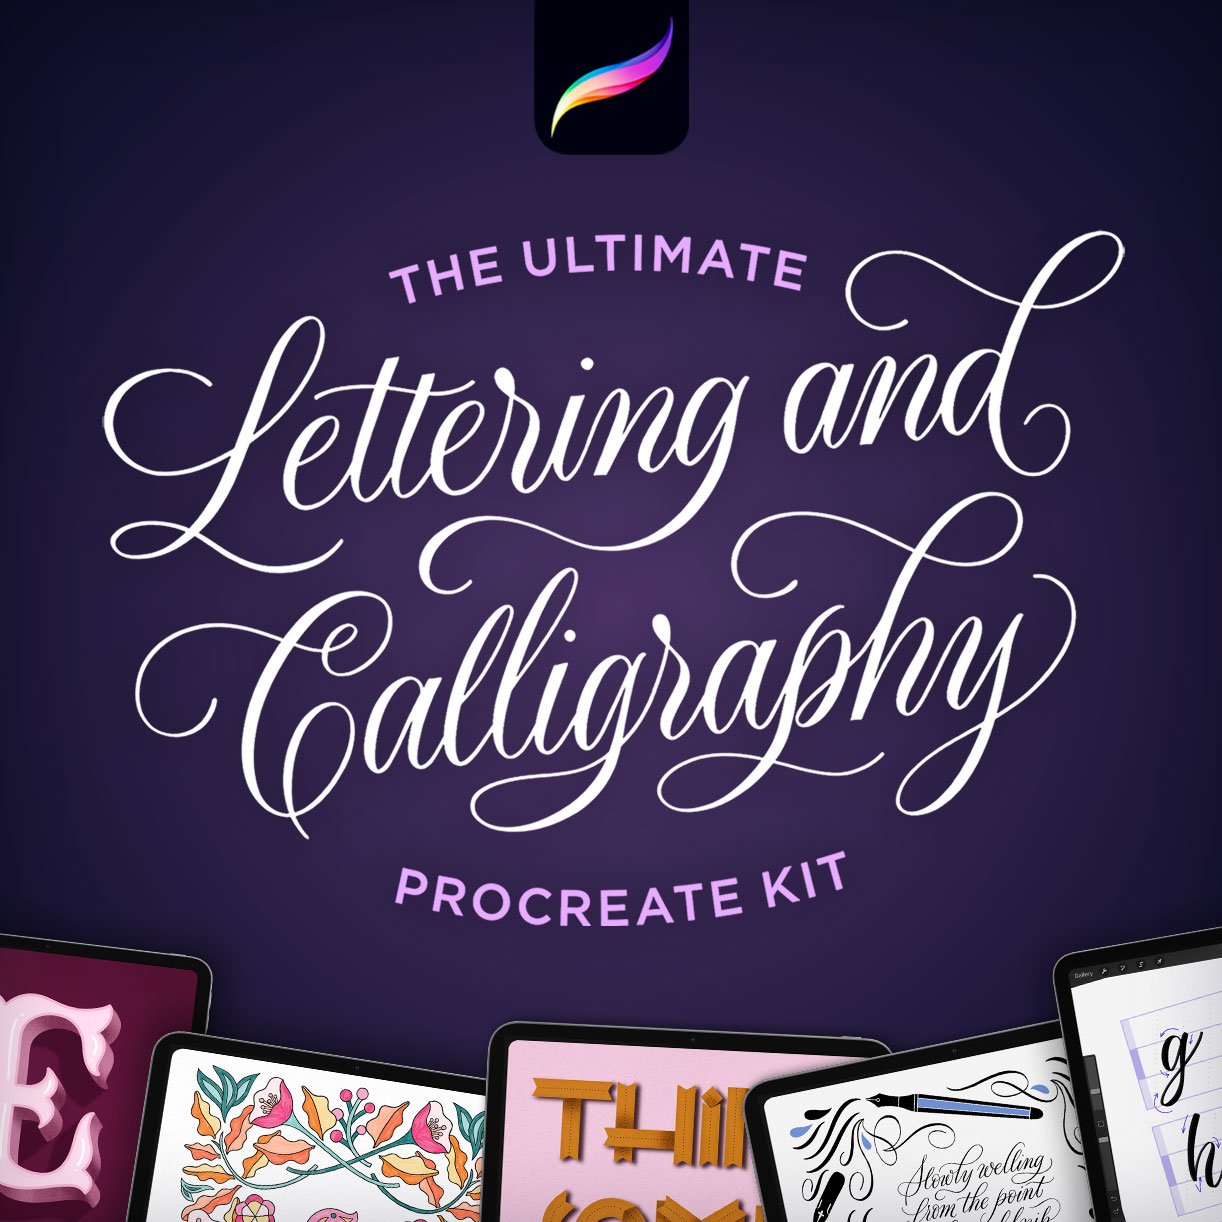
“I’m stunned by this brush kit! The pointed calligraphy pens mirror working with real, flexible pointed nibs.”
— Sarah Richardson, professional calligrapher, @sarahscript
iPad Accessories for Artists
Should I use an iPad screen protector for calligraphy?
I’m in the minority of iPad artists who don’t like or use screen protectors. Apart from feeling that I don’t need one, there are other important reasons why I don’t want one.
My iPad sits on my desk most of the time, and is always snuggly covered by my sleeve-like Smart Case when I’m not using it. There is very little chance of anything scratching it, so as far as protection from the elements goes, I don’t need a screen protector. As for why I don’t want one, that’s a three-part answer:
First, call me crazy, but I’ve grown to genuinely love drawing directly on the slick glass screen and the fluid lettering techniques it makes possible. I got used to the glass early on, training my hand to work with it before textured screen protectors were marketed. Now I love the feeling of gliding around the screen. (My touch screen glove makes that even easier, as my skin can’t stick to the glass—more details about it below.)
Second, as I’ve already mentioned, the textured screen protectors that emulate “real” writing surfaces wear down the Apple Pencil tips. This is a universally-acknowledged side effect of using even the most highly-reviewed paper-texture screen covers, like the Paperlike Protector. If you really don’t like writing on the glassy screen, then by all means, get a screen protector—many iPad artists love them. But consider purchasing some replacement Apple Pencil tips in advance, too.
And third, screen protectors that affect the screen’s texture will also affect its clarity. You can’t get much crisper than an Ultra Retina glass display. Overlaying anything on it impacts this clarity, even if only slightly. Since I don’t mind the feel of the glass, this is not a sacrifice I’m willing to make.
On occasion, when I’m filming my iPad from above, I will use a removable anti-glare screen cover to cut out the reflection. It does work for just that purpose, but I can’t wait to be done with filming and take it off!
Touch Screen Glove
My 1-finger touch screen glove is an absolute necessity for me.
iPads have remarkably good touch recognition, and differentiate between your finger and the side of your hand extremely well. This means that resting your hand on the screen as you write rarely triggers the touch screen response. But skin is sticky, and resting a bare hand on the glass prevents uninhibited gliding. Since I don’t use a screen protector specifically because I like the way my Pencil glides over the glass screen, I need an added layer between my hand and the glass.
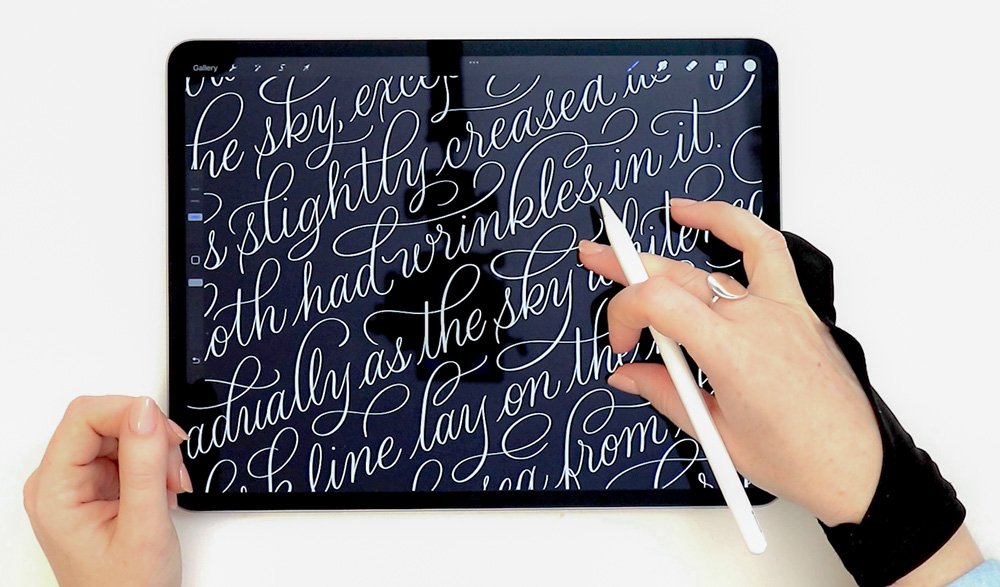
I put on my touch screen glove every time I open my iPad.
Touch screen gloves also prevent oily marks from your skin, resulting in less screen cleaning. I can even put on hand lotion before I get to work without making any smudges on the screen, which may sound like an insignificant perk, but really is not for me.
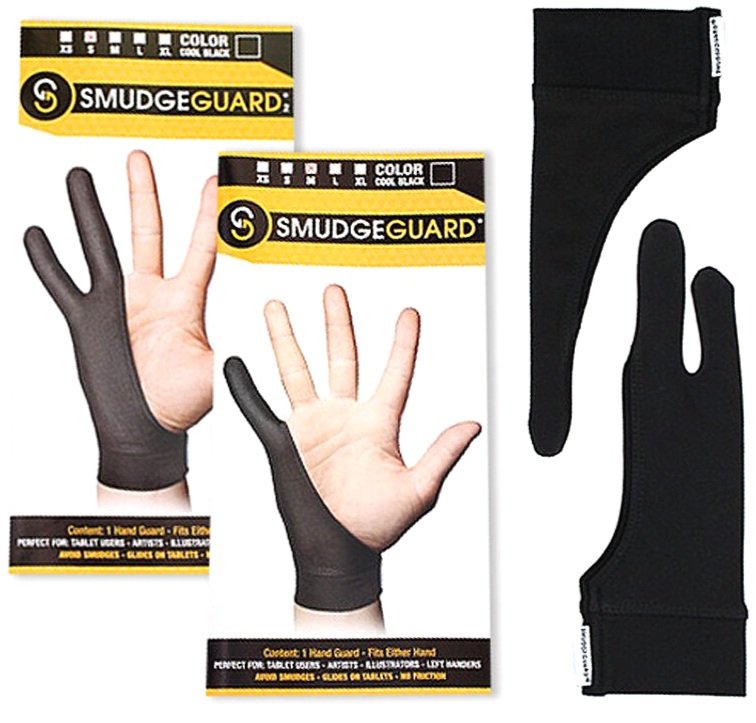
I can’t work without my touch screen glove!
Smudgeguard touch screen gloves are by far the best I’ve ever used—and I’ve tried a lot. I’m basically a walking advertisement for this brand, but I promise you, they’re not paying me to say this (nor do I make affiliate earnings by linking to them). You can buy these gloves directly from Smudgeguard.com, which ships internationally, but I’ve found that Jet Pens actually ships them faster within the United States.
Rather than just a one-size-fits-all approach, Smudgeguard gloves come in four sizes, ranging from XS to L (see their size guide.) These gloves have a wrist cuff, which makes them much more comfortable and snug than other brands.
You can choose between 1-finger or 2-finger gloves. Which type is right for you depends on how much of your hand touches your writing surface. (It doesn’t matter if you’re right- or left-handed.) To figure out which one you need, grab a pen and position your hand as if to start writing. Does only your pinky finger touch the table? Then the 1-finger glove is right for you. If your pinky and fourth finger touch, then go for the 2-finger option. (For reference, I wear the 1-finger in size small: this exact one.)
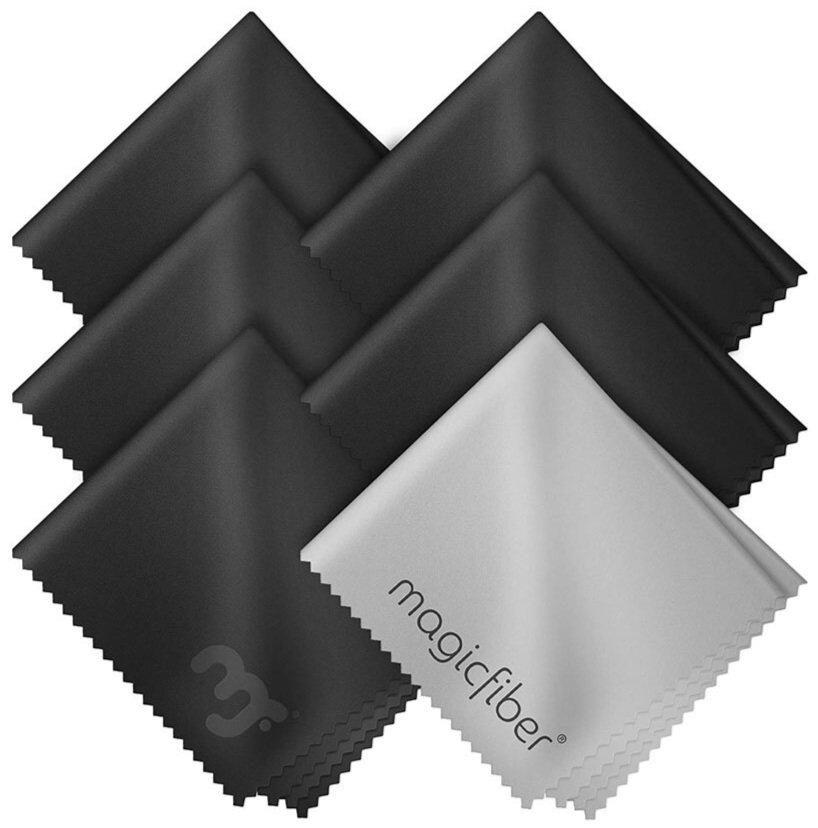
A clean screen means a smooth pen glide.
Microfiber Screen Cleaning Cloths
I’d be remiss if I left my mighty screen cleaners off this list. I stop work to clean my iPad glass often. Smudges on the glass impede the way my Pencil glides around the screen. Even though my glove prevents the side of my hand from making an oily imprint, leaving fingerprints on the touch screen is unavoidable. (Cat paw prints, too, if your feline is anything like mine….)
I have lots of brands of microfiber cloths, and the particular brand is not important. Since I buy so many, I like these affordable packs by MagicFiber, but any screen cleaner that works will do the trick. (As someone who wears glasses, I have microfiber cloths within arm’s reach all around the house because I hate smudged lenses even more than I hate smudged screens!)
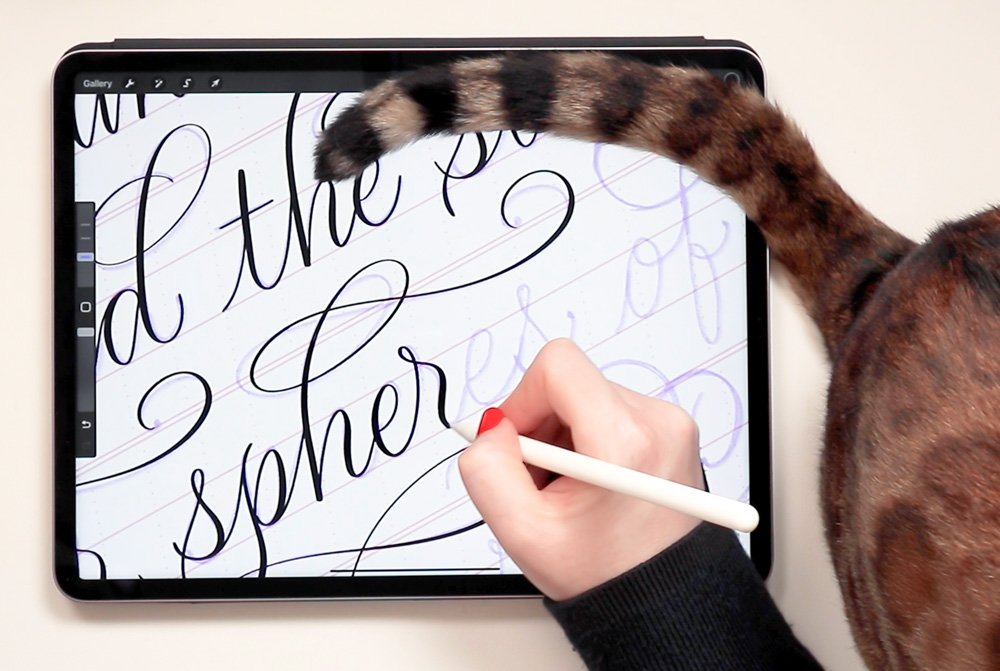
Marlowe supervises, opening menus with his paw and using his tail as a screen wiper.
The Procreate App
No discussion of iPad lettering would be complete without Procreate itself. It remains the absolute best pixel-based app for digital lettering, calligraphy, and illustration on the iPad.
One of the reasons I continue to love Procreate is that the company has taken an unusually-strong public stance against generative AI, vowing never to incorporate it into their app. This is a huge perk for me, and comes at a time when nearly all the other art and design software I use seems determined to force generative AI into my workflow, dramatically diminishing my enjoyment in using it. In Procreate’s public statement, “AI Is Not Our Future,” they state:
“Generative AI is ripping the humanity out of things. Built on a foundation of theft, the technology is steering us toward a barren future. … We’re not chasing a technology that is a moral threat to our greatest jewel: human creativity.”
The app is also not cloud-based and doesn’t need an internet connection to be used once you download it for the first time. Your artwork is stored locally on your iPad hard drive, rather than continually synced to cloud storage. This means that the art you make in Procreate remains private unless you choose to share it. This, too, is a vanishing feature among art and design software, most of which now requires cloud connectivity.
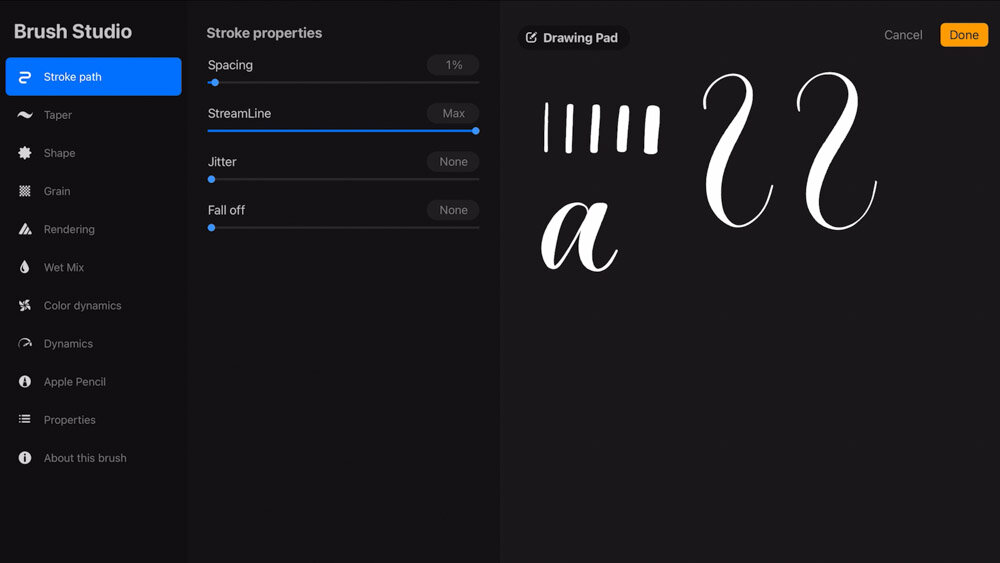
Procreate’s Brush Studio allows for powerful customization of pressure sensitivity, stroke texture and taper, pen responsiveness, and much more.
From a purely technical standpoint, Procreate is also unmatched for Apple Pencil responsiveness. Its powerful brush customization settings make full use of the Apple Pencil’s pressure sensitivity, tilt, tapering, and stroke dynamics. The most responsive, versatile iPad lettering and calligraphy brushes are built in Procreate.
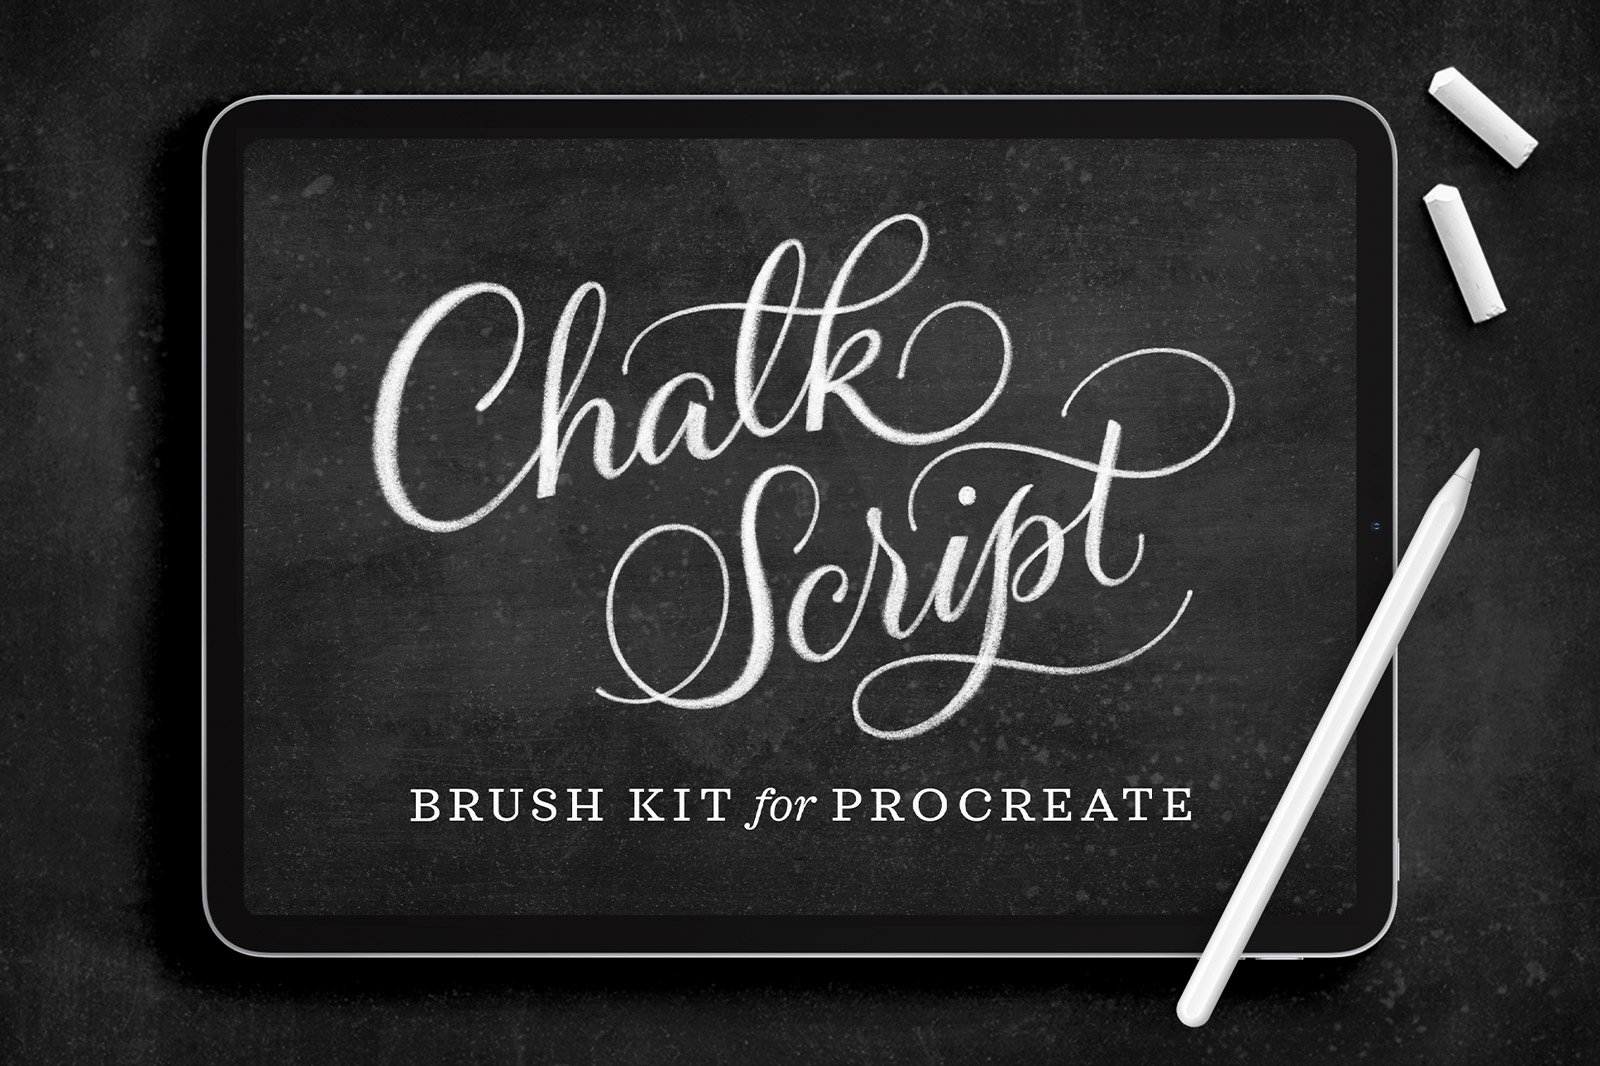
I design my own Procreate brush packs for lettering artists and illustrators. If you want to start with just one, I recommend my Ultimate Lettering & Calligraphy Procreate Kit, which includes more than 150 mixed media brushes for modern calligraphy, brush lettering, flourishing, broad-tip styles, chalk, watercolor, and dimensional texture.
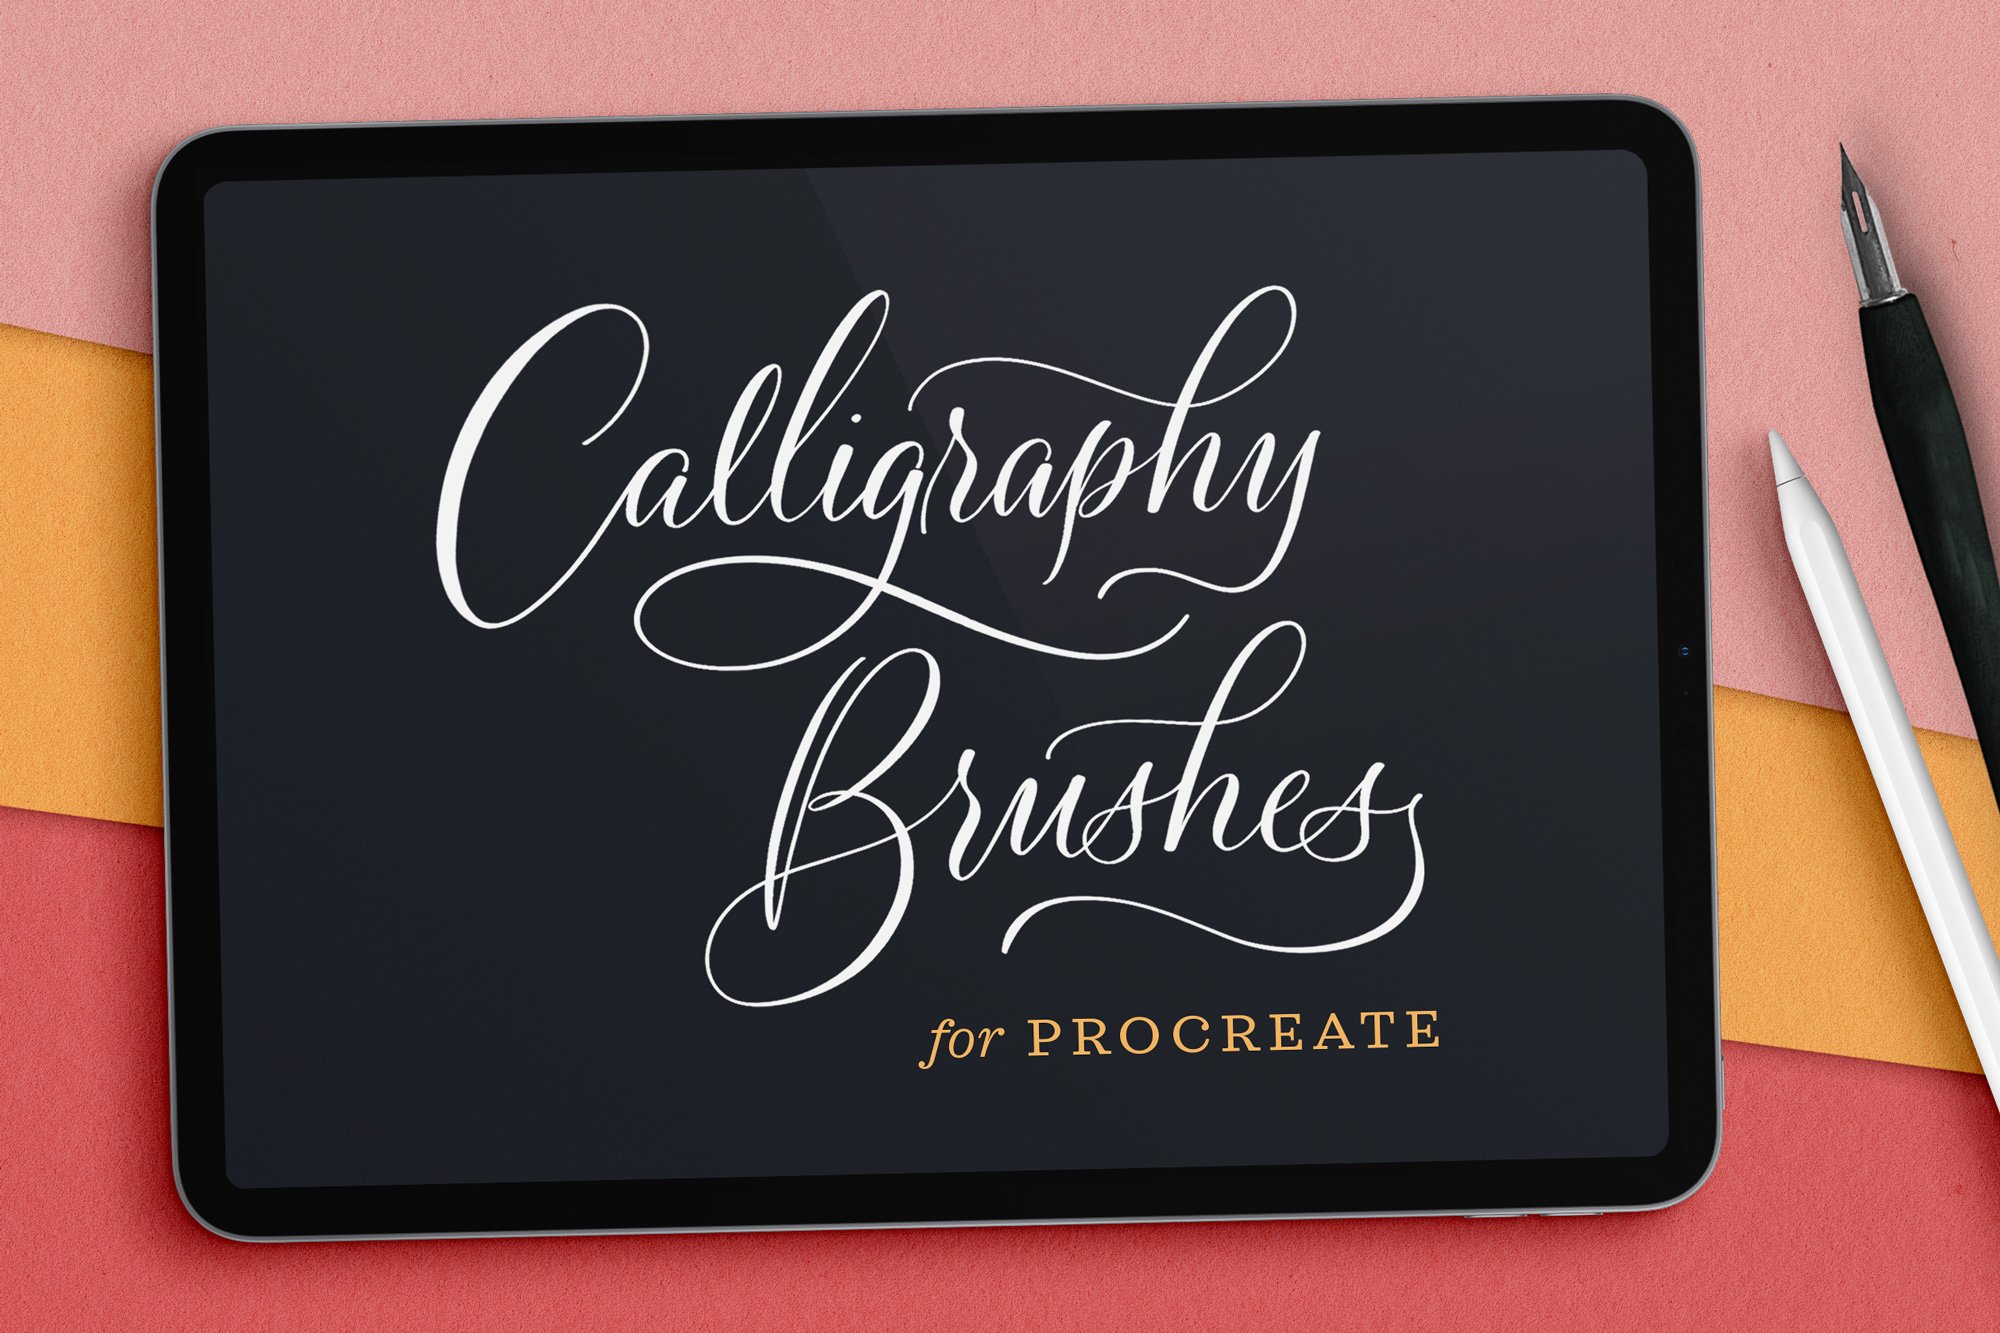
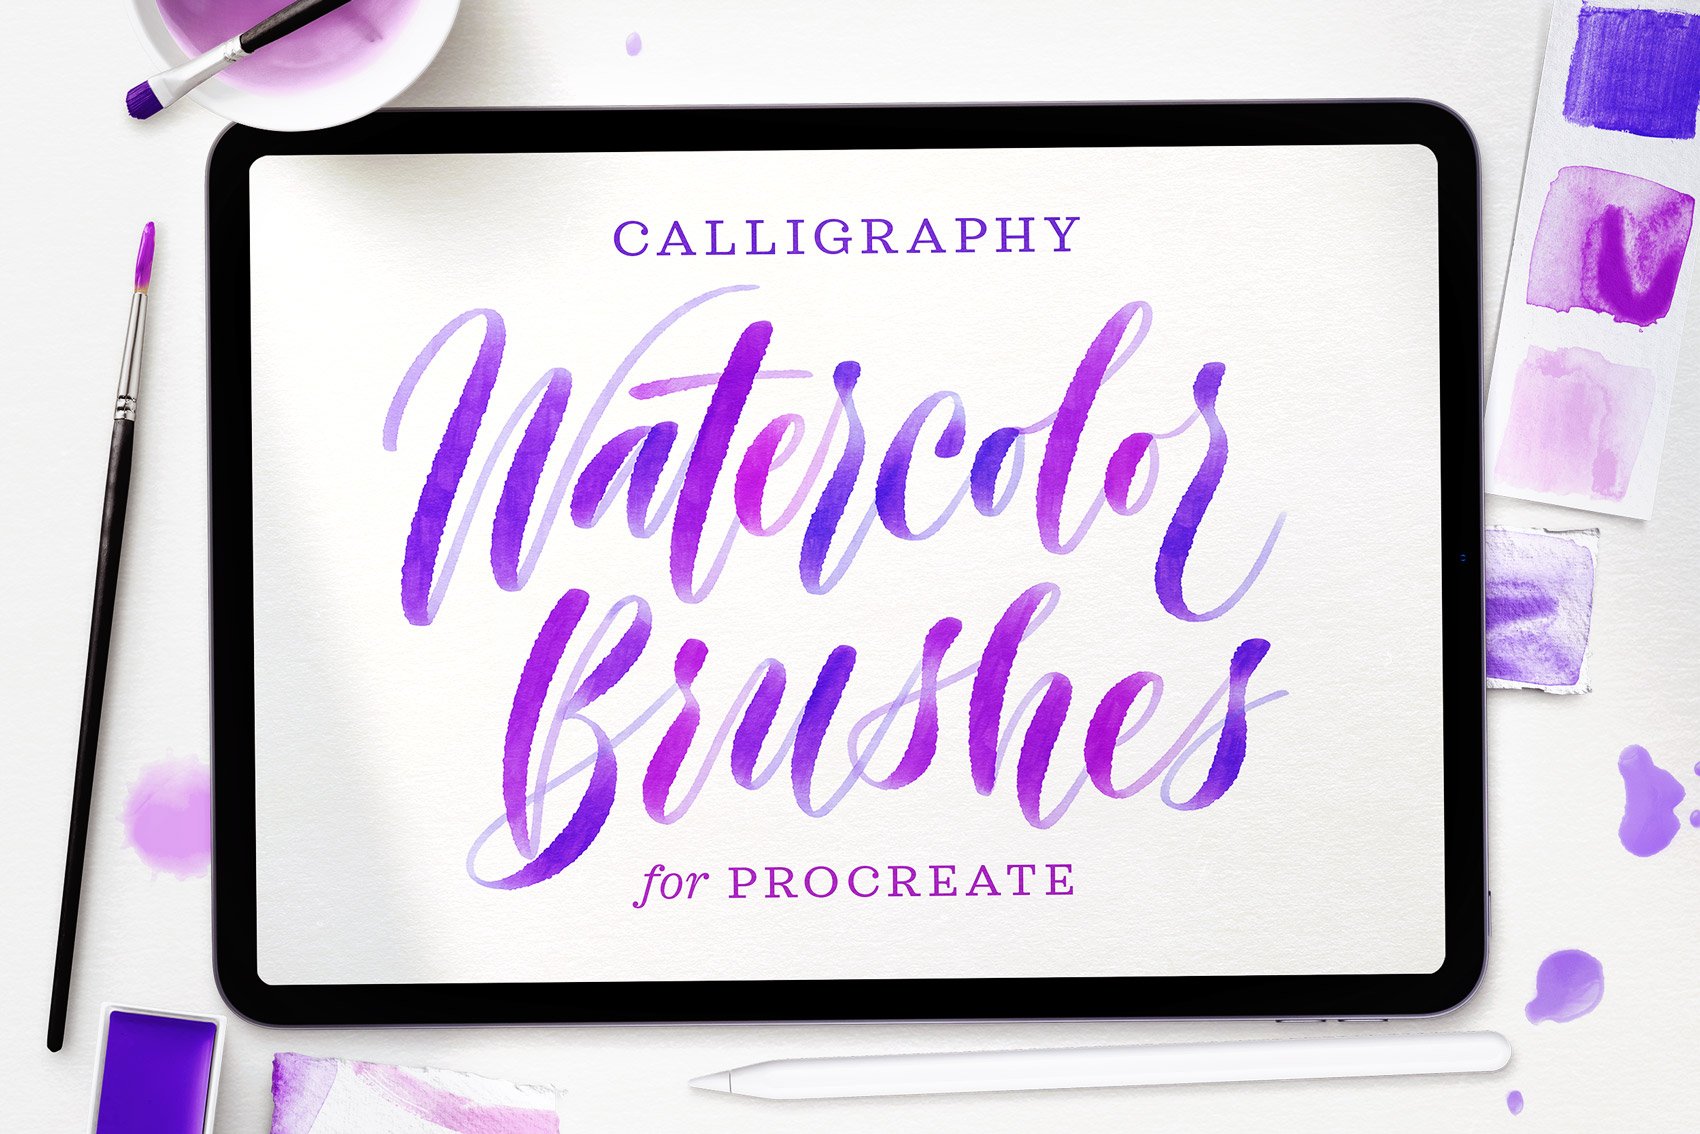
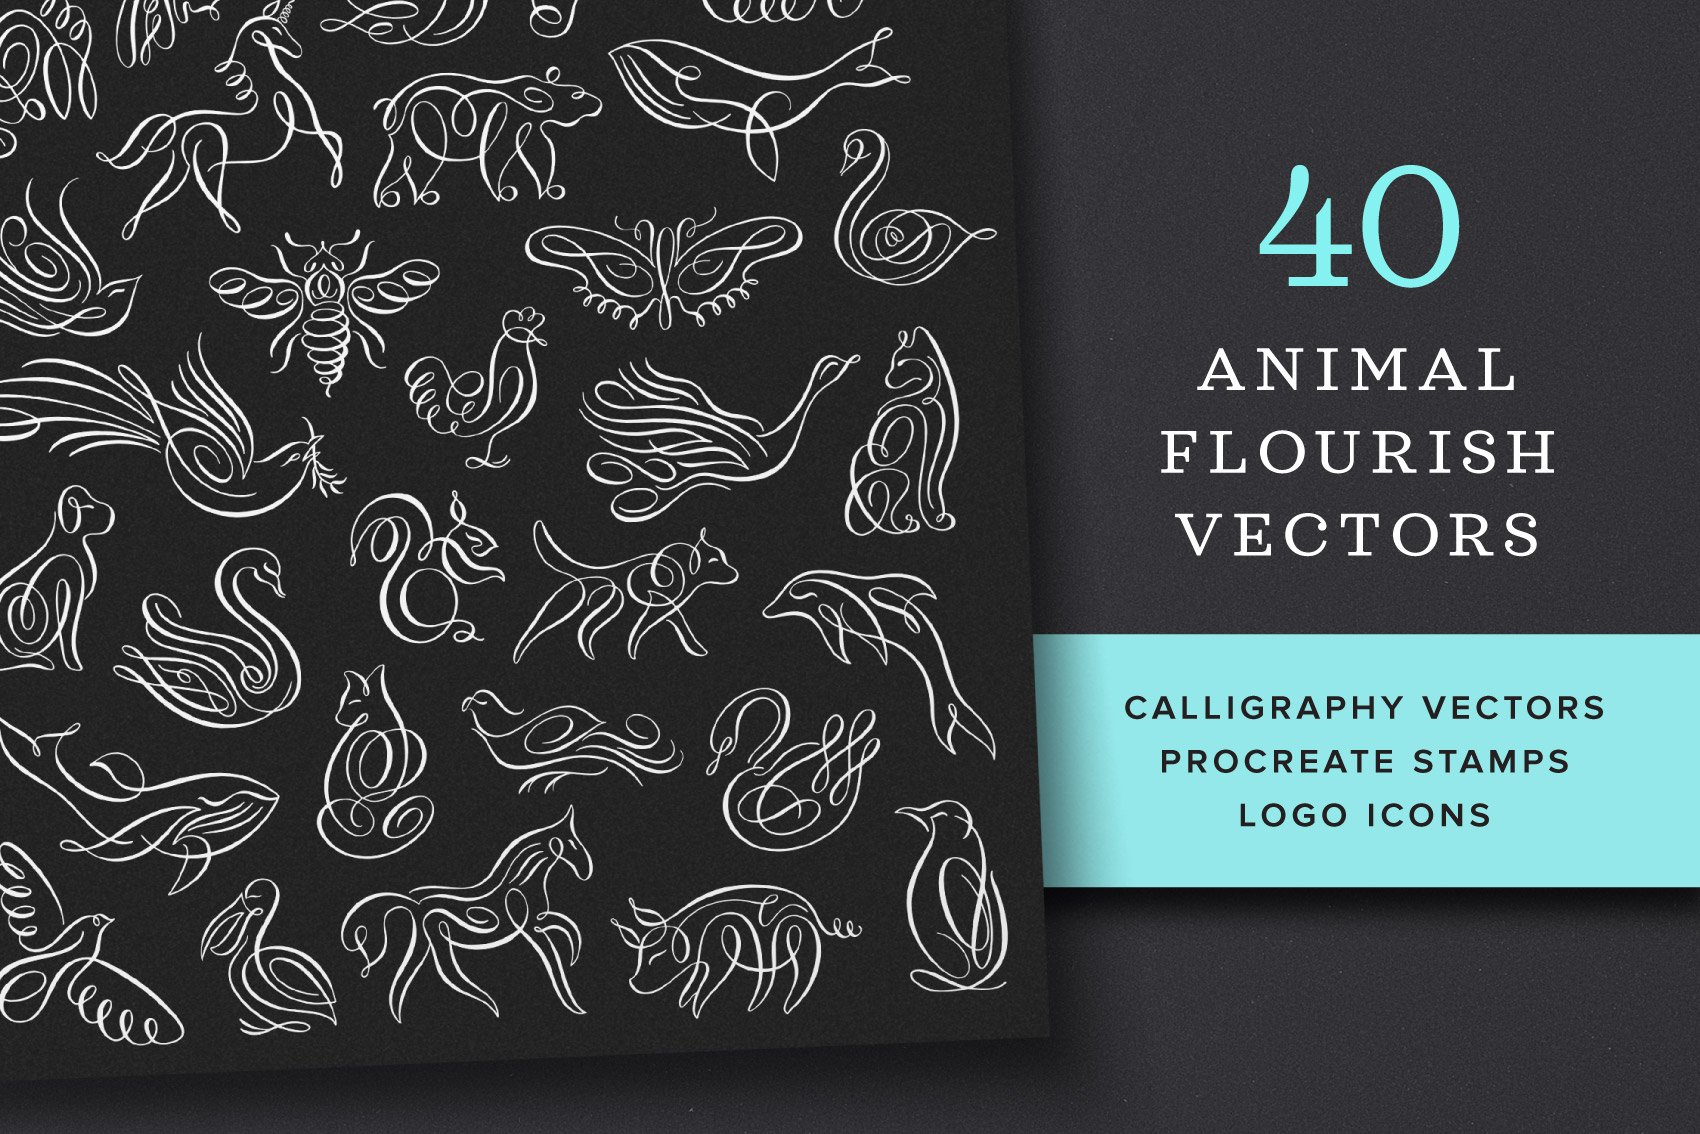

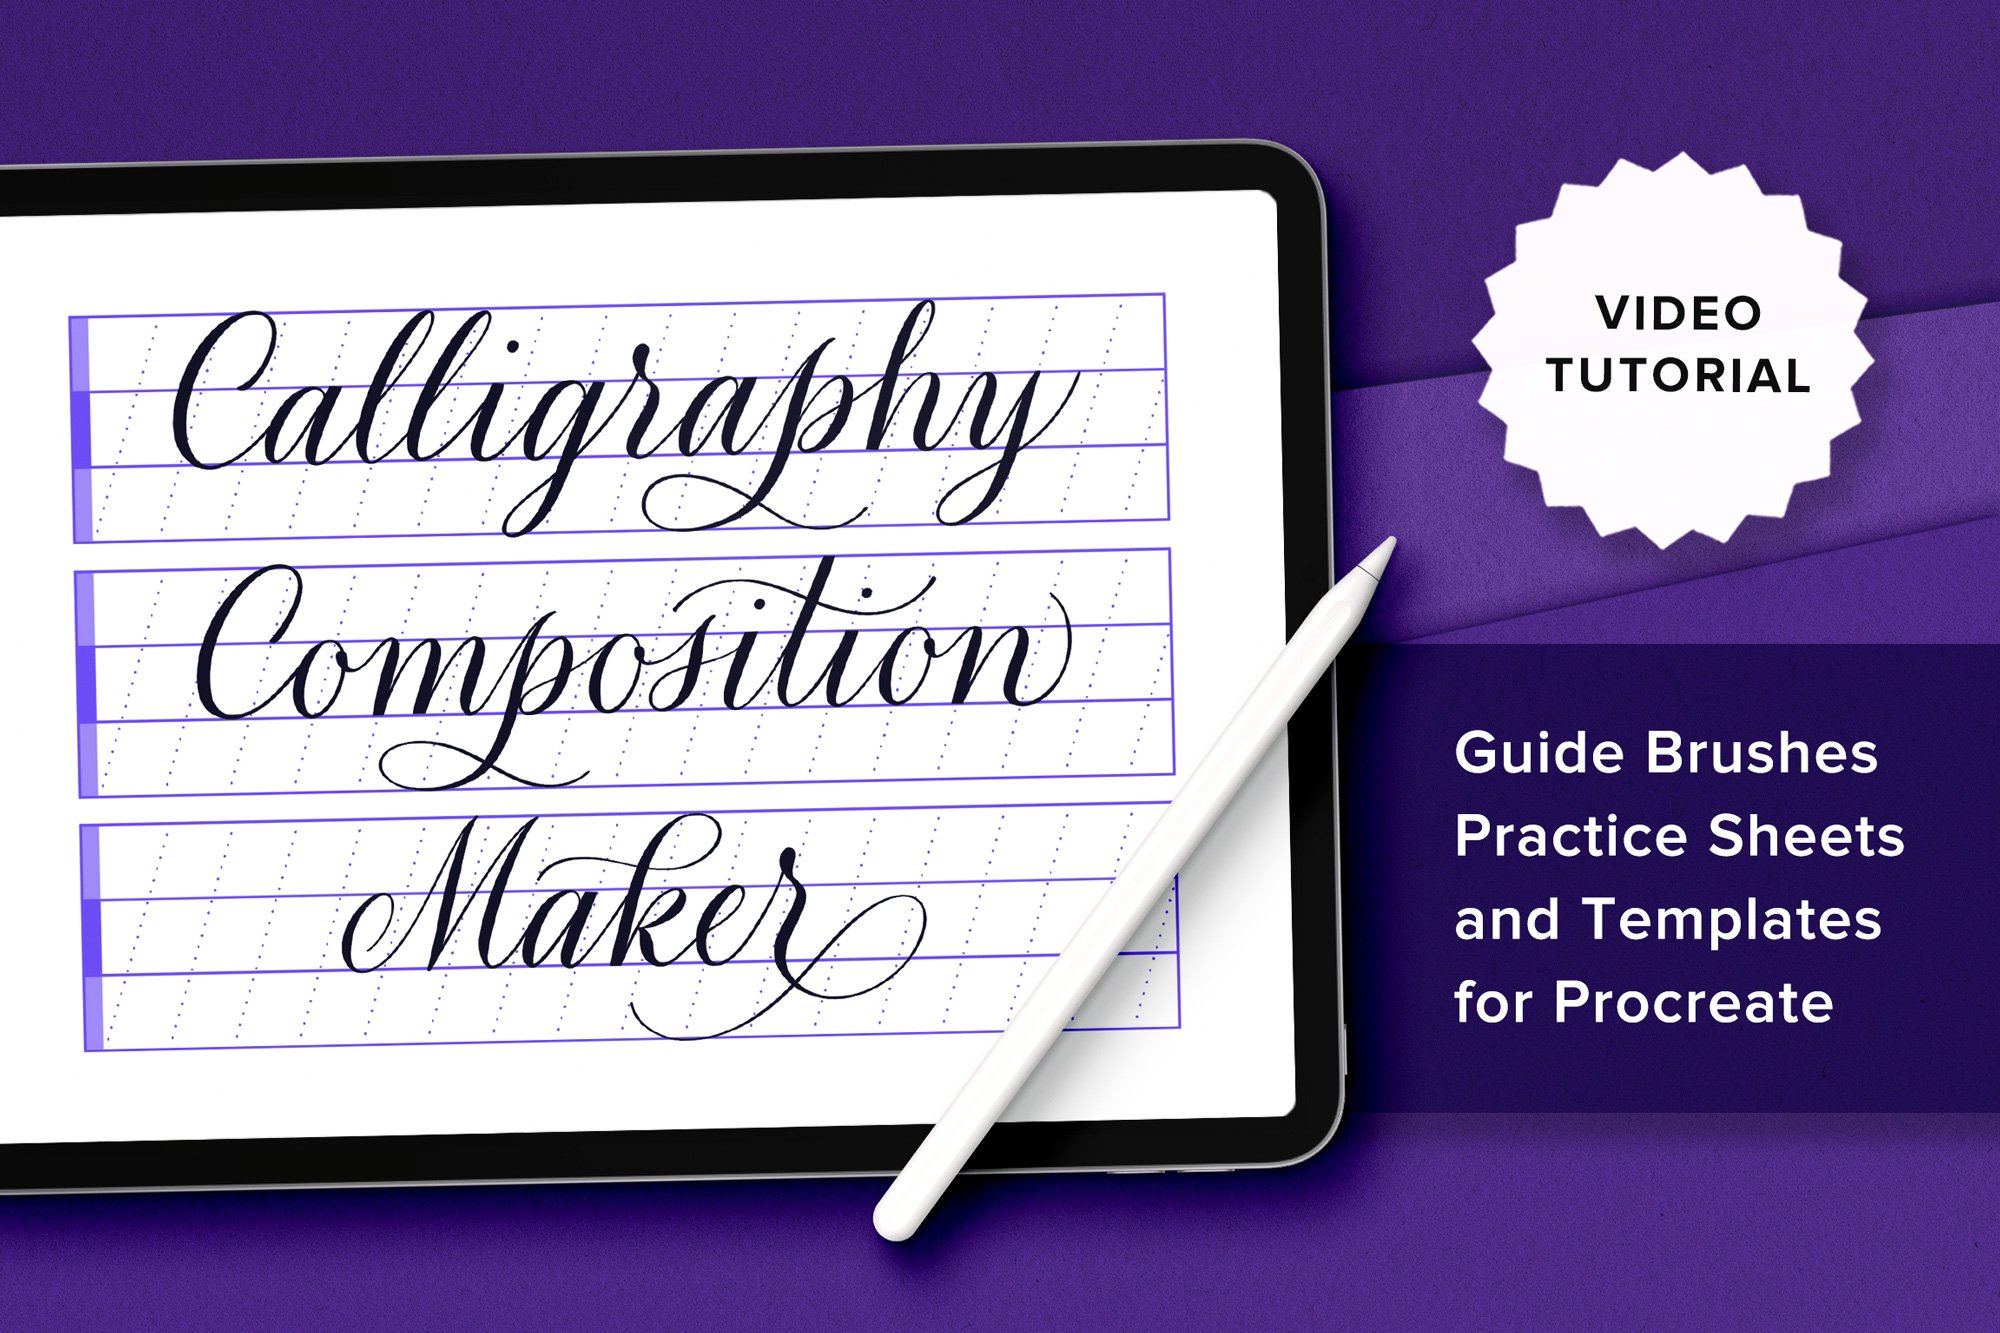
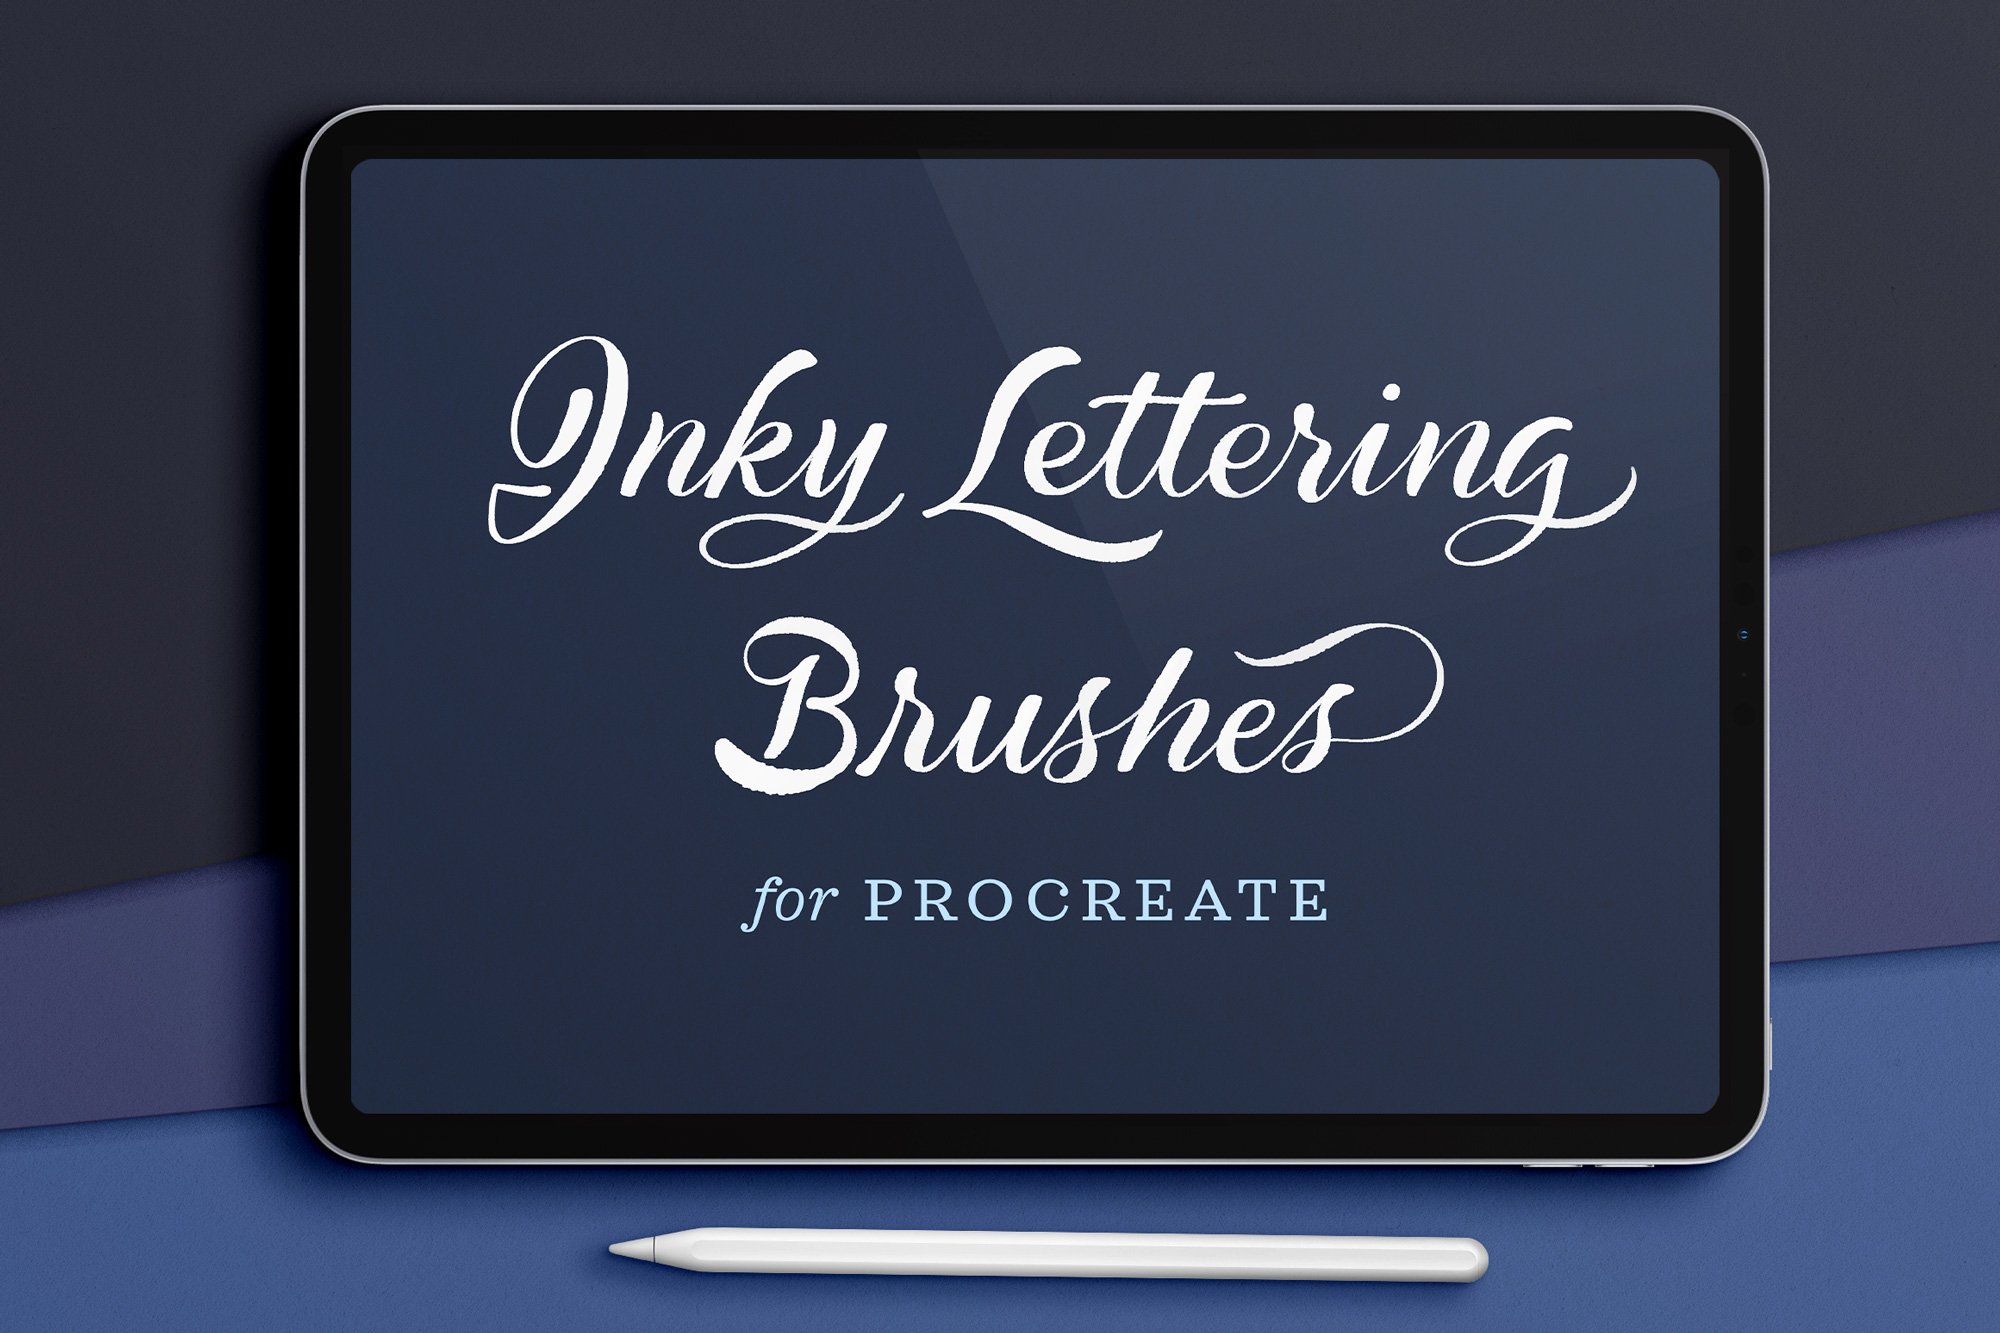
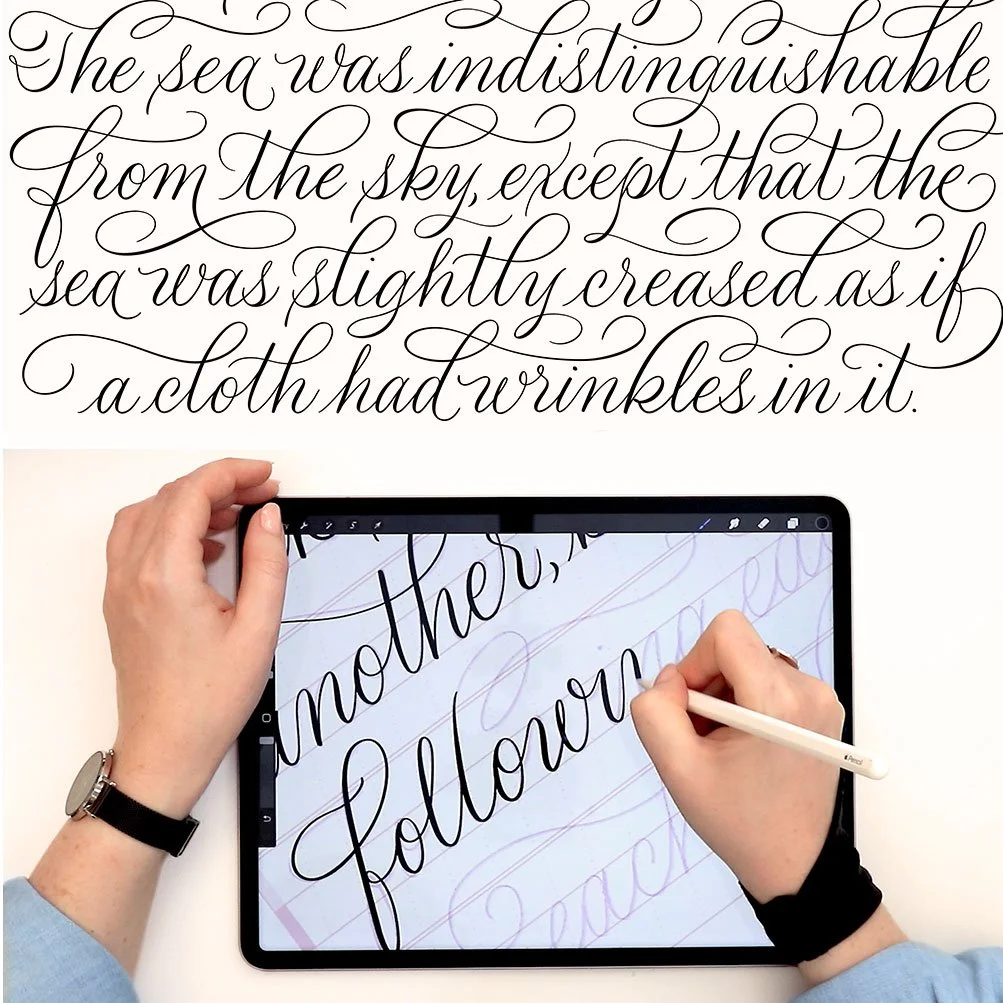
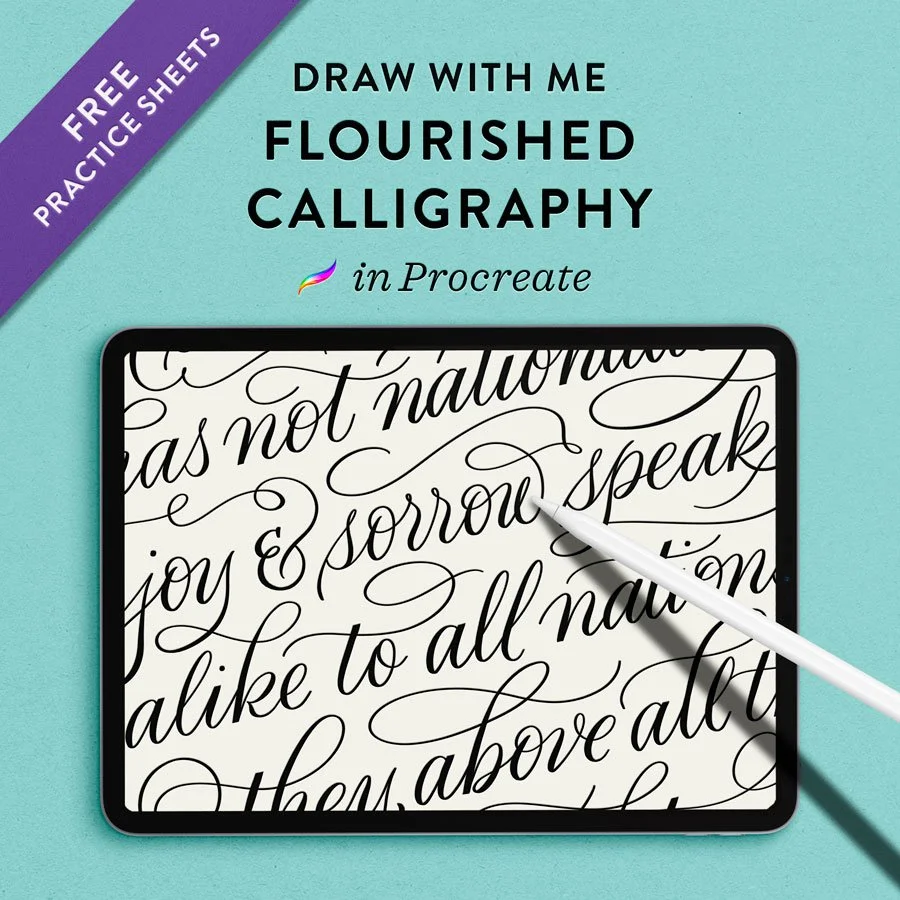
And if you want to dive deeper into iPad calligraphy, digital lettering, or modern calligraphy in Procreate, check out my free video tutorials and Skillshare classes. You can also sign up for my newsletter to access my free archive of Procreate calligraphy worksheets, templates, and brushes.



This post contains some affiliate links, which support the free content I write on this blog, the free downloads I offer in my Lettering Toolkit, and the ongoing work of maintaining Calligrafile.com. I only recommend tools and resources I actually use and love, and my suggestions are never influenced by these affiliate associations.
If you found this post useful, consider sharing it. That’s the best, free way to support artists and authors you appreciate.
(You could also buy me a coffee.)

My all-time bestseller—and the brushes I use the most in my own work.
The Ultimate Procreate Kit started as a collection of brushes and textures I built for myself, to recreate the look and feel of writing on paper with all my favorite pens. Over time, it grew to 200+ brushes, backgrounds, and guides for every kind of hand lettering style—from flourished calligraphy and watercolor script to bold sign painting and chalk lettering. They’ve been my bestselling brushes for years, and I still use them every day.
Who is this kit for? Everyone from total beginners to professional artists. If you’re just starting out with iPad lettering, you’ll get tools to help you learn, play with, and master digital hand lettering—plus step-by-step practice files that teach you proper technique. If you’re already an experienced calligrapher or lettering artist, you’re getting professional-quality tools you can use in client work and commercial projects without limitations—tools that make digital lettering feel as natural as ink on paper.
14 Professional Brush Collections (200+ Brushes Total):
✓ Pointed Calligraphy Pens for flourished script work
✓ Lettering Markers for modern, brushy styles
✓ Watercolor Pens with realistic paint and paper texture
✓ Chalk Writers for vintage and rustic designs
✓ Flat Tip Pens for Gothic and sign lettering
✓ Letter Inkers for organic, gestural calligraphy
✓ Monoline Pens for smooth, minimalist penmanship
✓ 3D Pens with built-in two-color drop shadows
✓ Novelty Pens for fun effects like ribbon writing
✓ Letter Guides for creating endless layouts
✓ Textured Backgrounds like paper and chalkboards
✓ Bonus – Shape Frame Stamps for decorative borders
10 Practice Files & Guides
In addition to brushes, this kit includes practice sheets and step-by-step guides that walk you through each technique. The layered Procreate practice files will teach you how to write different calligraphy and brush lettering alphabets. The quick guides and video tutorial show you how make the most out of this powerful kit.
→ 3 pointed pen calligraphy practice files including stroke-by-stroke tutorials
→ 2 marker brush lettering practice files with modern alphabet templates
→ 2 monoline script practice files for clean penmanship styles
→ Letter inkers quick guide for gestural techniques
→ Watercolor pens quick guide to master realistic blending
→ Complete background texture reference library
Please note: None of my brush packs overlap—every pack contains different brushes so you’ll never pay for the same brush twice.
Frequently bought together: