iPad Calligraphy Flourishing Follow-Along with Commentary
Happy Friday!
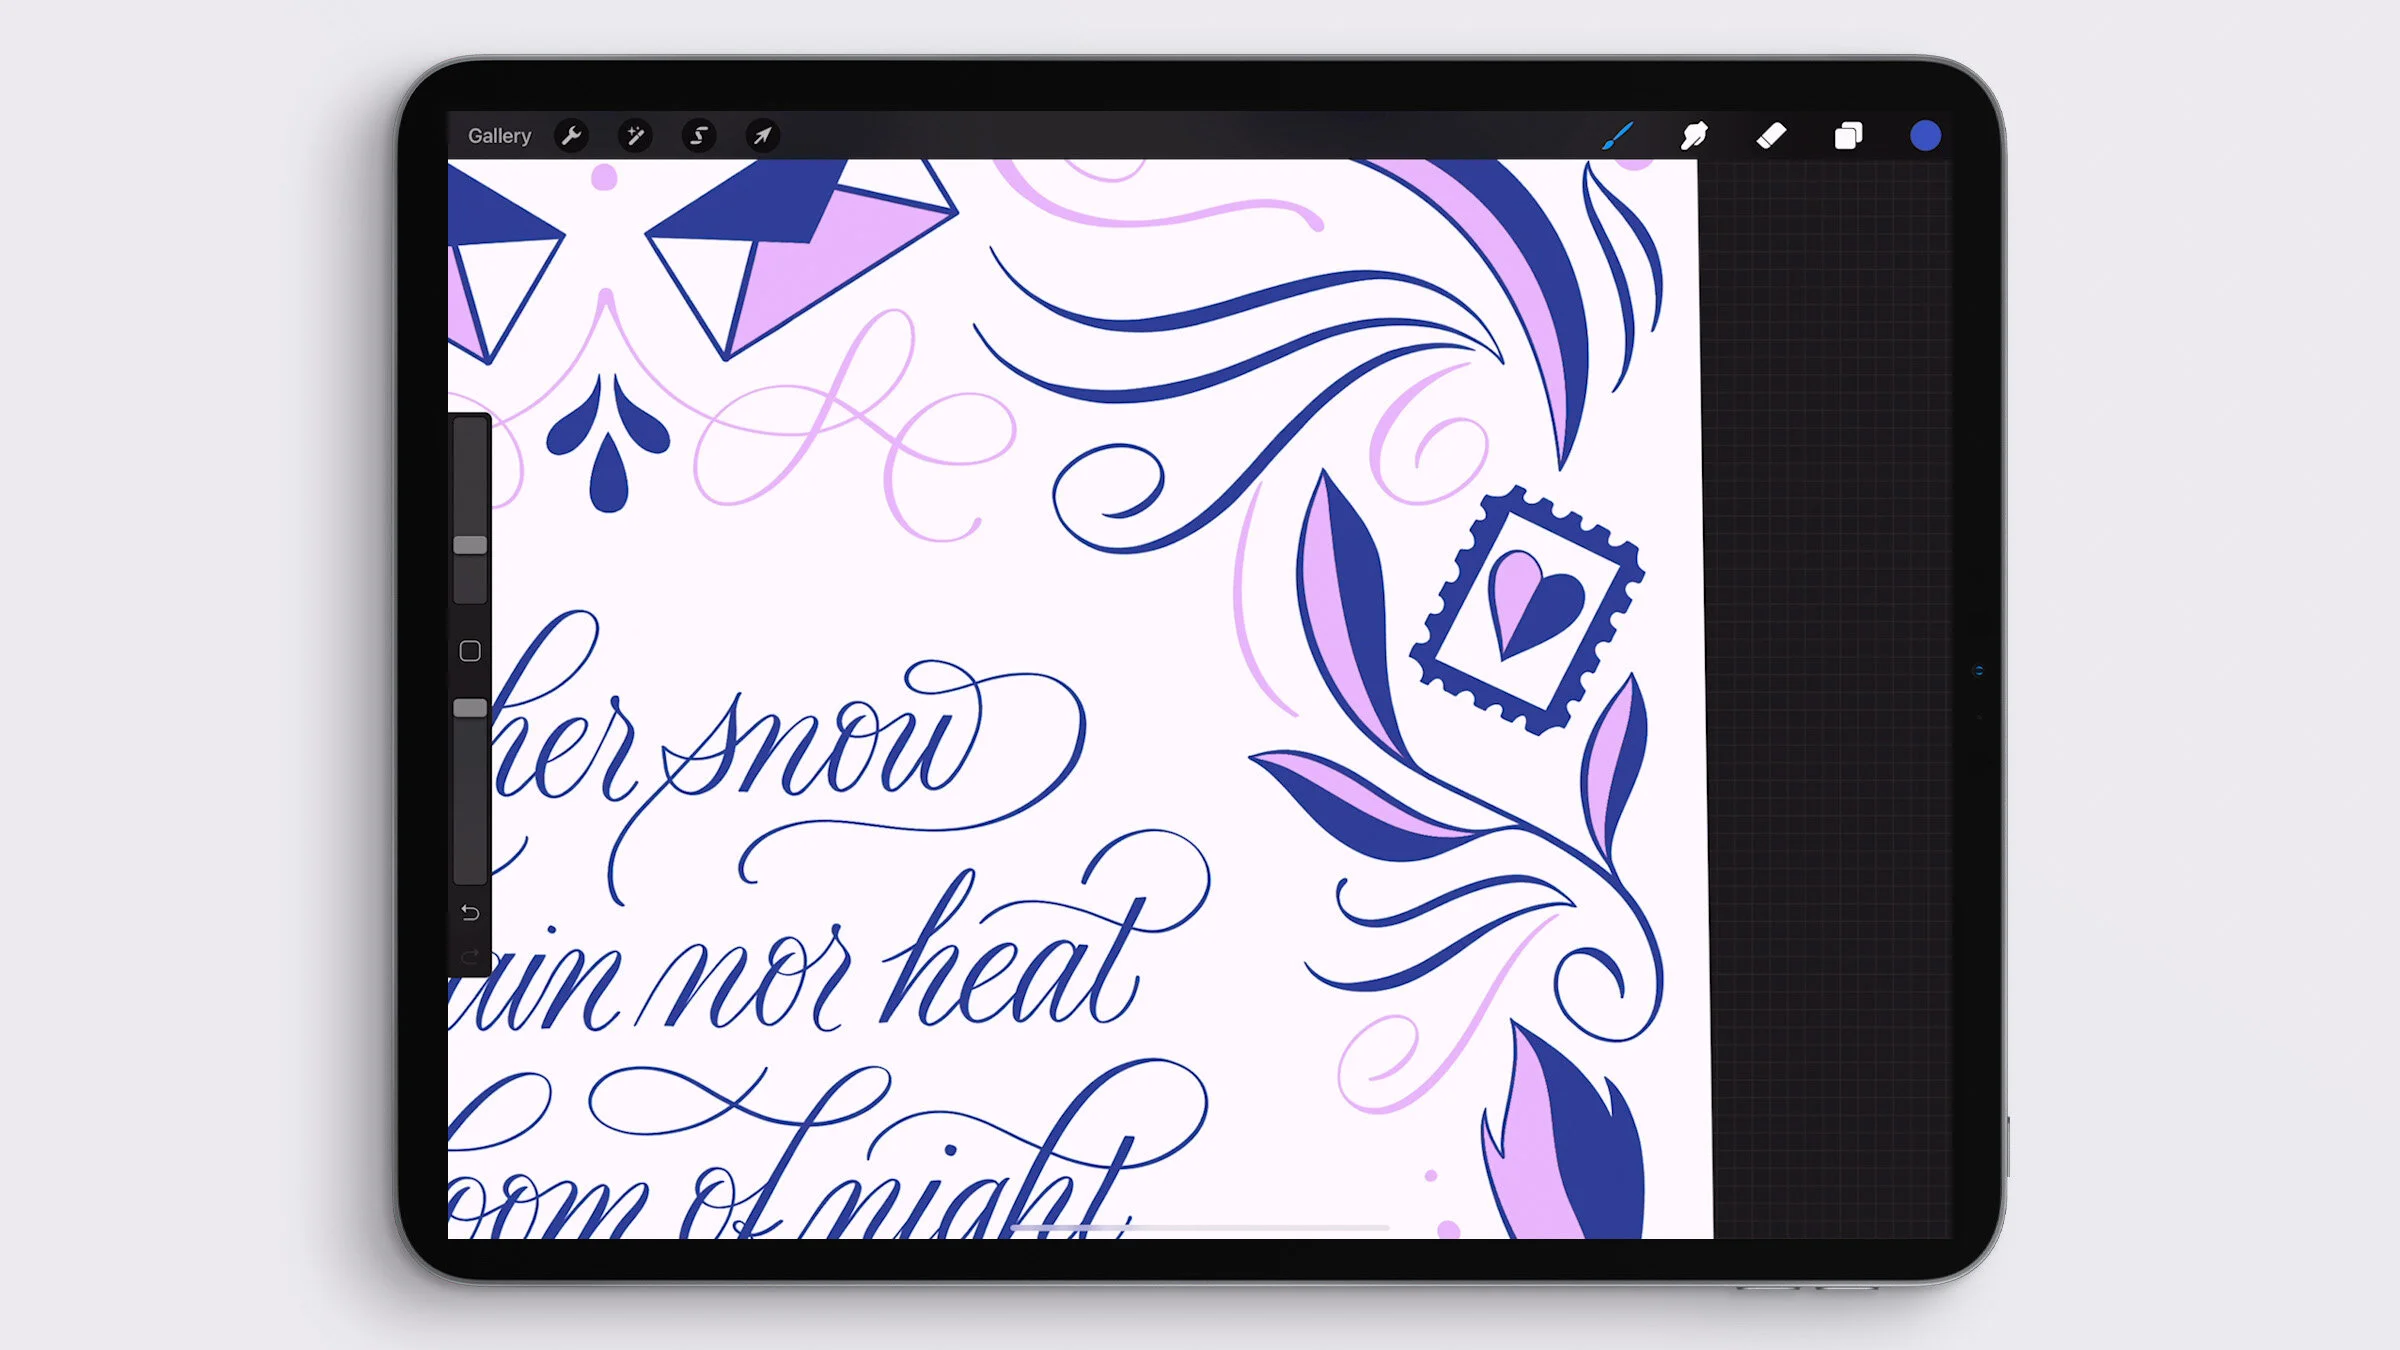
Today’s video is a combination of a few things. First, I continue my new “Practice with Me” series, where I use one of my free flourishing practice sheets to create a calligraphed layout. Then I draw a flourished, decorative border to complete the design, using illustrations that go with the text. And finally, I recolor the piece to show you some fun techniques in Procreate for quickly coloring your artwork.
Video Transcript
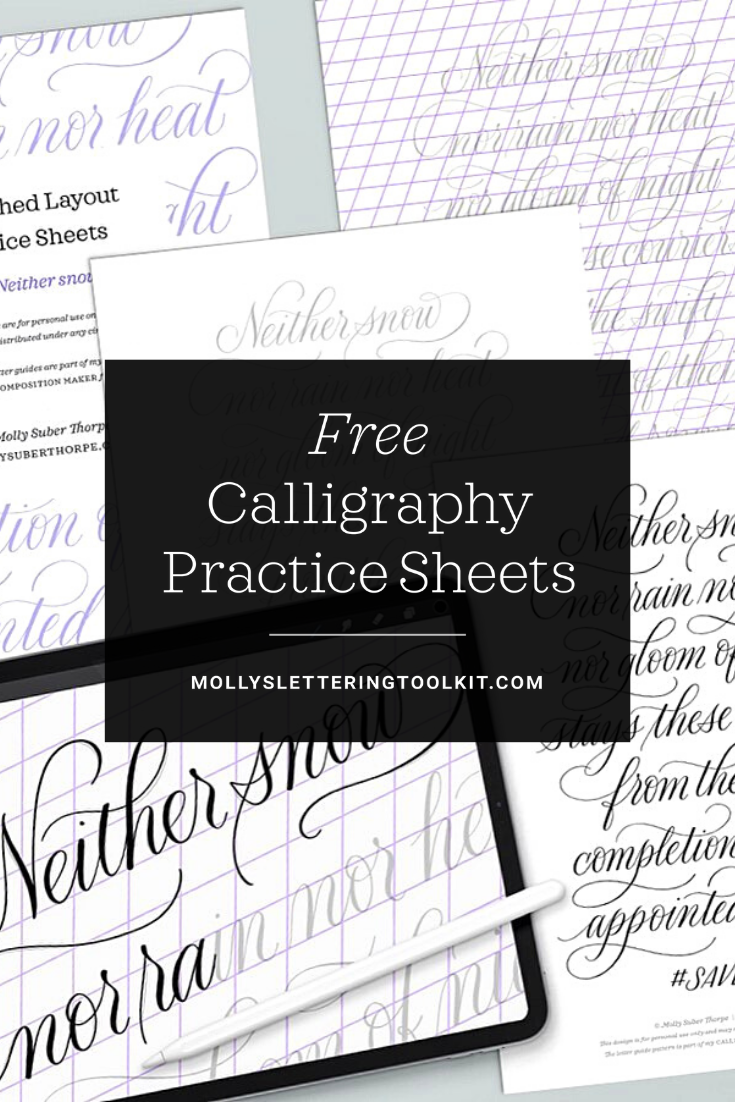
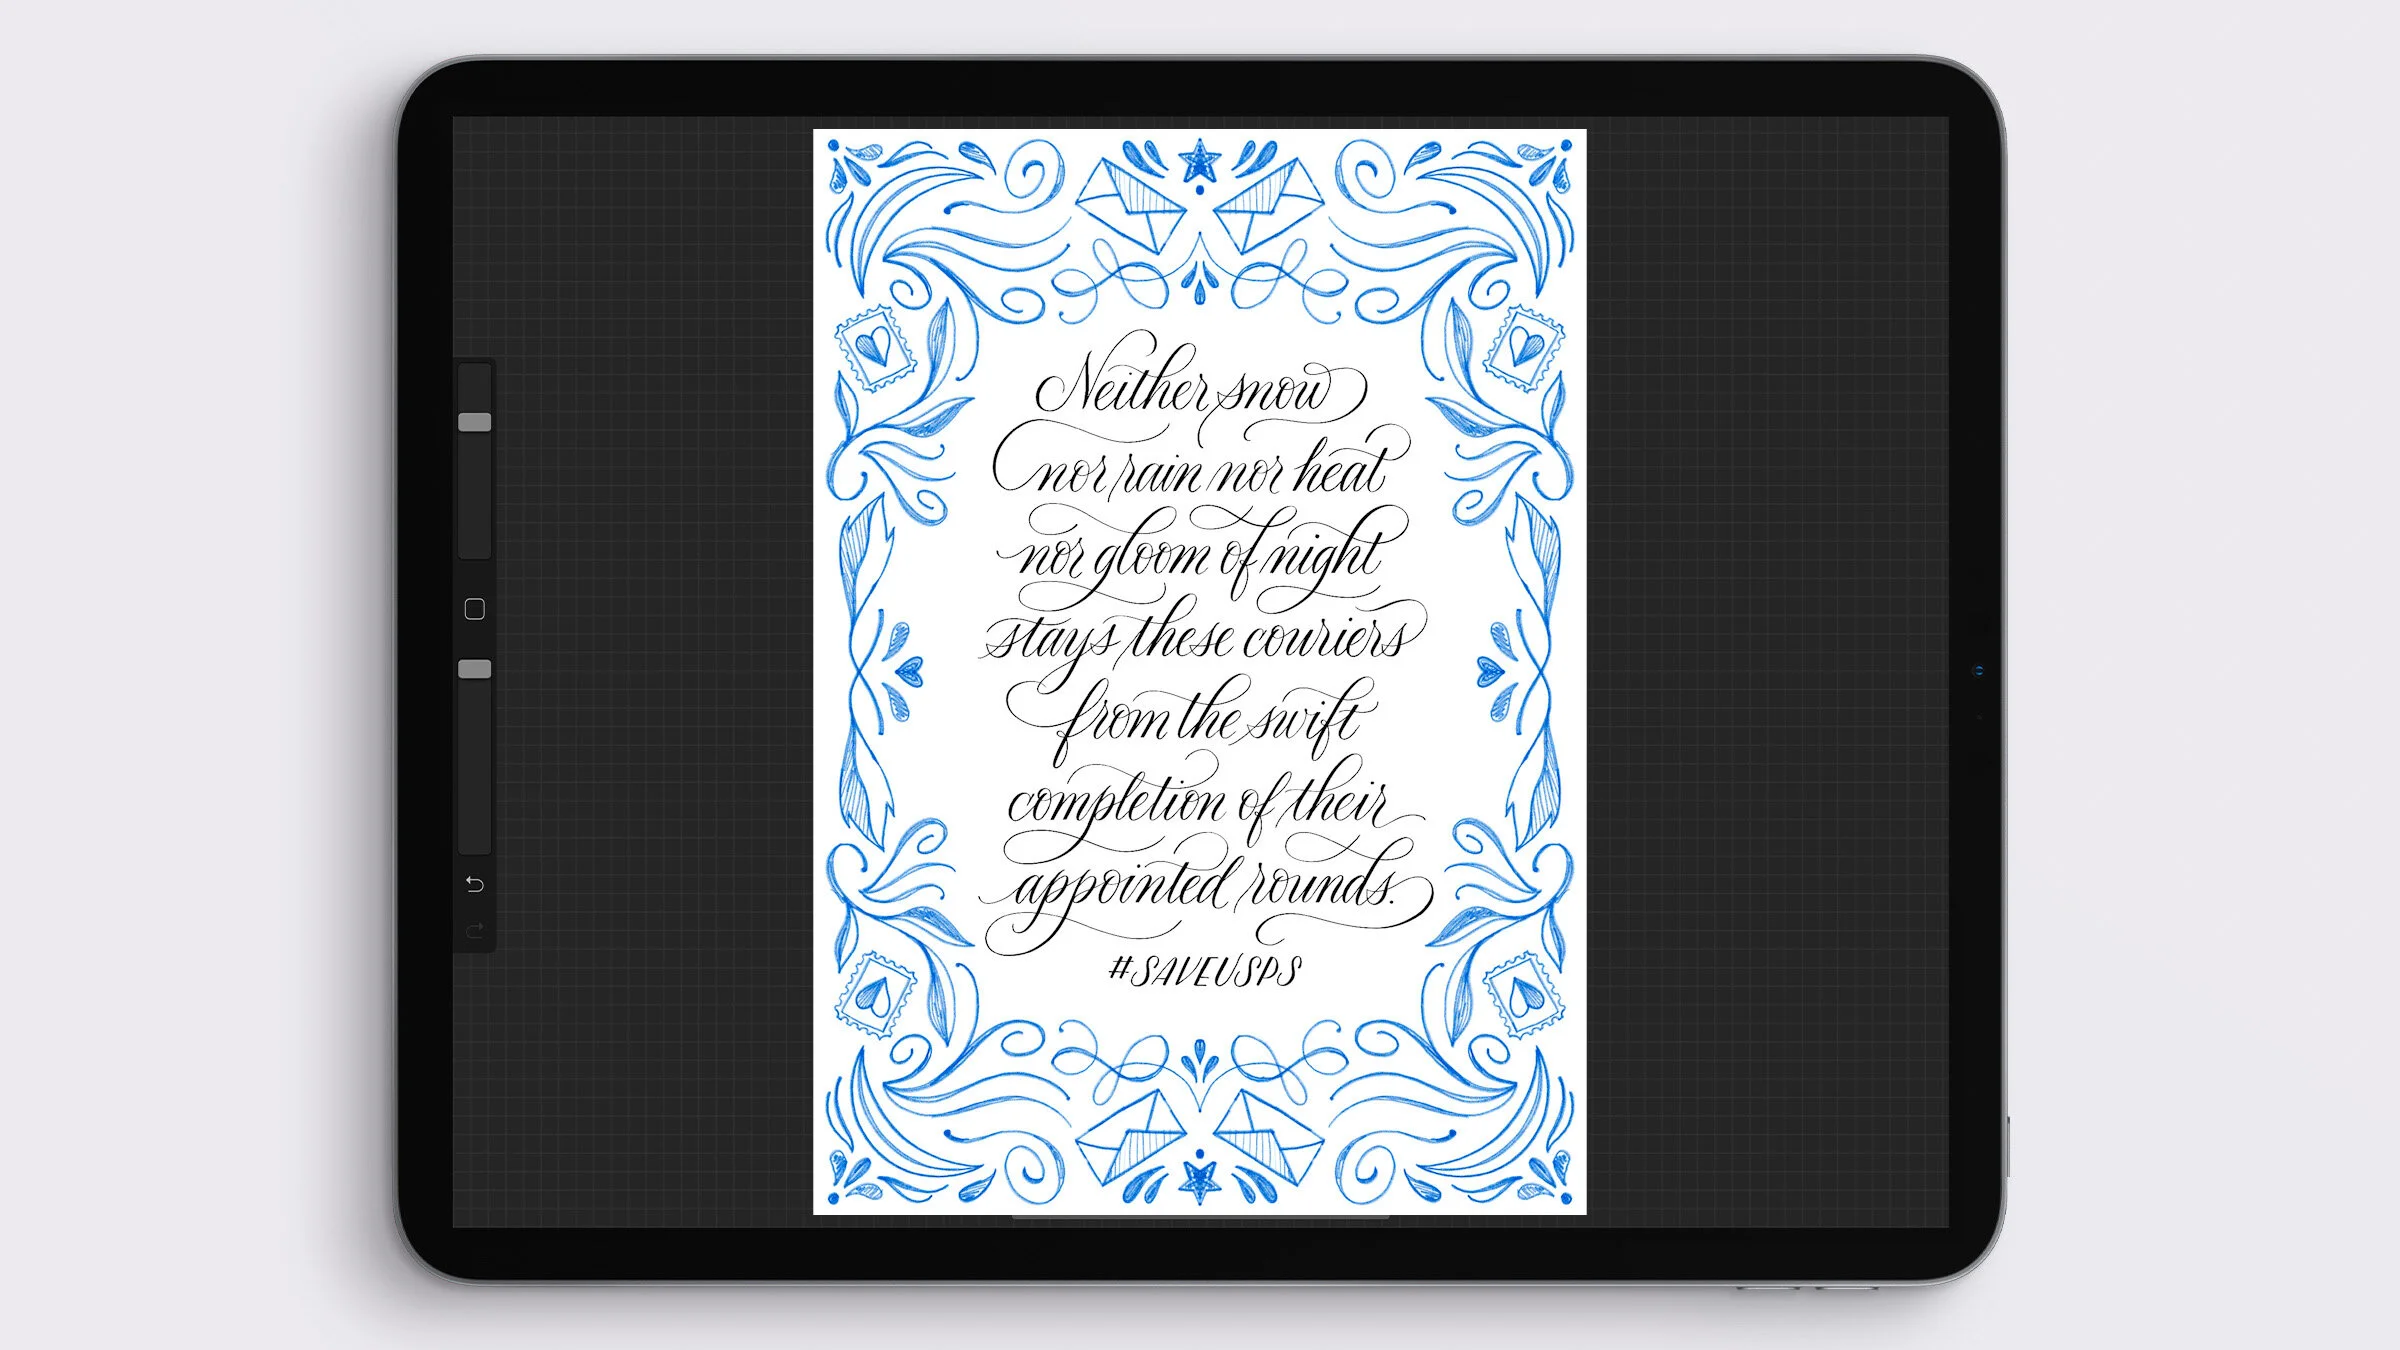
The design I’m calligraphing today is my Neither Snow Flourishing Practice sheet, which is available for free to my subscribers in both printable and Procreate formats. Click here to register and download it so you can follow along with me! You’ll also find a link to the last Practice with Me episode I did, which was showing you a different freebie – a cursive alphabet style called Everlasting Monoline.
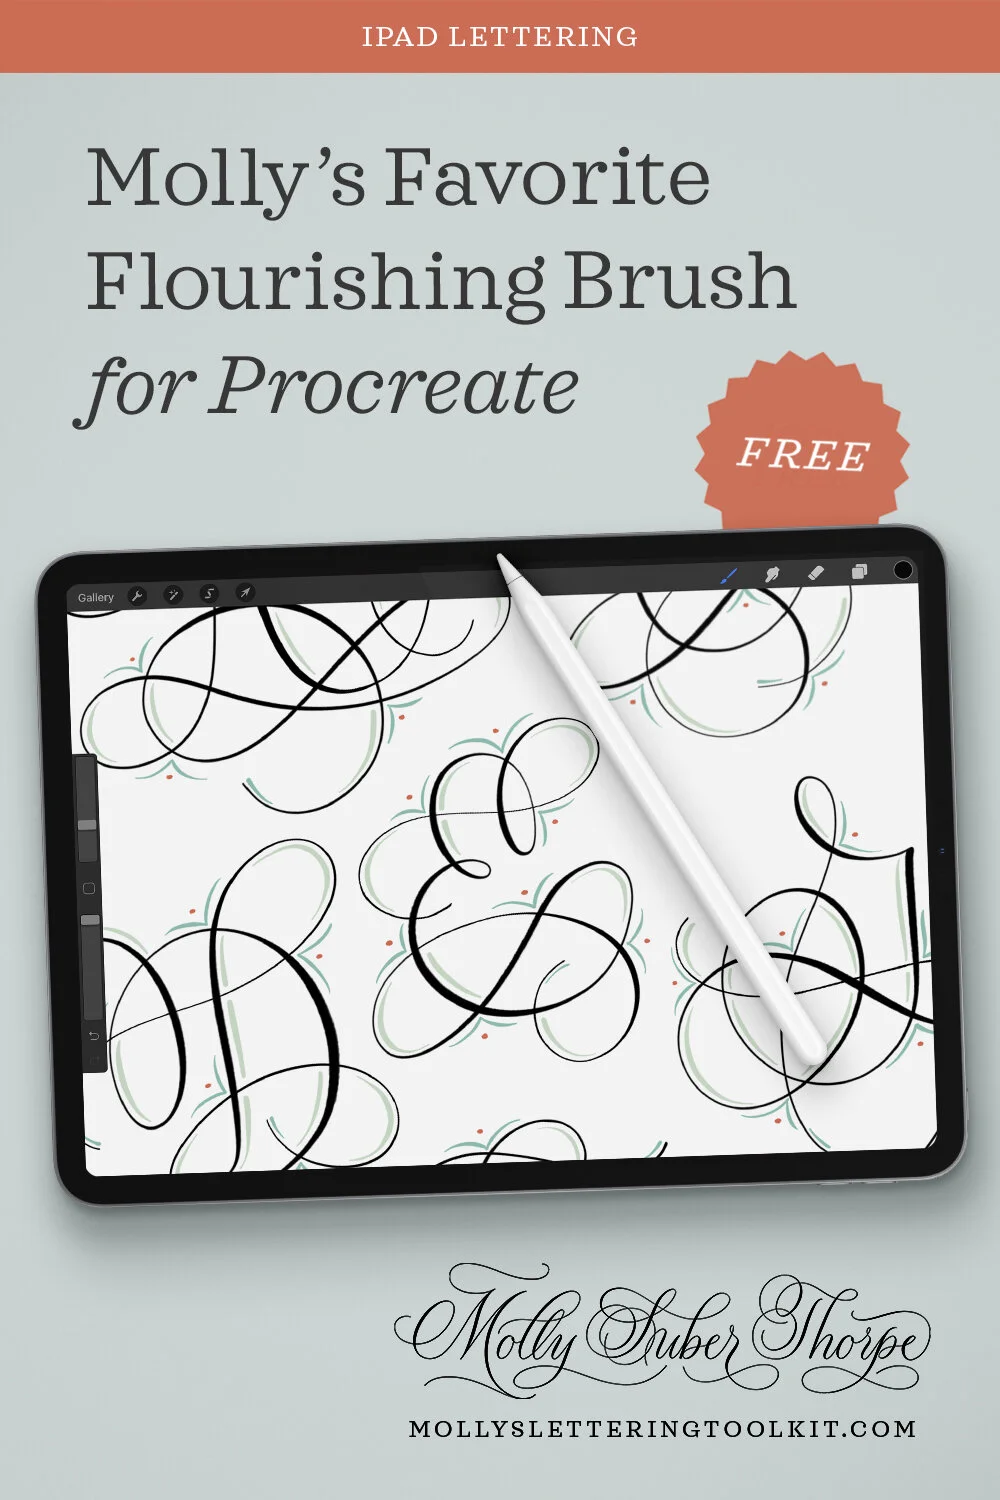
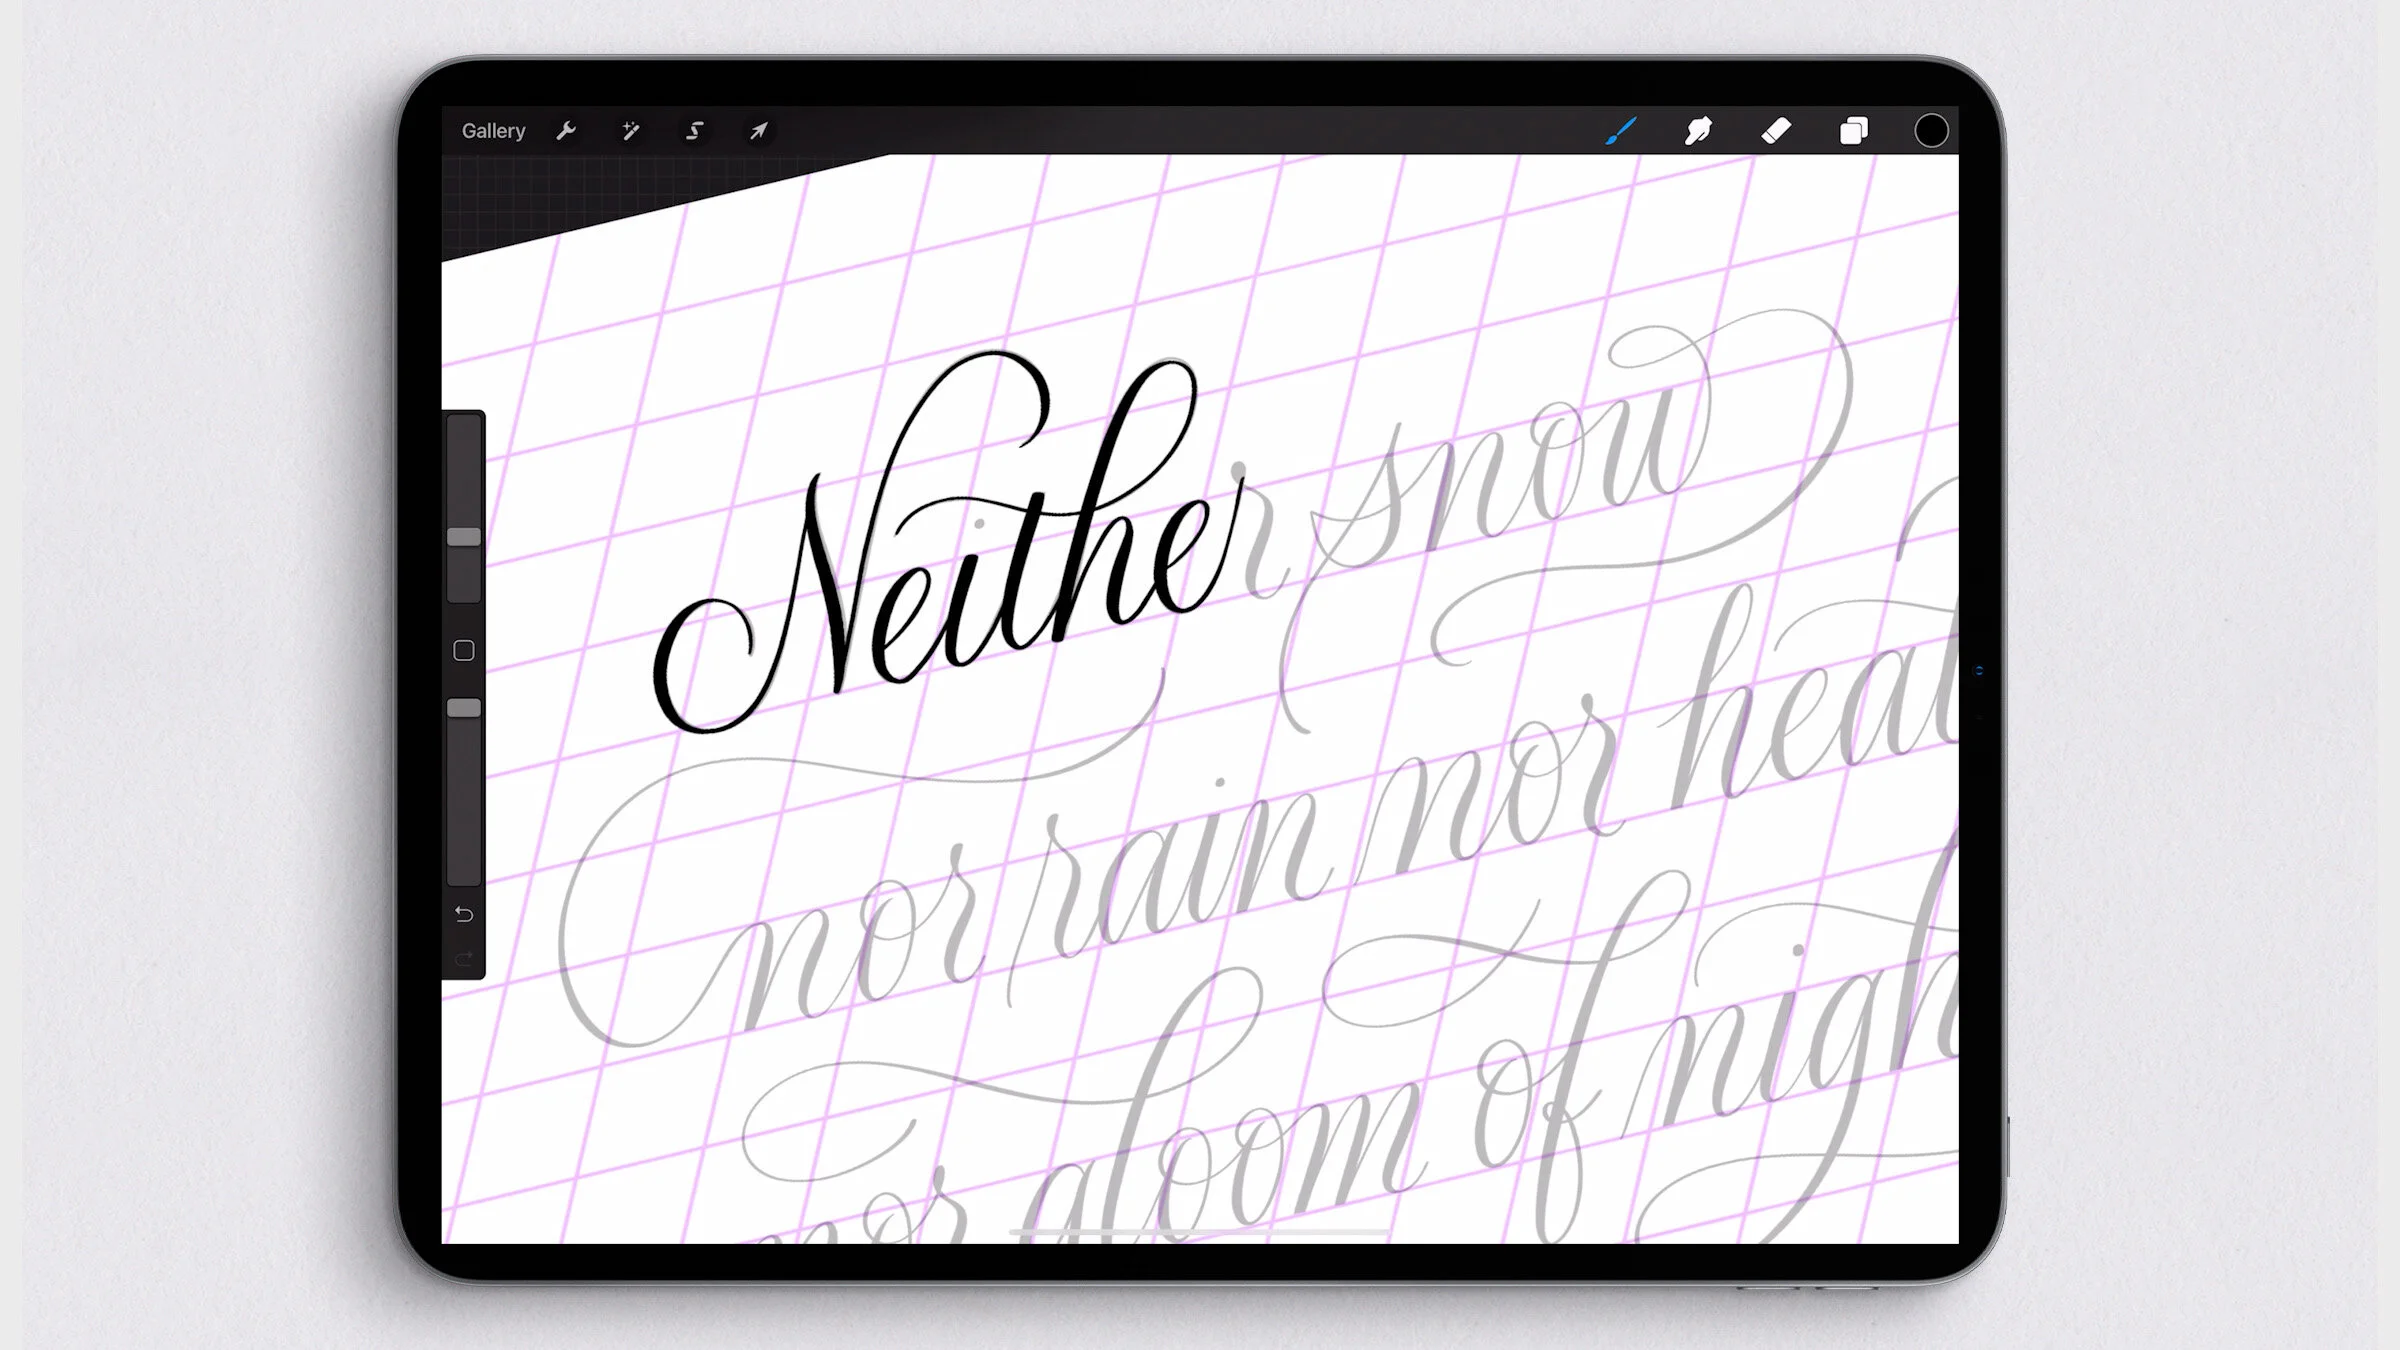
To start here, I have opened the Procreate practice file that comes in my free download pack. You’ll find this is a layered file that contains a lettering grid, a light gray version of the artwork, and a “DRAW HERE” layer where you yourself can trace the calligraphy. I’m using a brush from my Calligraphy Nibs Procreate Brush Pack. However, my free toolkit also includes a free Procreate calligraphy brush. I call it Molly’s Favorite Flourishing Brush, because it is precisely that.
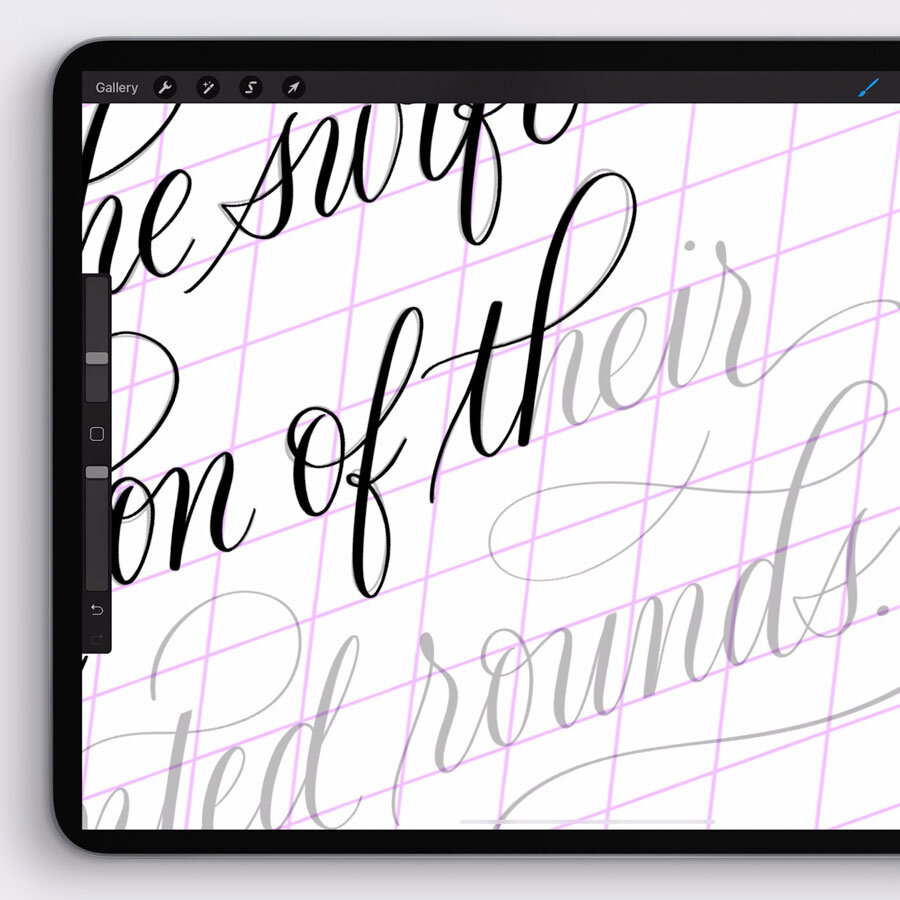
So to get started, I’m selecting black from my palette, I’m choosing my calligraphy brush, I’m making sure I’m on the DRAW HERE layer, and then I’m tracing the calligraphy.
Whether you’re a beginner calligrapher or advanced, I think everyone can get something out of occasionally tracing letters. For one, it builds crucial muscle memory, keeping your arm nimble and reinforcing the small movements required to make letterforms.
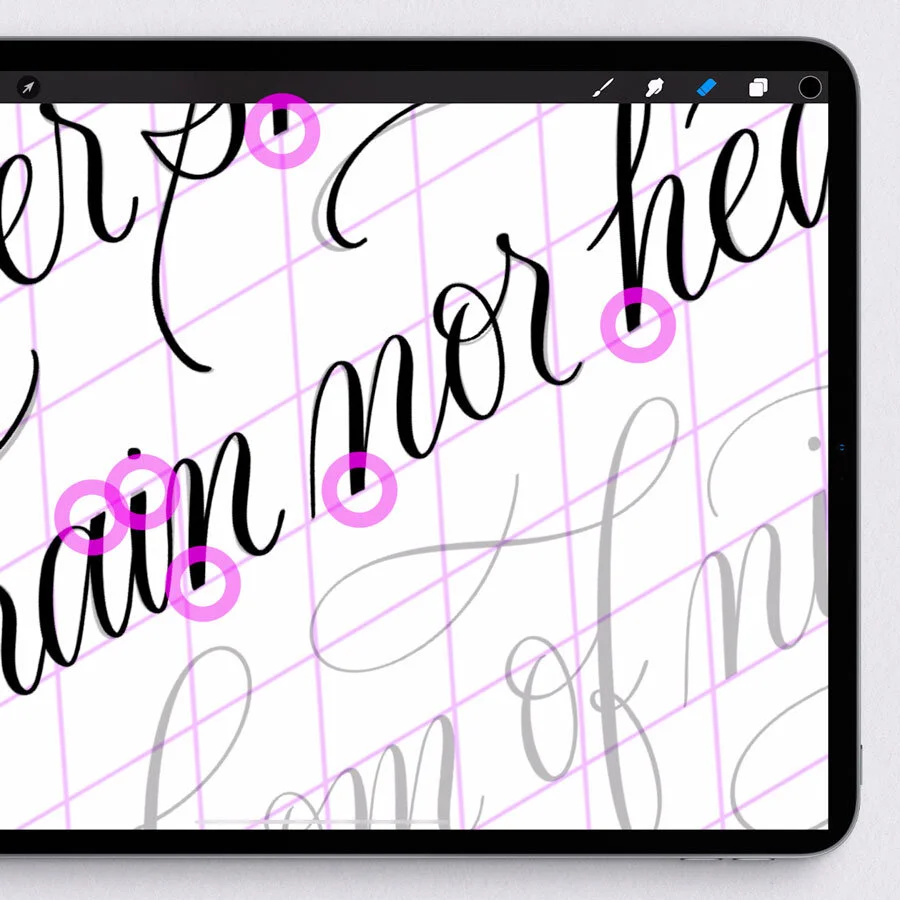
Second, it’s great practice for pressure. My Procreate brushes are really pressure sensitive. I worked hard to make them as close to the pressure sensitivity of real pointed calligraphy pens. Getting these thick downstrokes and thin upstraokes is a huge part of calligraphy practice. Making them uniform comes with time – time spent practicing.
And the third way that tracing can be a wonderful exercise is simply that it’s meditative. The work of thinking what to draw next has been taken out of the equation. So, a bit like a coloring book, it’s a great way to tune out the noise of the world and relax.
Whether you follow along with me or not, and whether you’re using an iPad or a dip pen and ink, I hope that watching me work gives you insight into stroke direction, speed, pressure, flourishing, and overall workflow.
One of the ways I want to increase the formality of this calligraphy style is to straighten – or sharpen – the ends of downstrokes. You can see that after each line, I’m going back in with my eraser tool and cutting off the curved end of each straight downstroke. Most of these are along the baseline but some, like the top of a “t,” are not.
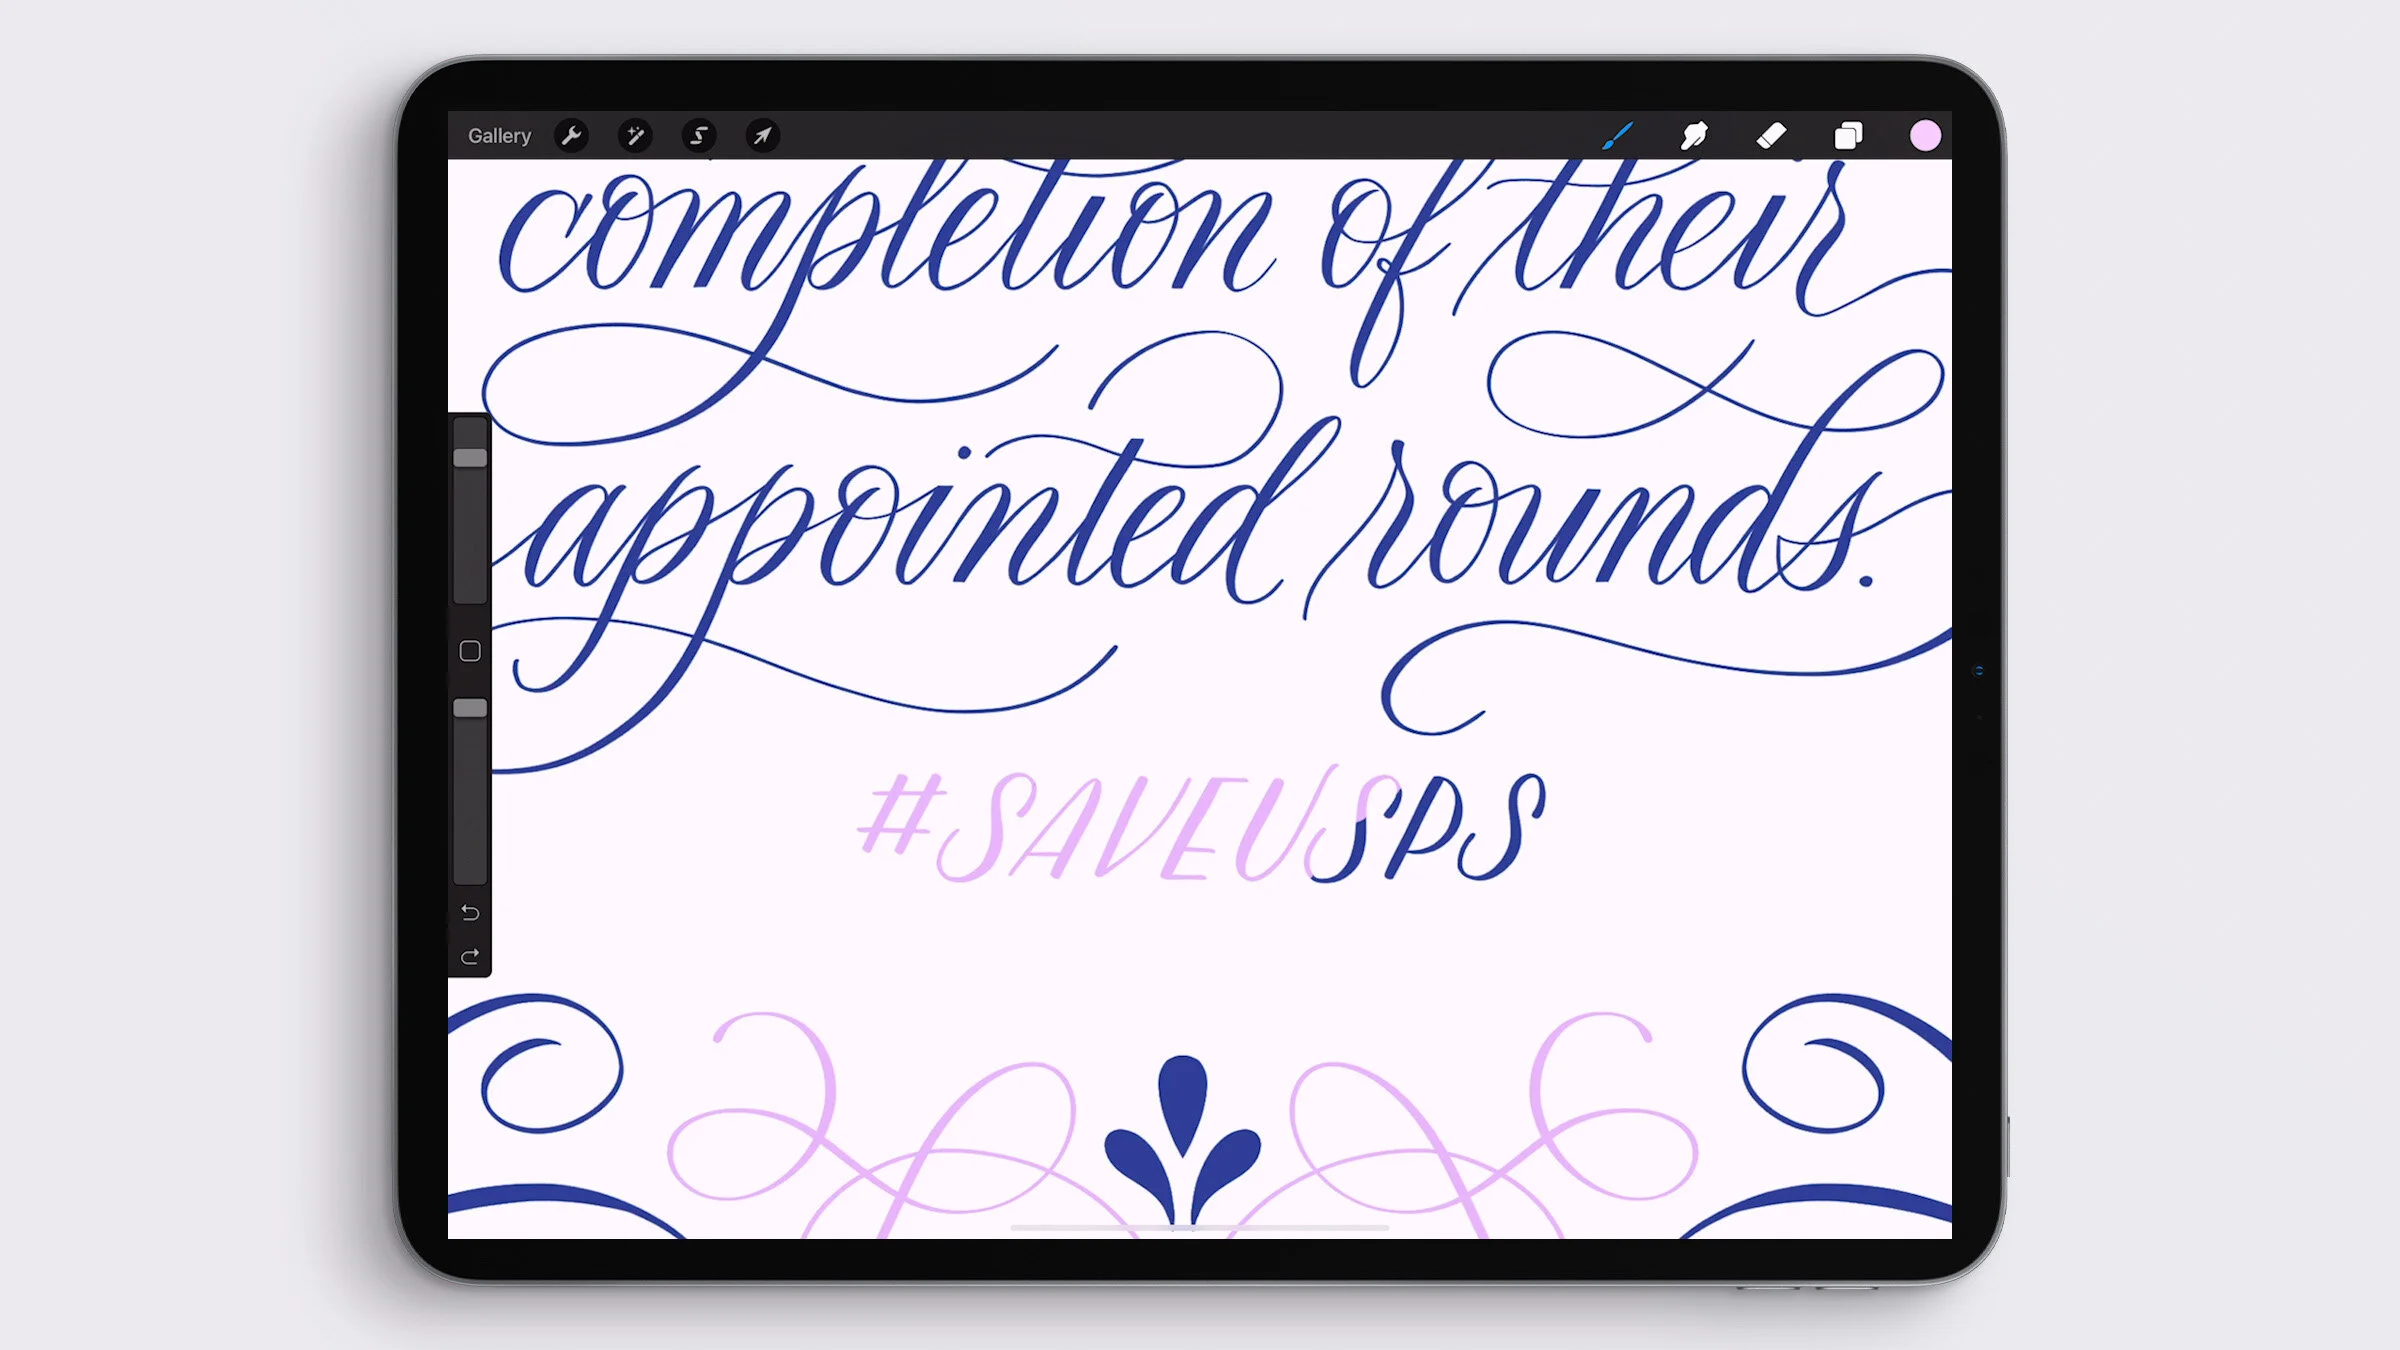
If you’re curious what this text actually means, and why it ends with #SAVEUSPS, I’ll give you a little background. This is the unofficial motto of the United States Postal Service. Over the past year, the USPS has struggled financially to stay afloat, and been forced to make unprecedented cutbacks. As such, lots of us have wanted to show our support for mail service, and find ways to help it back on its feet.
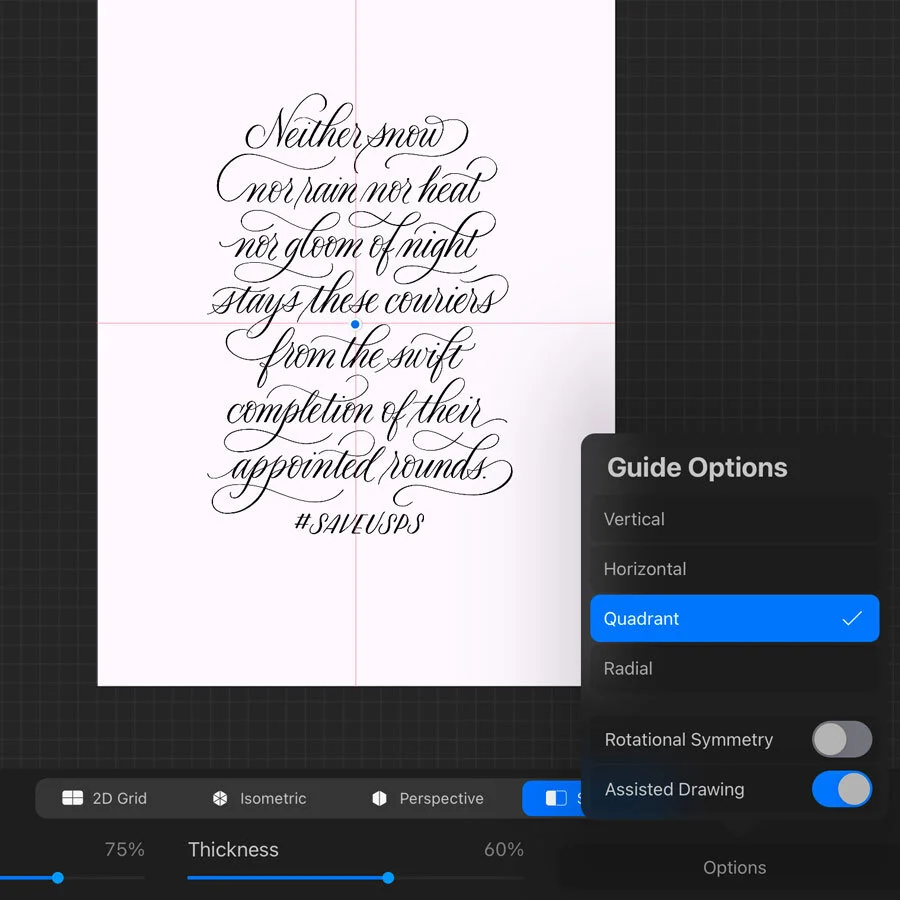
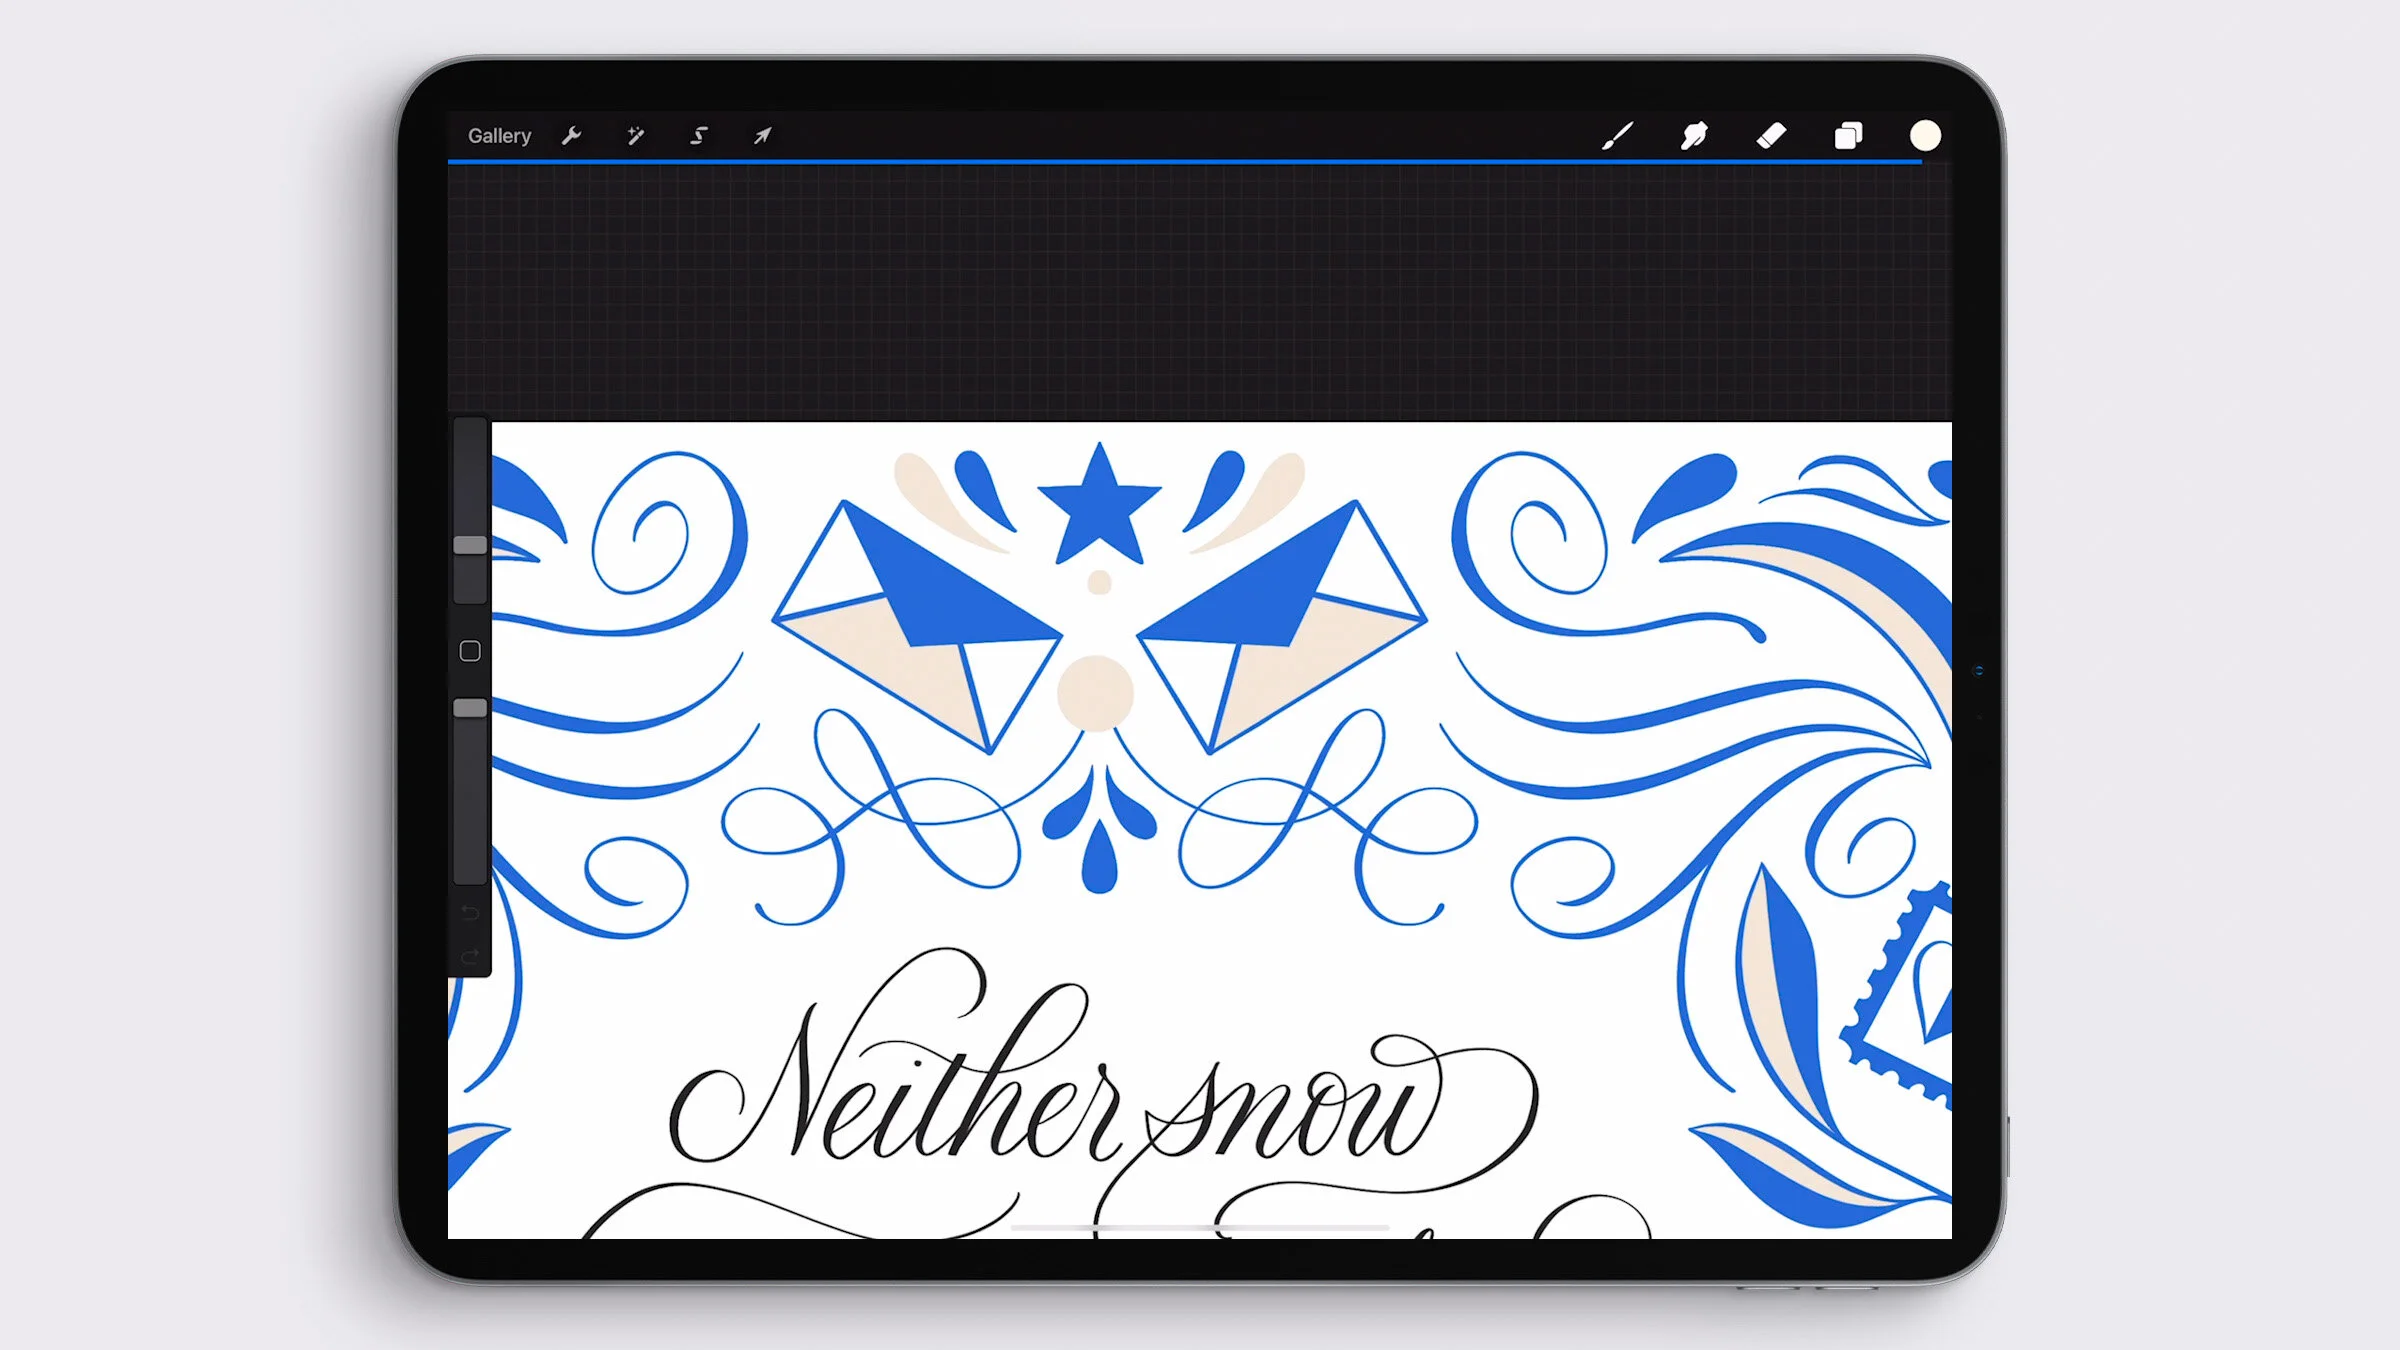
To draw our border, I’m going to utilize Procreate’s symmetry guides. I have lots of videos using these guides in different ways, like creating radial mandalas and mirrored flourishing. I’ll link those below. Today I want to make a border that is symmetrical on all four sides, meaning the top and bottom are mirror images of each other, and the left and right sides are as well.
Do this by going to Settings (the wrench icon), and turn on Drawing Guide. Immediately click Edit Drawing Guide and select the Symmetry setting. Then click on Options, and turn on Quadrant Symmetry. Make sure that Assisted Drawing is turned on as well. Don’t turn on Rotational Symmetry for this type of drawing. It affects the mirroring in a way we don’t want today.
When you click Done, you should see that the layer you’re on has the word Assisted under it. This means your work on that layer will adhere to your guide. If you make a new layer, Assist won’t be turned on by default, so you’ll have to tap it once and select the Assisted Drawing option. You can turn OFF assisted drawing for a layer in the exact same way.
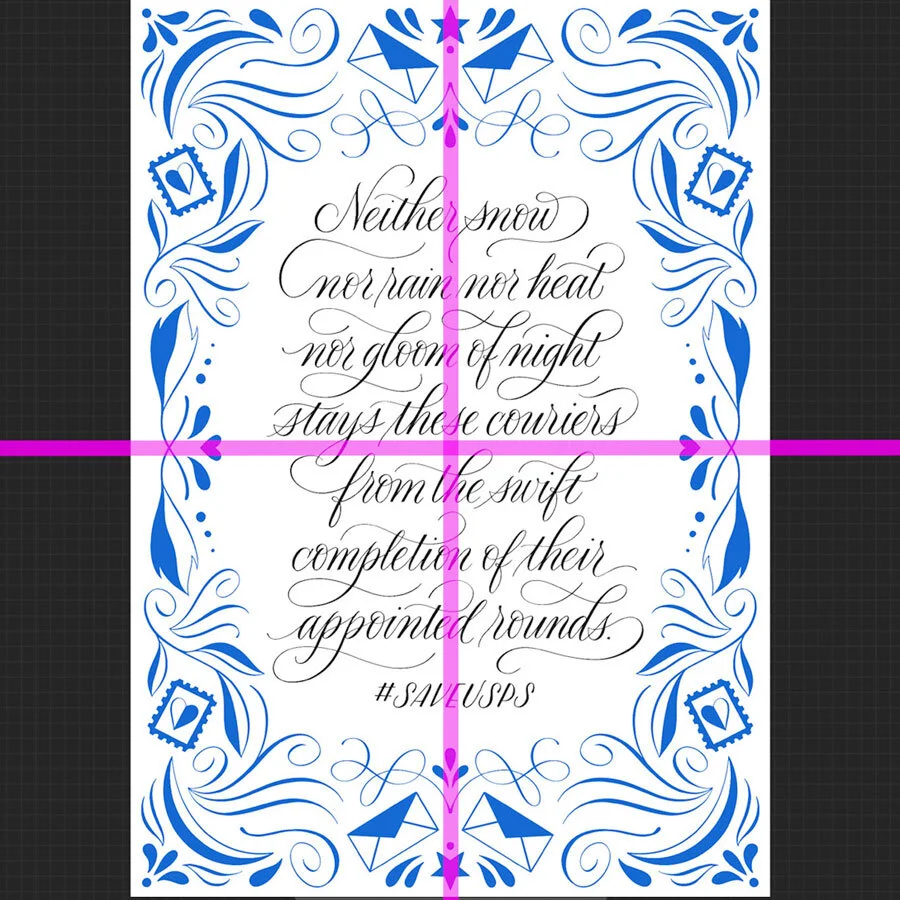
Now when you draw, like magic, your work will be mirrored four times – top to bottom, side to side.
With the border drawing complete, I copy its layer and turn it off, to save it as a backup layer before I make more changes.
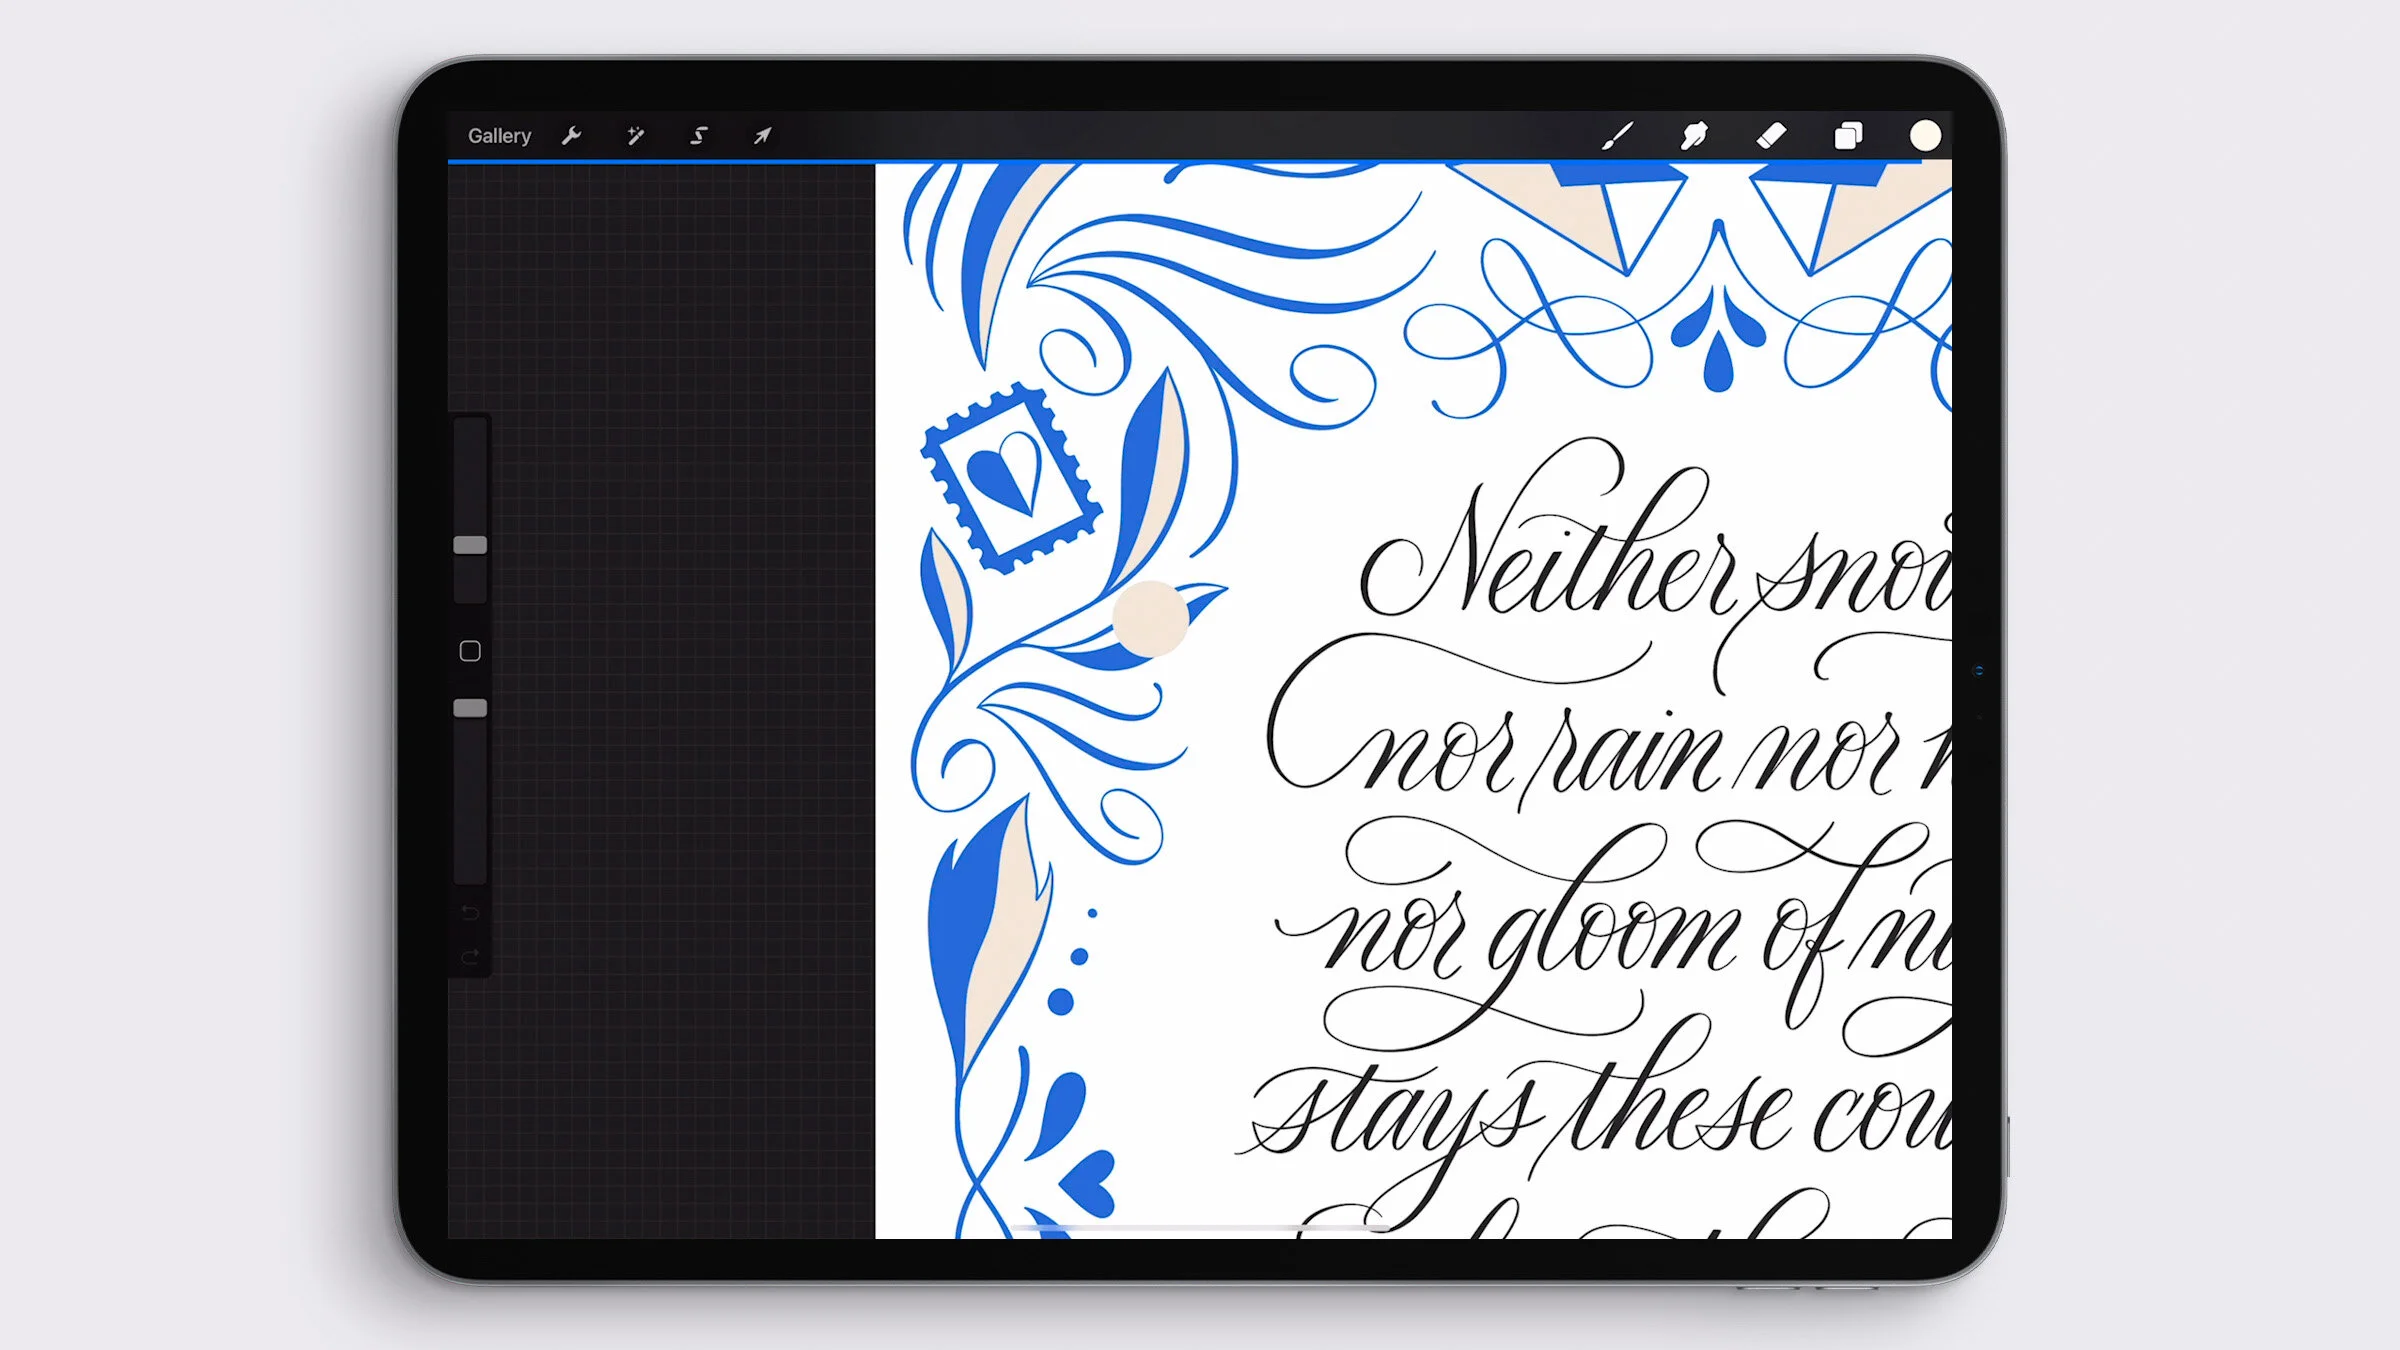
Now I’m selecting a contrasting color, and dragging it to fill various enclosed spaces throughout the design. I will show you how I further adjust this color palette afterward.
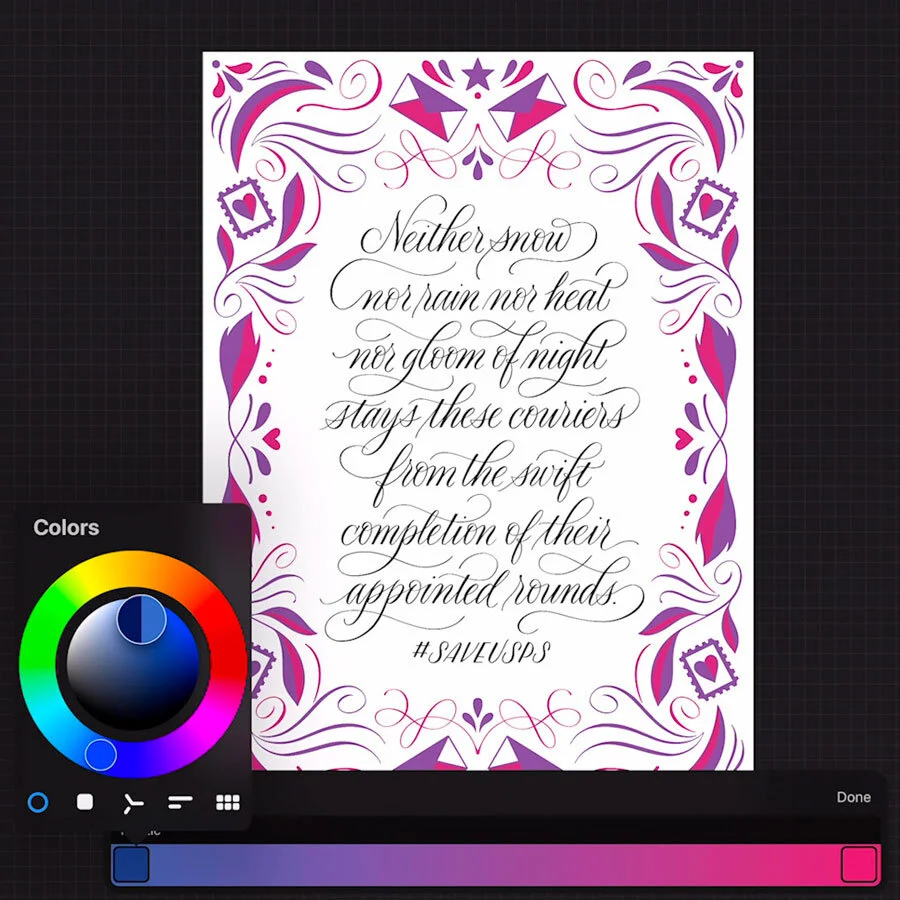
Here’s a fun way to adjust the colors of a layer. I’m going to the adjustments menu and clicking Gradient Map. Here I can click on any of the pre-made color gradients that come in Procreate, or I can tap one to customize it or make my own. I’m playing with a LOT of colors here!
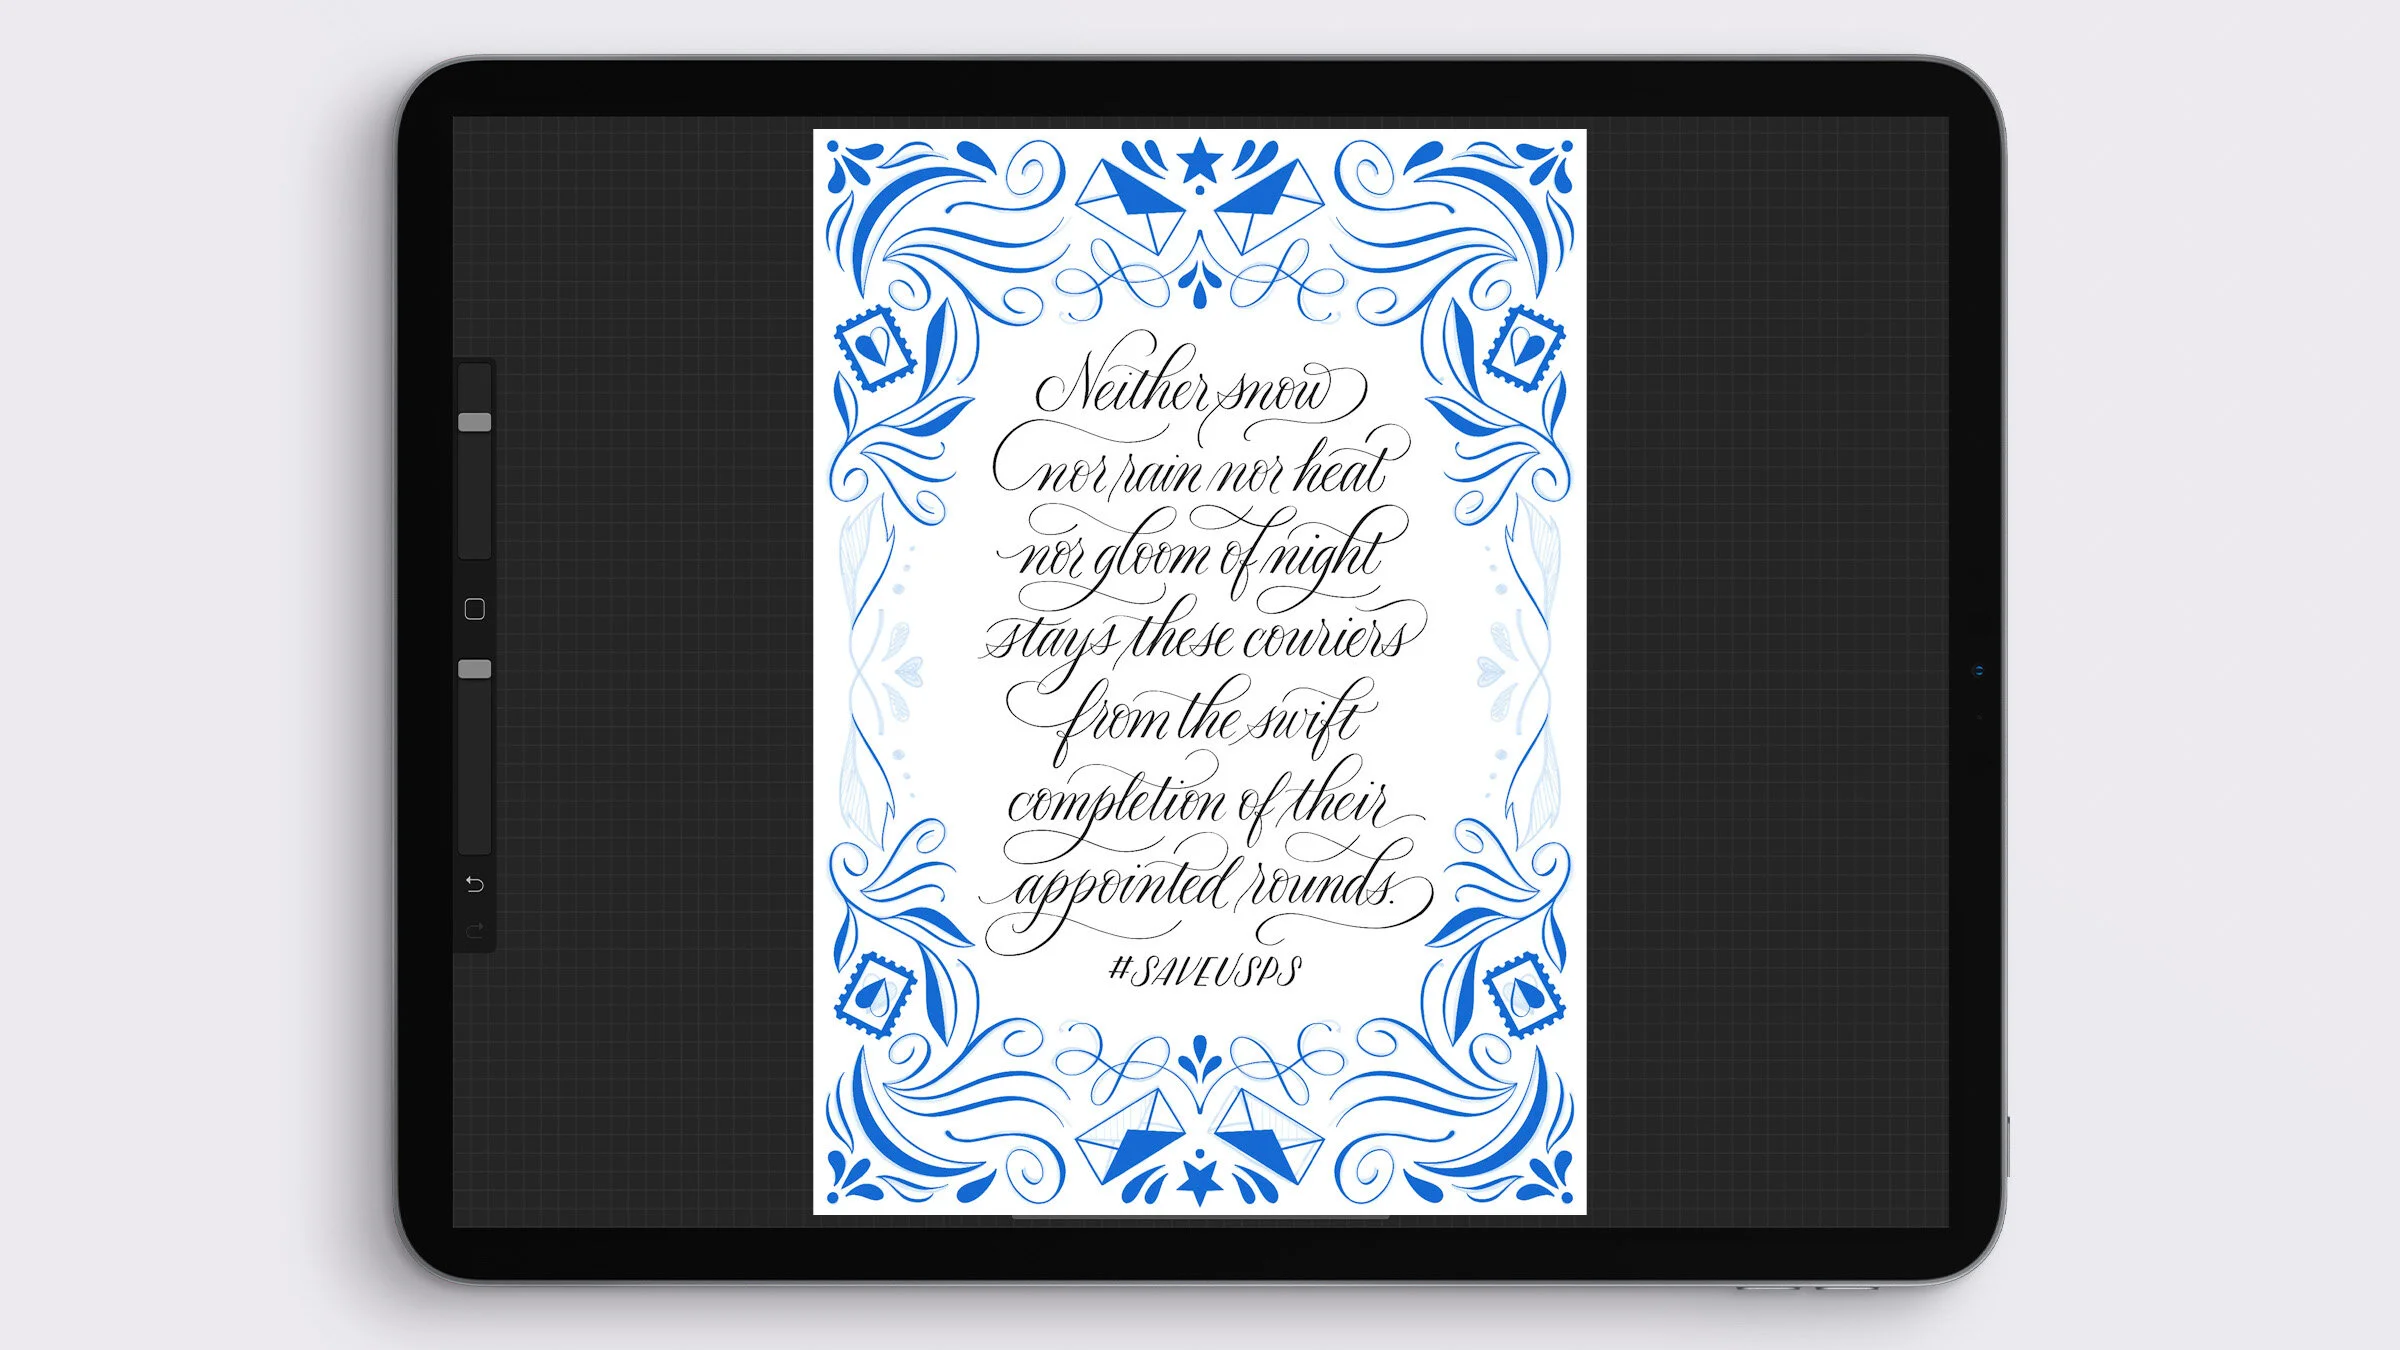
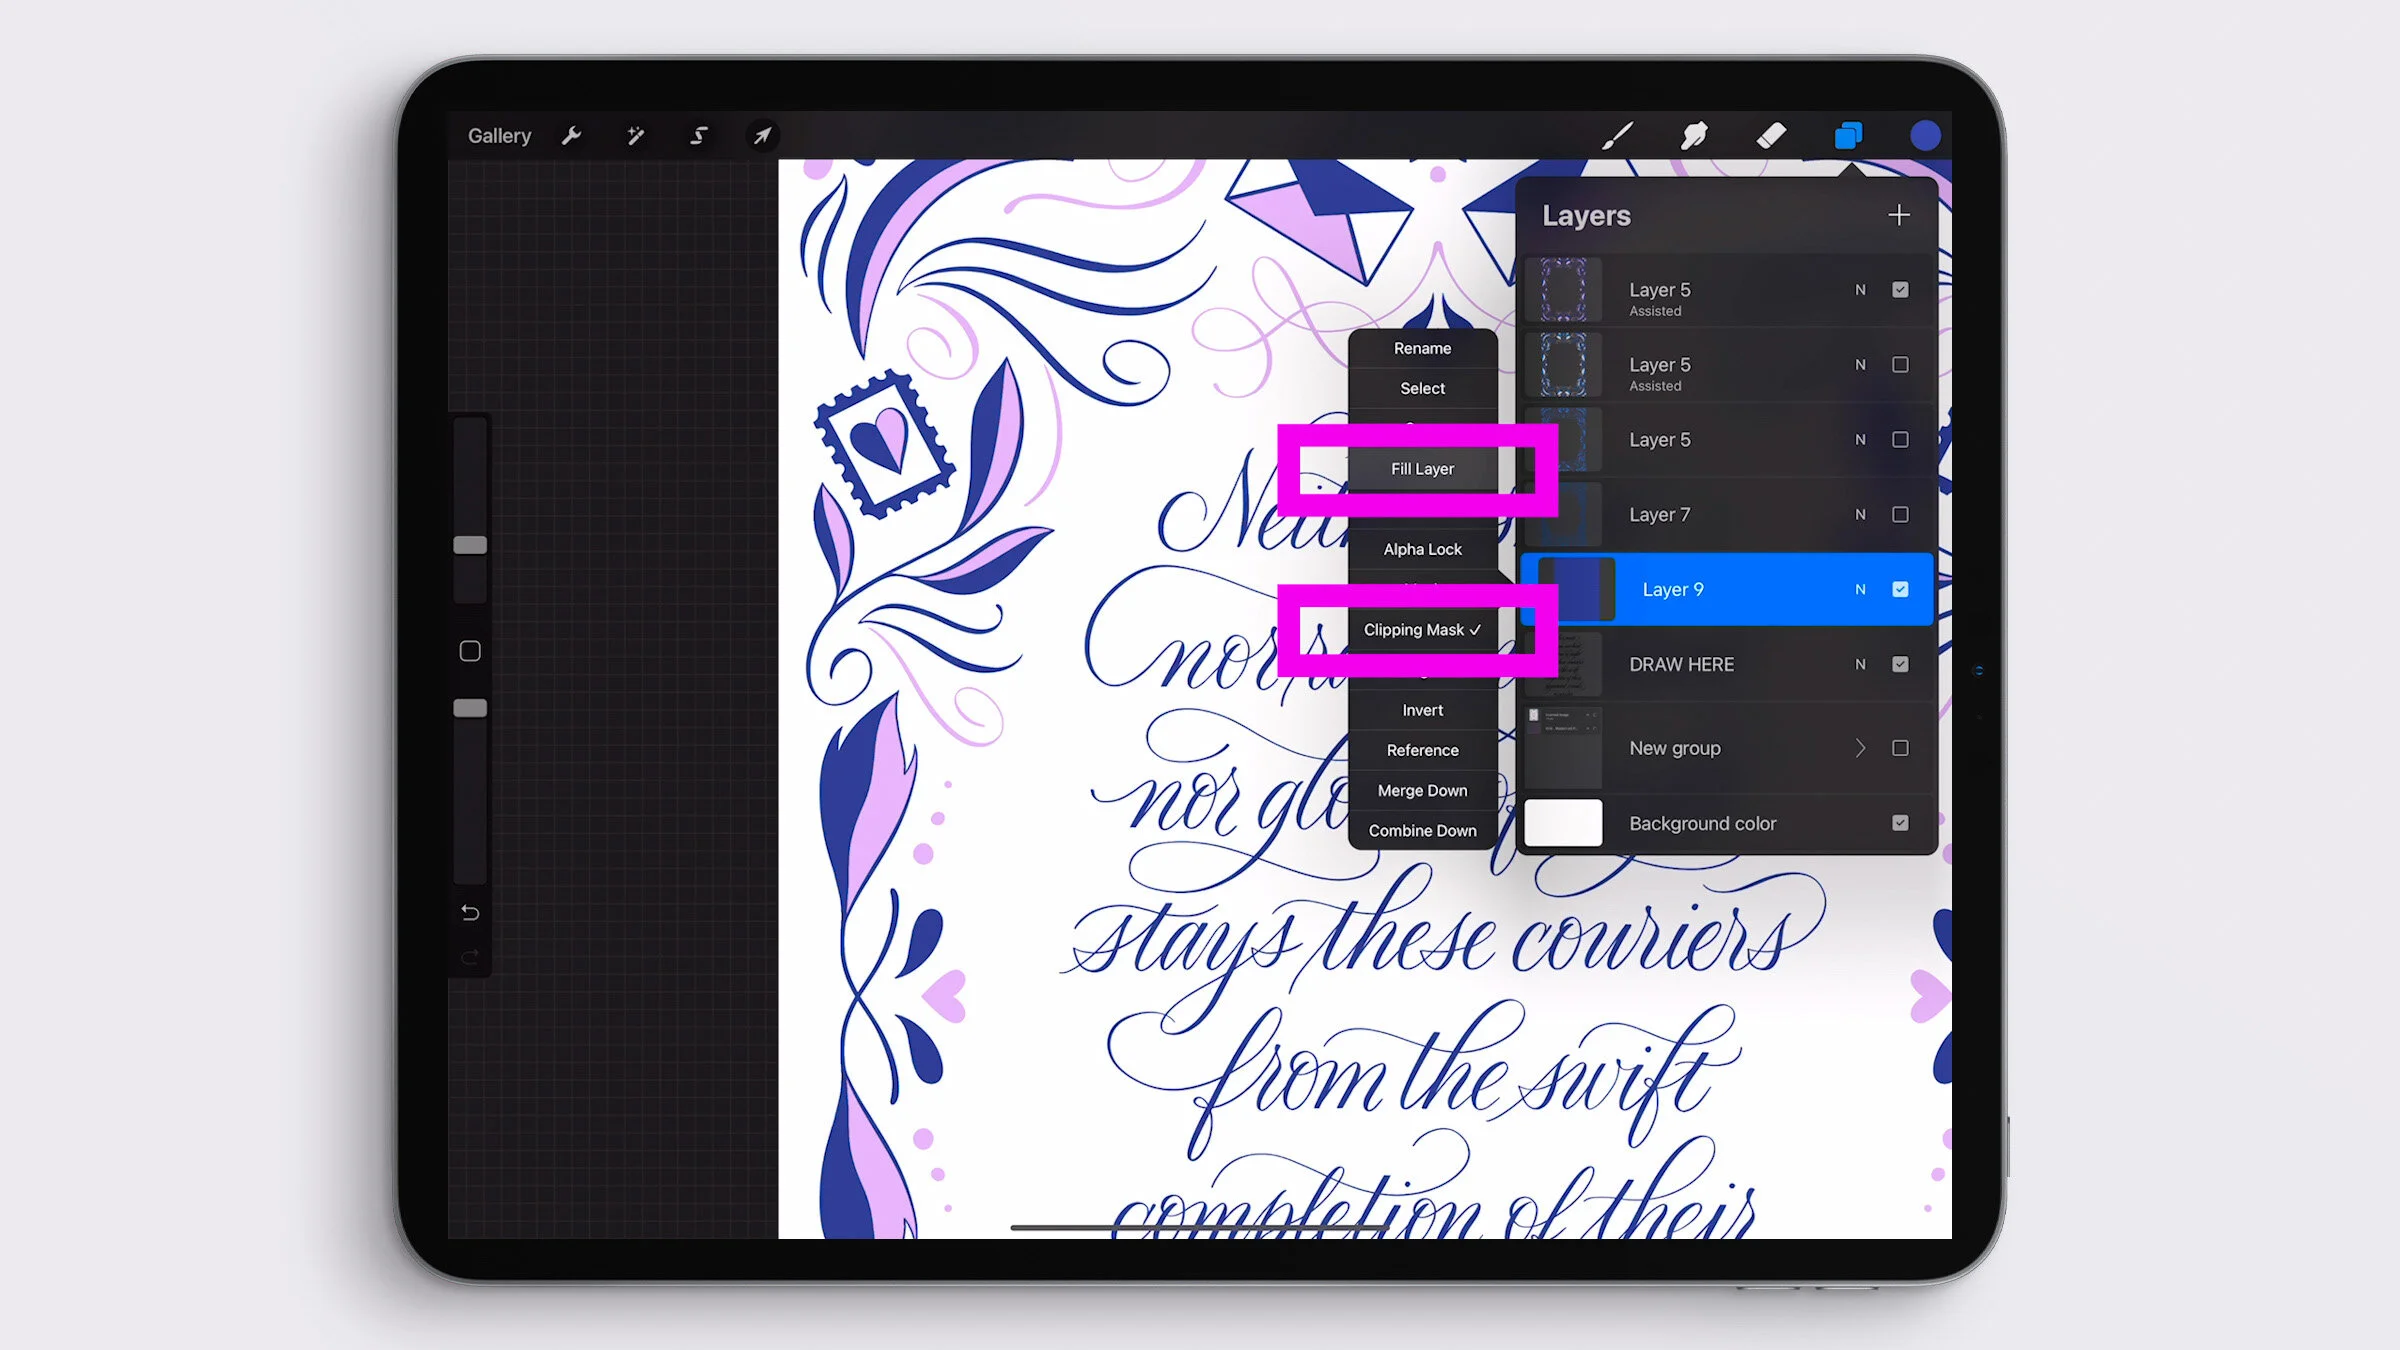
When I find a palette I like, I apply it to the calligraphy, too. Tap and hold the selection circle and sample the darker color. Make a new blank layer over the calligraphy layer. Tap it once and turn on Clipping Mask. Then tap it again and select Fill Layer. Now the color in your new layer is only applied to the content of your calligraphy layer.
Now sample the lighter color, and repeat this process: make a new layer, clip it into the calligraphy layer. But instead of filling it, we will only paint in accents. Today I’ll just paint the very last line.
And there you have it! A beautifully flourished calligraphy layout with a matching illustrative border. I hope you enjoyed watching this process, and will download the free practice sheets and Procreate flourishing brush so you can practice at home.
Here are more previews of the the techniques you will see in the video:
Resources
Free practice sheets & Procreate brush:
Molly’s Free Lettering Toolkit
Procreate brushes used in the video:
Pencil brush that comes in Procreate
Calligraphy & Illustration Brush:
“Fine Point Calligraphy Pen – Smooth”
from my Calligraphy Nibs Procreate Brush PackTOOLS USED:
Procreate App
12.9" iPad Pro (4th Generation)
Apple Pencil
Touch screen glove
MORE videos using Procreate symmetry guides:
Calligraphy Symmetry Art in Procreate
Flourished Calligraphy Circles in Procreate
Flourished Calligraphy Border
Calligraphy & Illustrations Time Lapse
Download my FREE Lettering Toolkit


Molly’s Lettering Toolkit is my free hand lettering bundle that’s always growing. I release a new free download roughly once a month, and add it to the ever-growing toolkit. This is an exclusive perk for my subscribers, so use the button below to register today and gain lifetime access.
NOTE: If you are already my subscriber and just need the download link again, re-registering will not work. Please reply to any of my Saturday newsletters to request a new link.