Video: Wavy Modern Calligraphy Watercolor Layout
Happy Friday!
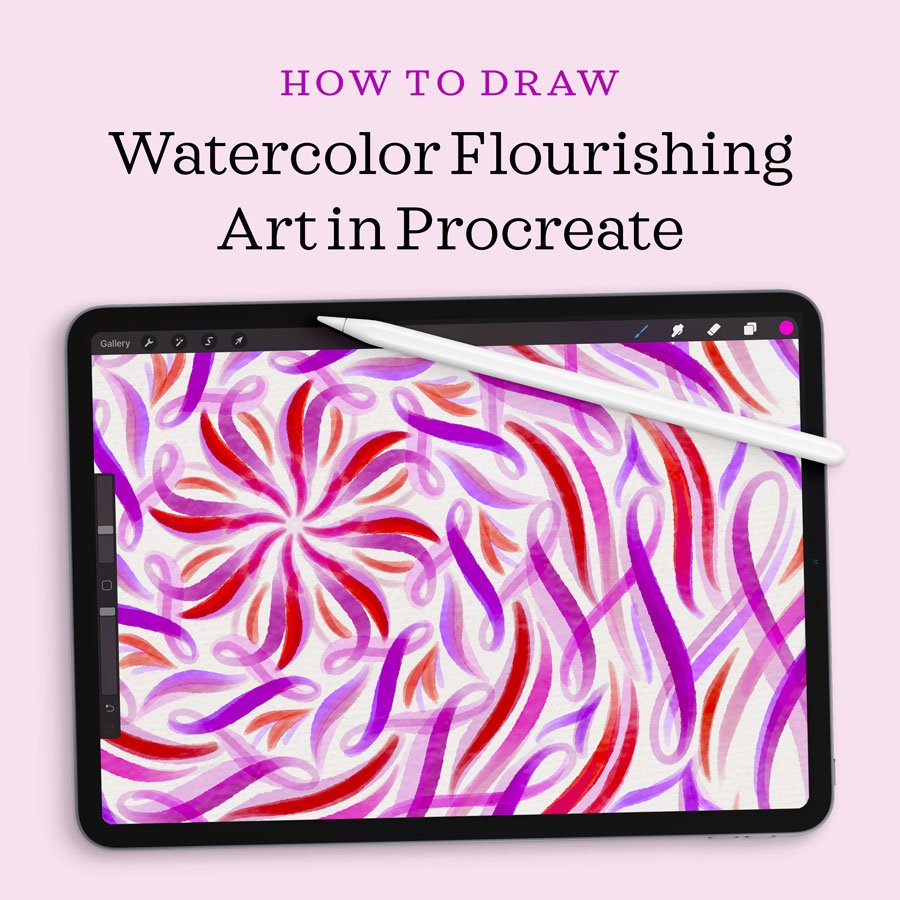
This week I’m demonstrating my newest Procreate kit: The Watercolor Calligraphy Brush Pack. I published a 20-minute demonstration and tutorial for it last week, so today I’m presenting a quiet layout design, using a fun technique that I like to use when I just want to relax and draw.
Written Instructions
I start with the pencil brush that comes in the Watercolor Brush Pack – Soft Graphite Pencil – and draw a lot of wavy lines across my square canvas. This is totally freehand, and I’ll use them as baselines that I adhere to only very roughly. They’re more like baseline suggestions than a hard and fast template! My composition will be fifteen lines long, so after drawing fifteen loose waves, I select them all and center the block roughly on my canvas. Reducing the opacity of the lines so they don’t distract me while I’m writing, I then make a new blank layer above them.
Next, I select the colors for my watercolor calligraphy. I’m using one of my watercolor ombré brushes, which means I want to select not one but two colors from my swatch palette (found in the upper right corner of the color palette window). These two colors will blend together as I write. Each brush in the Watercolor Calligraphy Pack has different paint characteristics, from opacity to pigmentation to edge bleed. So today I chose the Watercolor Script Brush #10 Ombré, because I want that color variation described above. Brush #10 is one of the many brushes in the pack that is great for delicate calligraphy and flourishes.
Now I write out my text along my freehand baselines, ignoring them where I see fit but at least using them a starting point! To create an even stronger sensation of waves, I connect the words themselves with long connector strokes, and make each line bleed off the edge of the page.
To make the most out of the ombré effect, lift between every letter, or every couple of letters. Then, when the lettering is complete, go back into the art with the Smudge Tool and Smudge Brush for Blending Stroke Overlaps and blend together the regions where you can see overlapping strokes. I explain this technique in depth in last week’s tutorial.
Creating a blank layer behind my artwork, I will paint in a realistic watercolor paper background. I do this by selecting off-white from the color palette and the Cotton Paper Background Brush from the brush library. I paint the entire background, then reduce the opacity of the layer if I think it’s a bit too dark.
Finally, I set my watercolor art layers to Linear Burn blending mode, because this makes them blend into the background paper texture even more realistically!
Resources
Procreate brushes used in the video:
All from the Watercolor Calligraphy Procreate Brush Pack:
Watercolor Script 10 Ombré Brush
Smudge Brush for Blending Stroke Overlaps
Cotton Paper Background Brush
Soft Graphite Pencil
iPad TOOLS USED in the video:
Like this post? Please Pin it! Share it! Tweet it!
IT’S THE BEST, FREE WAY TO SUPPORT ARTISTS YOU APPRECIATE.


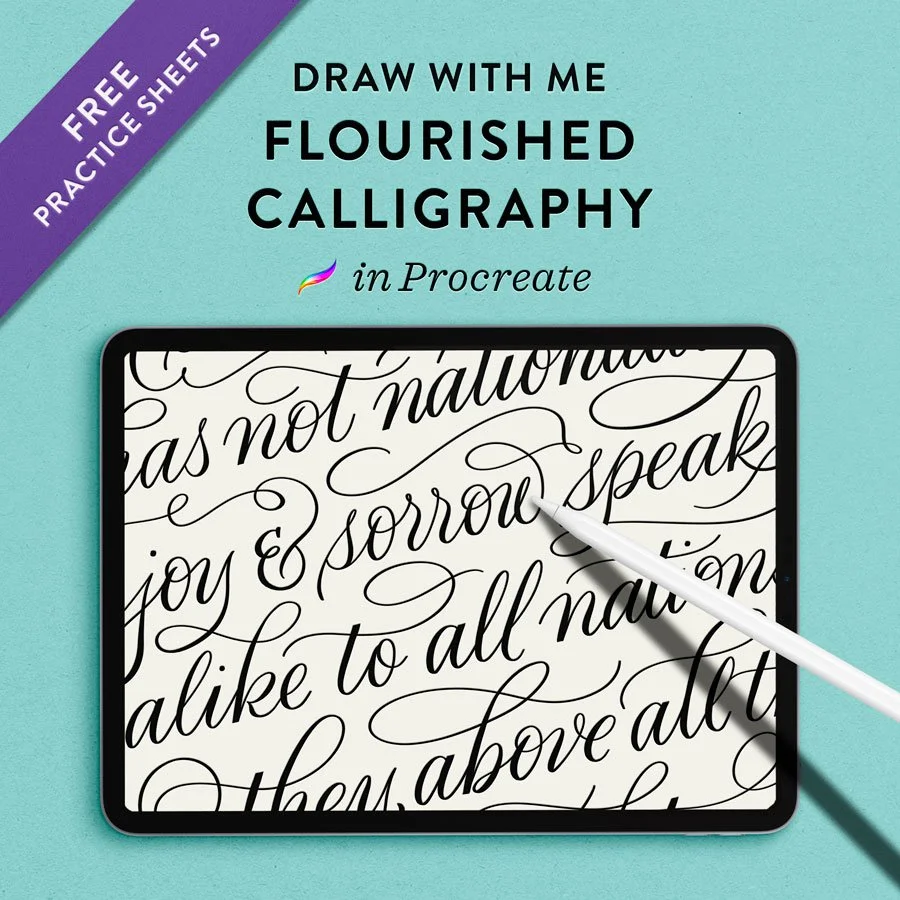


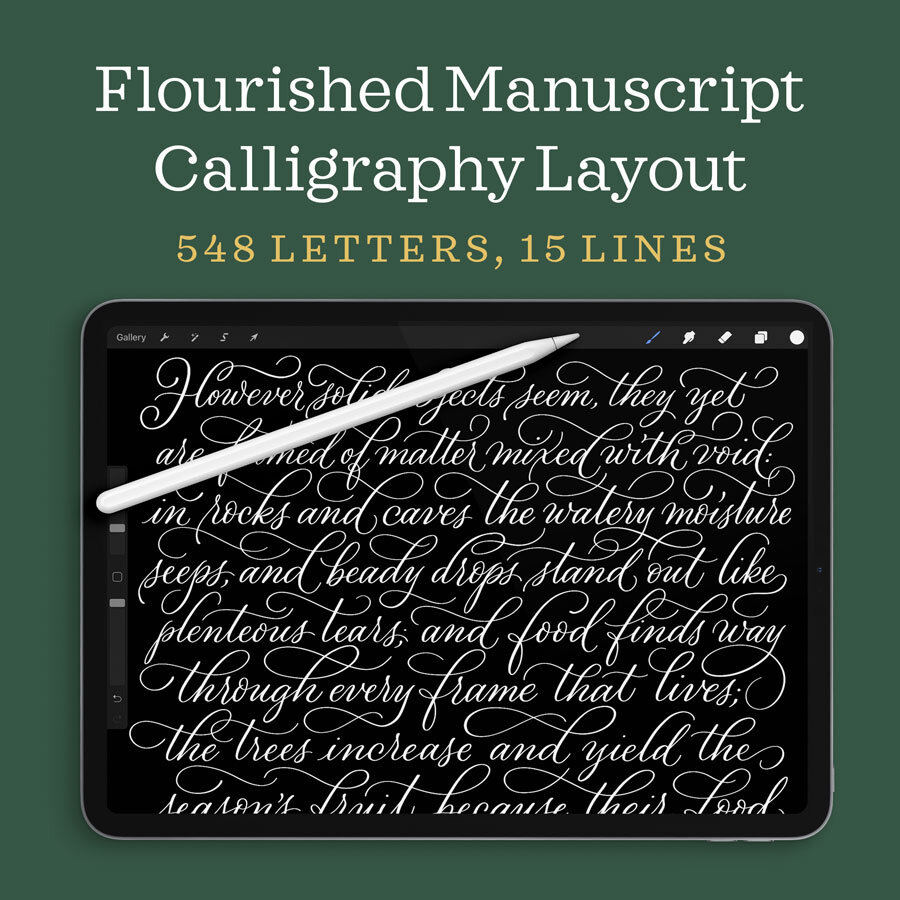
Flourishing looks effortless when it’s done well—and obvious when it’s not. Learn how I sketch and polish a highly-flourished manuscript.