How to Install Brushes & Files in Procreate
written instructions updated may 2026
In this tutorial, I walk through the process of installing brushes, swatches, and files in Procreate—a task that’s easy once you’ve done it more than once, but can be very confusing the first time. We’ll cover how to install brush collections, individual brushes, color palettes, and Procreate documents, as well as quirks in the Files app that tend to confuse just about everyone.
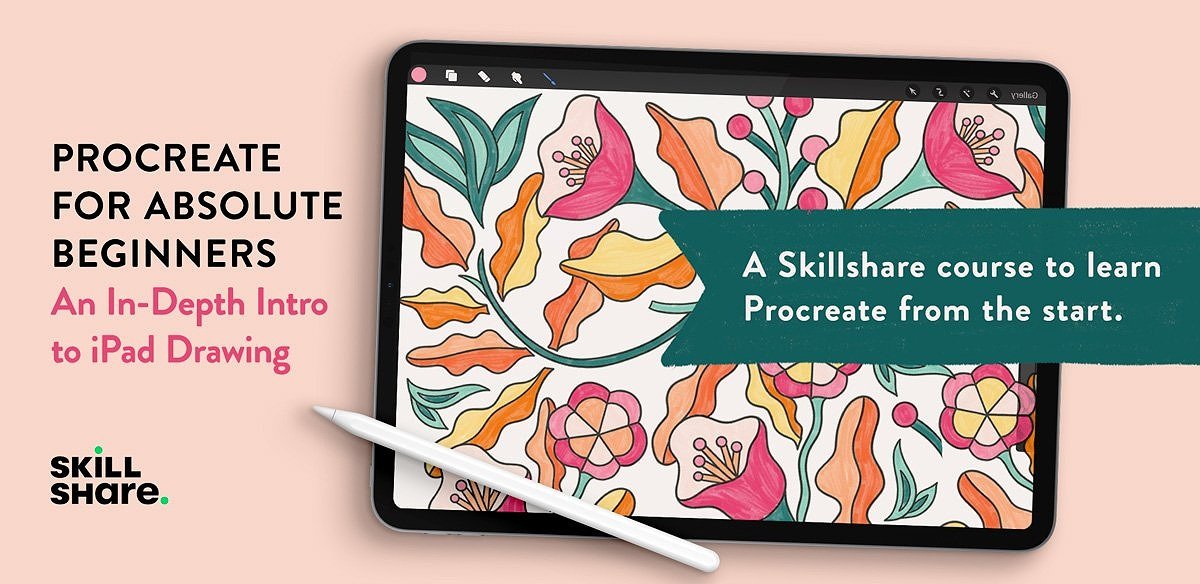
This lesson is one of the 38 lessons from my Skillshare class Procreate for Absolute Beginners. If you enjoy today’s lesson and find yourself wanting a more complete tour of Procreate’s tools and interface, the full course expands on these in much greater details. You can watch the class for free with a 4-week trial to Skillshare Premium (for new account holders only). Click here to enroll. No strings attached—I promise.
Watch the video tutorial:
Written instructions:
updated may 2026
Procreate brush files
In Procreate there are two types of brush files. Individual brushes use the file extension .brush. Brush sets use the file extension .brushset. A brush set is essentially a small library bundled into a single file. Each .brushset file contains multiple brushes—oftentimes a lot more than one. Instead of importing dozens of brushes one by one, Procreate brush collections you buy online will typically come as a .brushset file that, when installed, appears in its own folder within your brush library.
Why downloads are often zipped
If you purchase or download Procreate resources online, the files often arrive inside a zipped folder. Digital products usually come with additional files—like instructions, sample graphics, and licensing details—and a zipped file is the best way to keep all these related materials together.
Before importing anything into Procreate, you’ll want to save the download somewhere where you can unzip it. That should be in either the Files app (which comes with all iPads; the icon is a blue folder) or a cloud service such as iCloud Drive, Dropbox, or Google Drive. I keep all my downloads in the cloud because it makes installation smoother, especially since I work across multiple devices.
I’m one of those product creators who provides zipped files. Since I offer a bunch of free downloads of Procreate brushes and practice files at Molly’s Lettering Toolkit, we’ll use one of those freebies as an example.
Unzipping your downloaded files
If you were to, say, download my free Lettering Marker Brush, your iPad will ask you where you want to save the downloaded file. If you’re not familiar with other cloud services, I recommending saving your downloads to your Files app.
Unzipping is remarkably simple. Open Files and tap the zipped folder once. The system will automatically create a new, unzipped folder next to it. Inside that folder, you’ll find the files—.brush, .brushset, .swatches, or .procreate—you’ll eventually import into Procreate.
Setting up your dock
No matter what app you downloaded your files to, it’s important that the icon to access that app appears in your iPad’s dock (that toolbar along the bottom).
If your preferred cloud app is not already in the dock, you can add it by pressing and holding the app icon on your home screen, choosing “Edit Home Screen,” and dragging the icon into the dock. When you’re done, tap anywhere on your background to make the app icons stop jiggling.
Opening split-screen view
To import brushes into Procreate, you need to have a Procreate document open (a.k.a. a canvas). You cannot install brushes or files directly from the gallery screen.
Open any document—even a new, blank one is fine.
Lightly swipe upward from the bottom of my screen, but not so much that you return to the home screen. Your dock toolbar should appear, while you’re still in your Procreate document.
From there, drag the Files app—or whichever cloud storage app you used—from the dock to the side of the screen. (It doesn’t matter if it’s on the left or the right side.) This creates a split-screen workspace, with Procreate on one side and your storage app on the other. You can toggle the ratio of the split screen using the center toggle bar.
Installing Procreate brushes
Brush installation is considerably easier now than it was a few years ago, when I created this tutorial. The newest versions of Procreate now recognize compatible files automatically, rather than relying on so much dragging-and-dropping.
In Procreate, open the brush palette. To install a brush or brush set, simply tap the file once inside the Files app. Procreate will immediately import it.
If the brush file doesn’t automatically import, tap and hold the file, drag it to the Procreate brush library, hover until you see a + sign, then release it.
Individual brushes (.brush files) will typically appear inside a folder in your brush library labeled “Imported,” while brush sets (.brushset files) appear as their own folder automatically.
These same steps work whether you’re using iCloud, Google Drive, or Dropbox. You can use the same split screen function with any of those cloud apps. To close your split screen view, drag the center toggle all the way off to the side.
Installing swatch palettes
Procreate swatch palette files end with the extension .swatches.
The same steps used to install brushes also work for swatches. Open your Procreate color palette. Tap a .swatches files in the Files app and it should appear at the very bottom of your palette library. You can now drag it anywhere in the library that you’d like.
Install Procreate files
The last type of file you may need to import are Procreate files themselves. These files end with the extension .procreate.
Unlike brushes, these files must be imported from the gallery view rather than from within an open canvas. (You either be either on your main gallery screen or inside a stack of files.) Apart from that, though, the steps are the same.
From your storage app, in split screen view, tap your .procreate file (or drag it over to your gallery). The document will be added as the first file among your existing canvases.
If you need to import multiple files at once, you can use the Select button in Files, choose several .procreate documents together, and drag them into the gallery simultaneously.
Thank you
If you enjoyed this lesson, I encourage you to enroll in the full course: Procreate for Absolute Beginners. Register as a new account holder to unlock your one-month free trial to Skillshare Premium using the link below.
More free Procreate tutorials:


If you found this tutorial helpful, please consider sharing it with others. That’s the best, free way to support artists you appreciate.
You could also buy me a coffee, if you wish.