The Ultimate Lettering & Calligraphy Procreate Kit
I earn small commissions for purchases made through links in this post. Proceeds help me to continue producing free content.
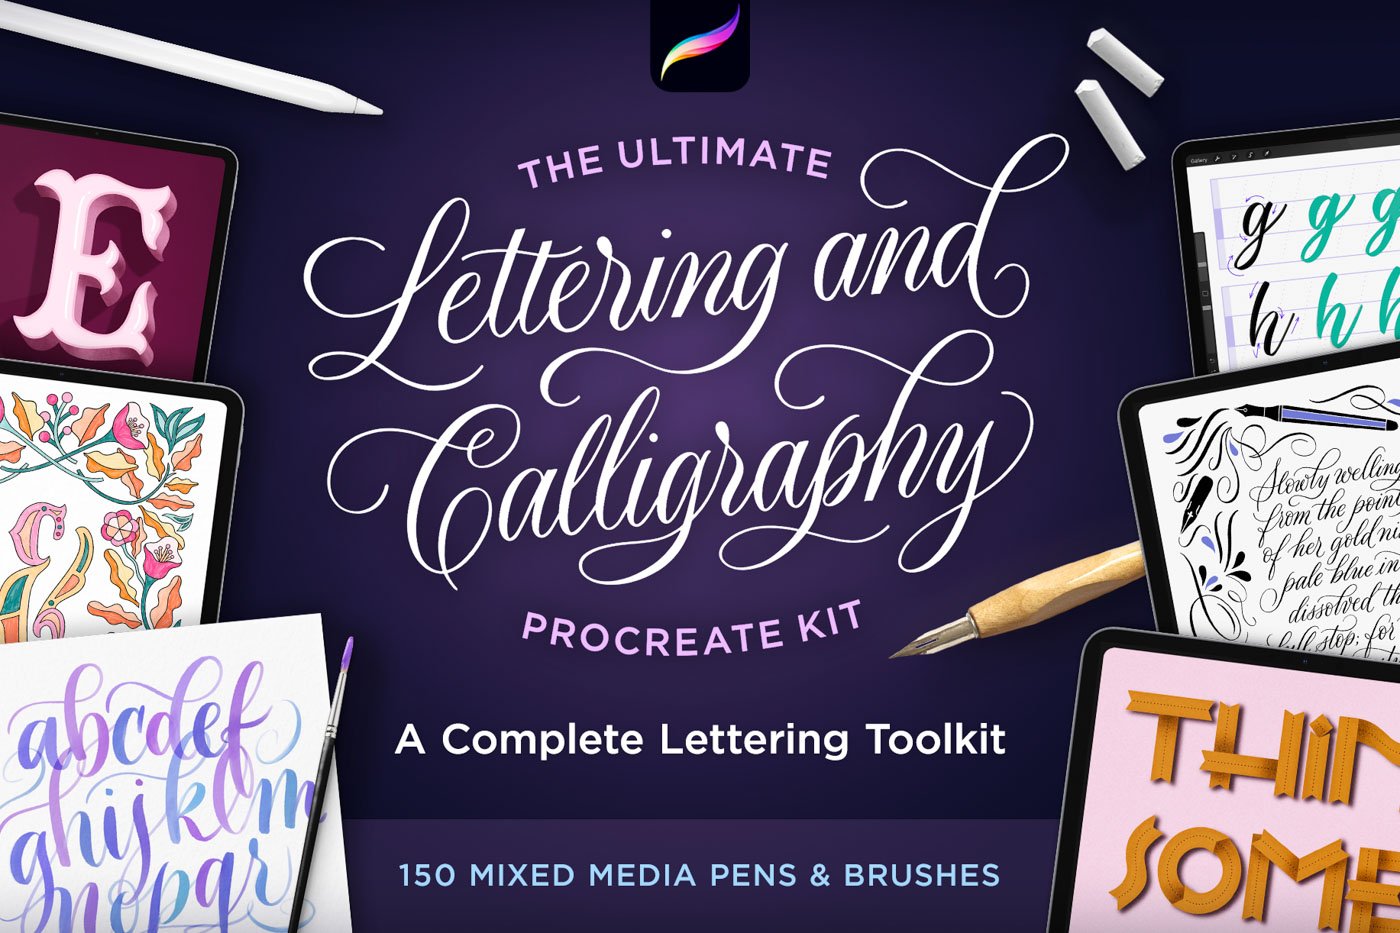
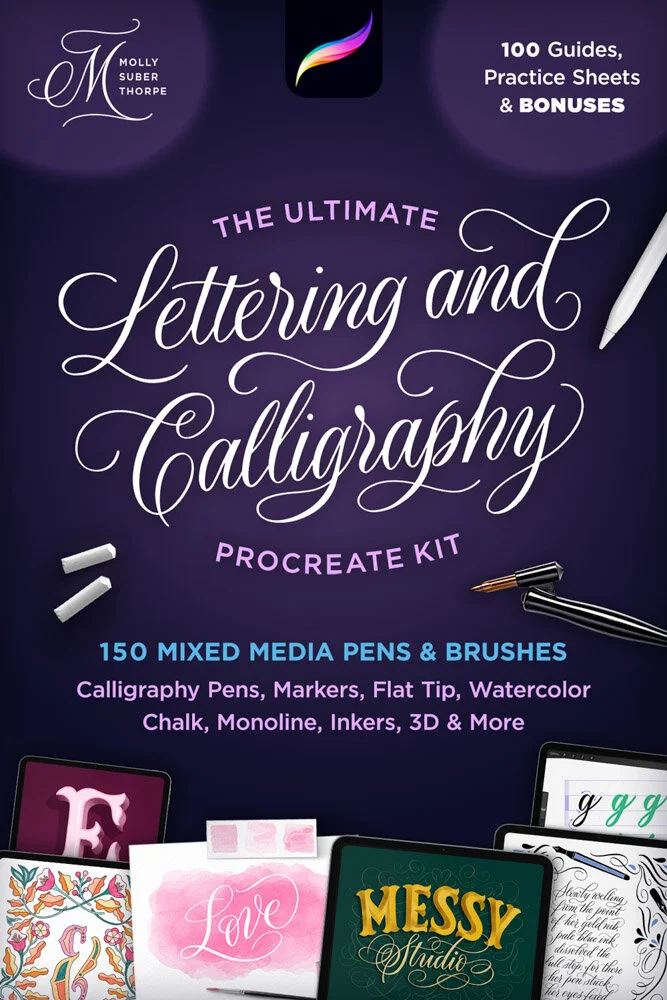
Introducing The Ultimate Lettering and Calligraphy Procreate Kit, my biggest brush pack yet! This is a complete mixed media lettering toolkit with 150+ pens, brushes, textures, practice sheets, guides, and more.
This comprehensive toolkit is designed to give you not only professional results, but the educational tools you need to become a pro. The lettering brushes were meticulously crafted to emulate not only the look of analog tools but the feel of them as well, and the in-depth practice sheets and quick guides are included to take your lettering to the next level.
Watch the video above to see a preview of everything inside The Ultimate Lettering and Calligraphy Procreate Kit.
You can also follow the time stamp links below to jump over to YouTube and watch specific sections. Or just keep scrolling to read all the details below!
Jump to a video section:
• Pointed Pens: 01:17
• Calligraphy Practice Sheets: 02:35
• Streamline Settings: 03:25
• Watercolor Pens: 05:00
• Lettering Markers: 05:50
• Brush Lettering Practice Sheets: 06:48
• Letter Inkers: 07:09
• Chalk Writers: 08:31
• Monoline Pens: 09:51
• Monoline Practice Sheets: 10:43
• Sign Painter’s Brushes: 11:01
• Parallel Pens: 11:47
• Ribbon Pens: 12:48
• 3D Pens: 13:17
• Novelty Pens: 14:10
• Letter Guides: 14:47
• Pencils: 15:34
• Textures: 15:54
• Backgrounds: 17:04
• Bonus Frame Stamps: 17:59
A Complete Lettering Toolkit
The Ultimate Lettering and Calligraphy Procreate Kit is a mixed-media brush collection with calligraphy pens, markers, watercolor and chalk writers, monoline pens, lettering guides, textures, and more. There are over 150 brushes in this kit, that will take you from sketching letters to polished compositions.
In addition to the brushes themselves, there are also over 100 quick guides, practice sheets, and bonus brushes, so it’s really jam-packed.
In the sections below, I give you a preview of everything you’ll find in this kit, along with samples of artwork created using the brushes. To get this kit for yourself, just click here!
This kit represents four months of designing, testing, editing, and then testing some more. It was designed in collaboration with Design Cuts, and I had professional lettering artists and calligraphers test the brushes in their own unique styles. They all gave me great feedback that I incorporated to make the kit even stronger.
Pointed Pens
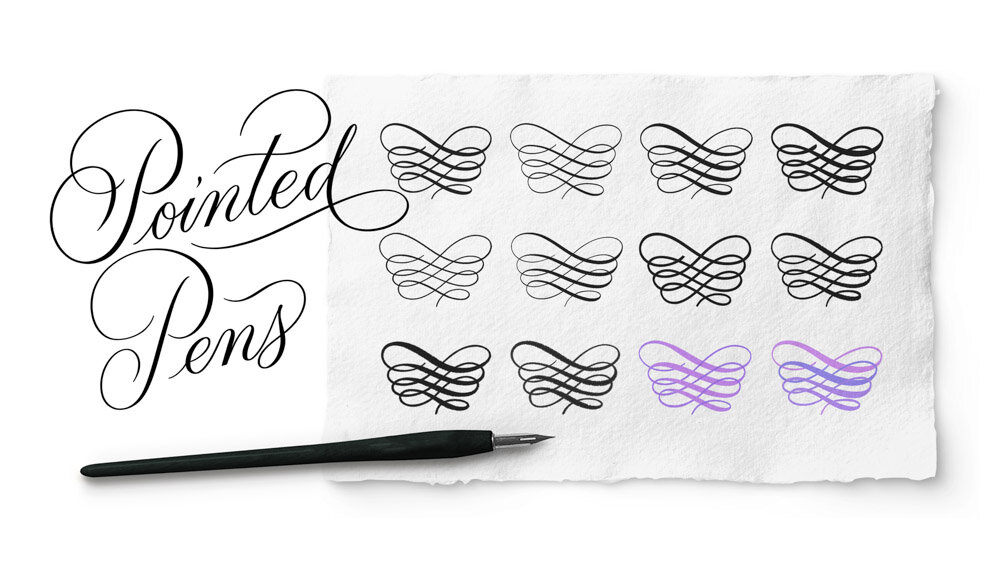
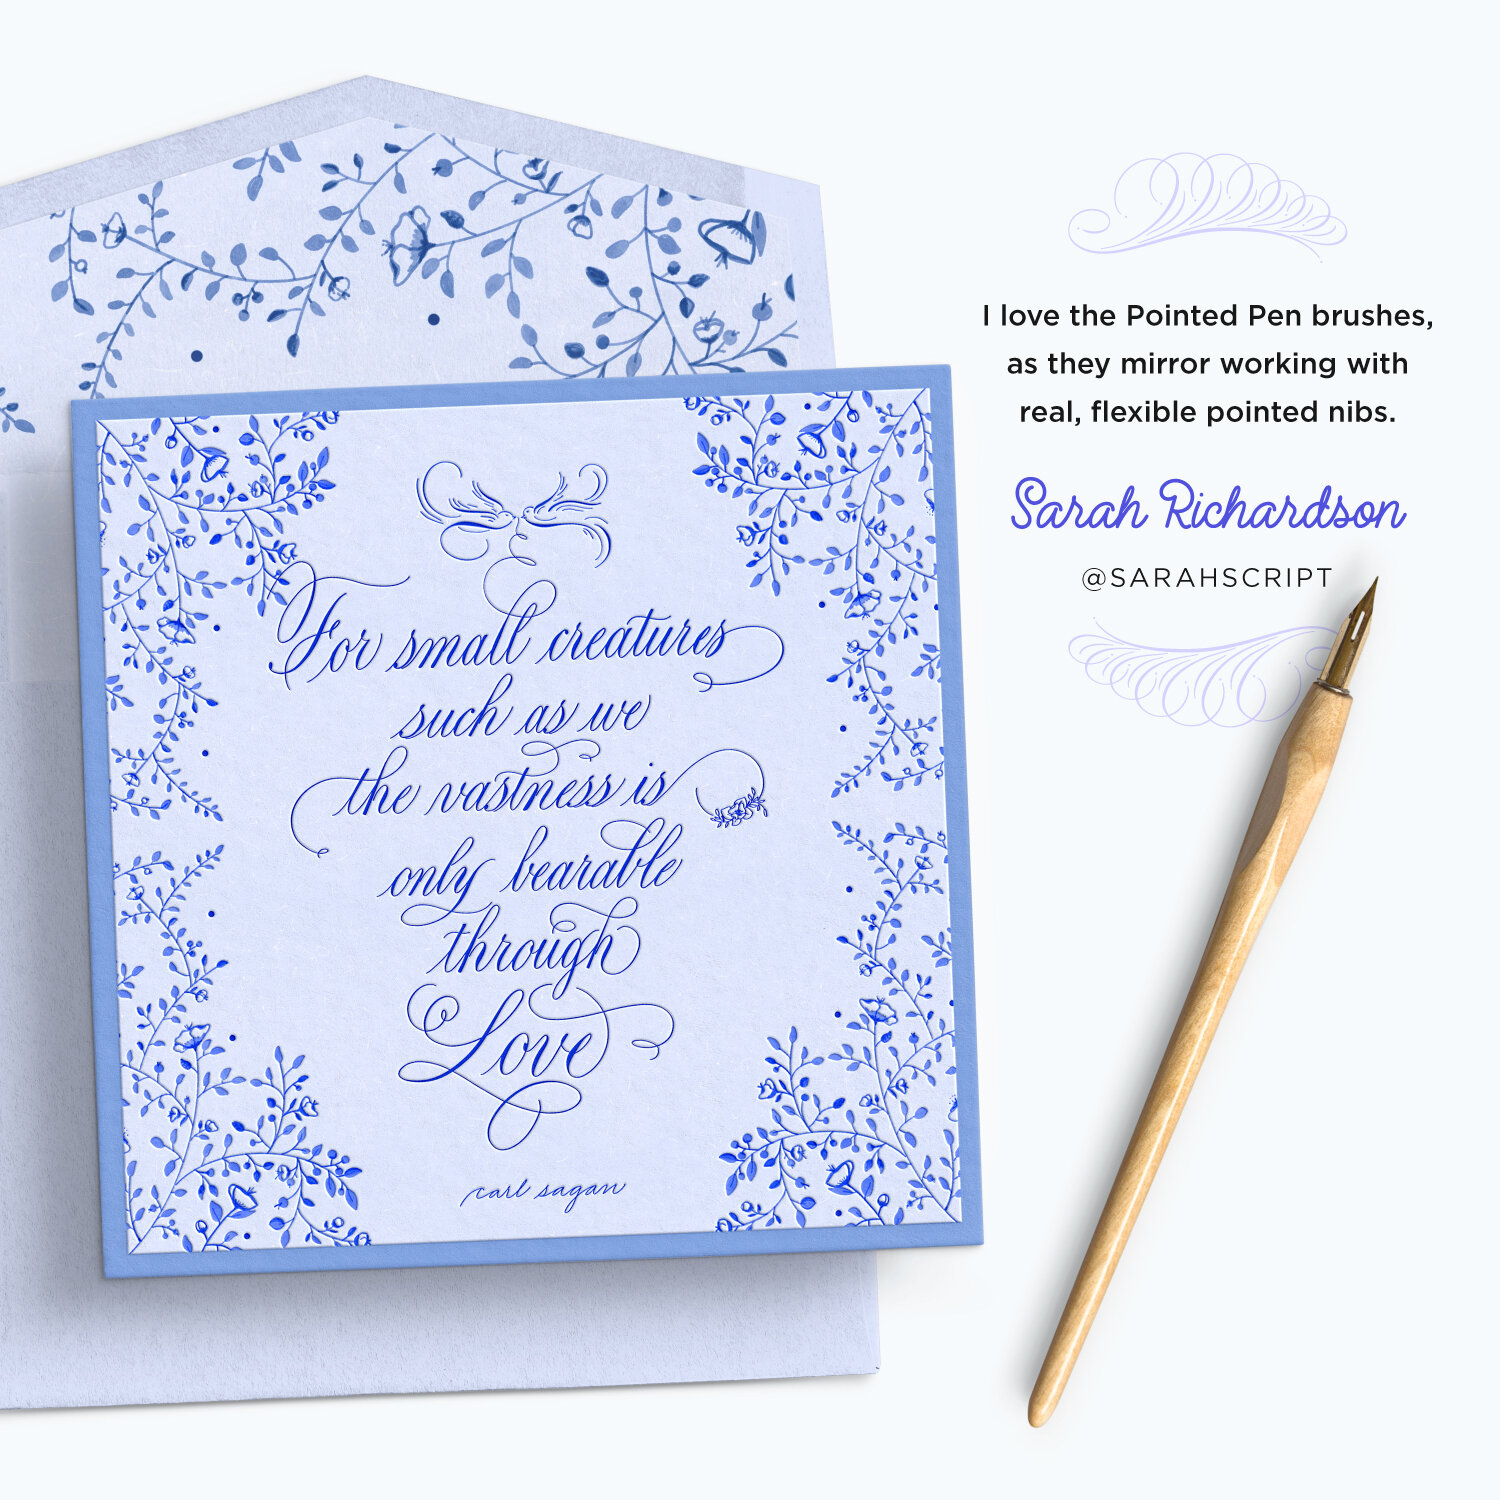
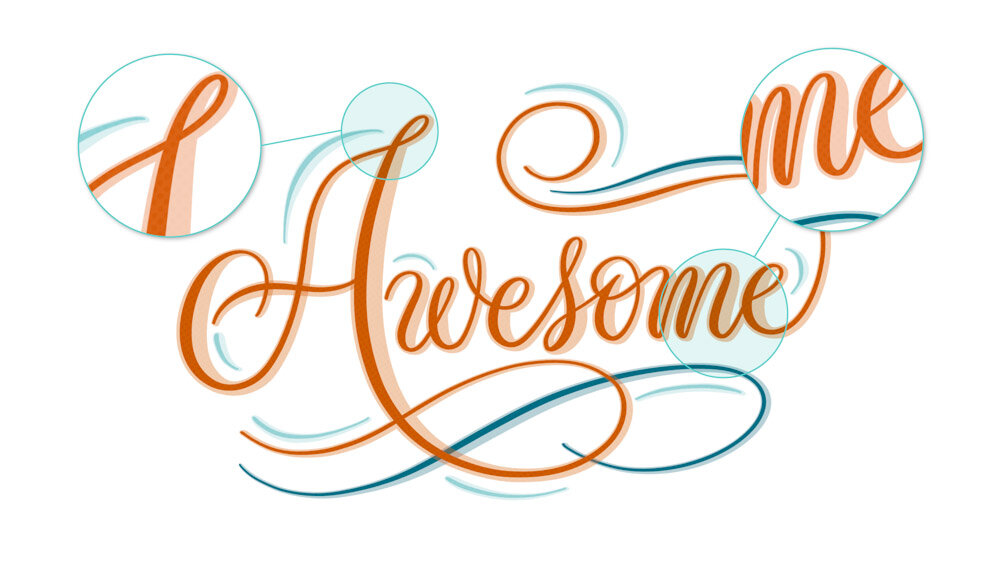
The first brush set in the pack is Pointed Pens. This is a collection of 12 new calligraphy brushes that I carefully crafted for modern and traditional script calligraphy styles. They are pressure sensitive to exactly mimic real pointed calligraphy nibs.
Because of my background as an ink-on-paper calligrapher for the past 13 years, I am extremely picky about digital calligraphy tools. It was really important for me to create brushes that not only emulate the look of pointed calligraphy pens, but the feel of them as well.
Each of the 12 pointed pen brushes have different ink characteristics, texture, and responsiveness. This is exactly like real metal calligraphy nibs, where different nibs have different pressure sensitivity and flow, and the texture of the letters depends on your choice of paper and ink.
The set even includes two ombré pointed pens, which change color as you write. One changes color based on pen pressure, and the other changes color every time you start a new stroke.
Write Slowly!
Also like real pointed pens – and nearly all lettering tools – it's crucial that you write very, very slowly with these brushes, and control your pressure. This ensures that, just like when writing ink on paper, your strokes are smooth and precise, and your transitions from thick to thin are fluid.
Calligraphy Practice Sheets
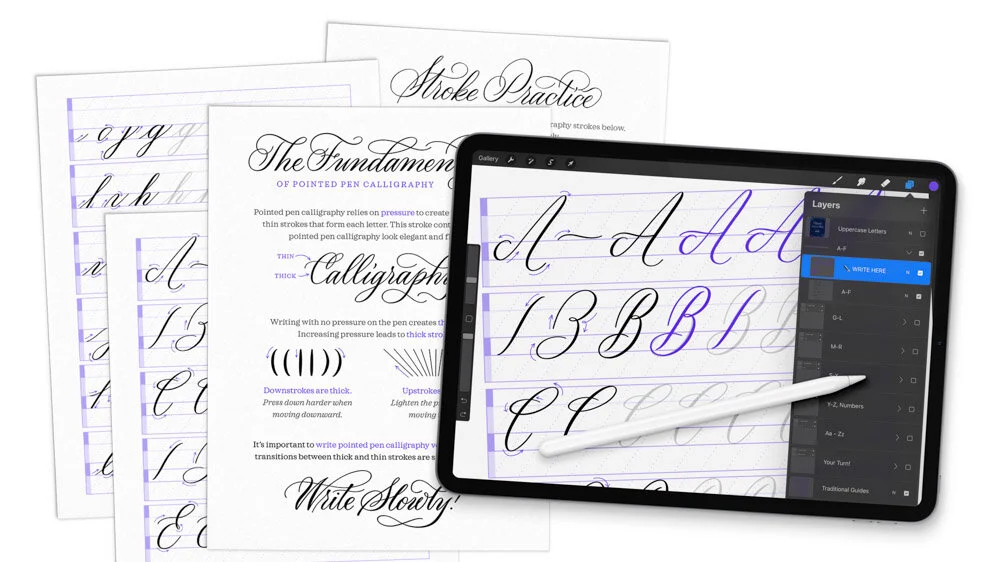
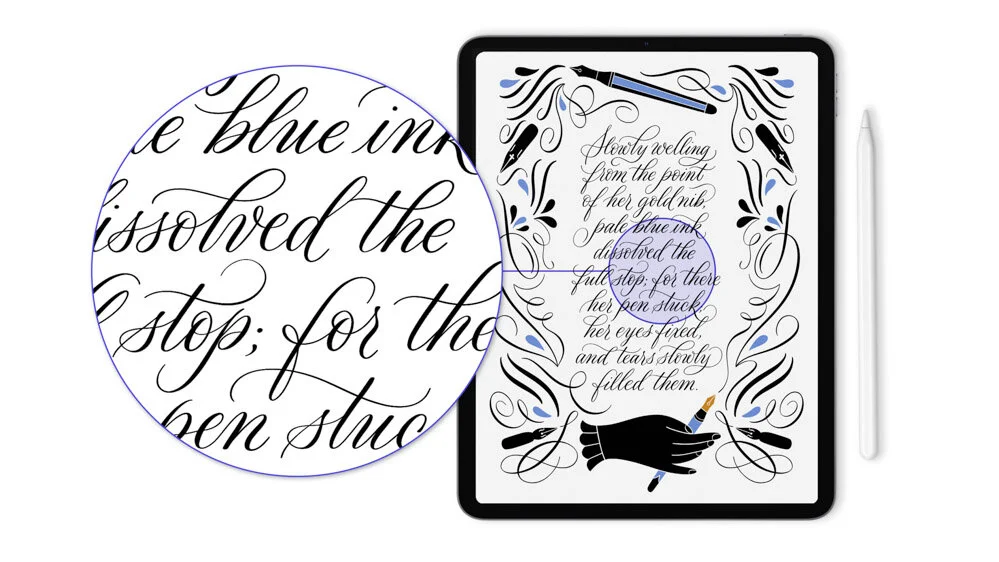
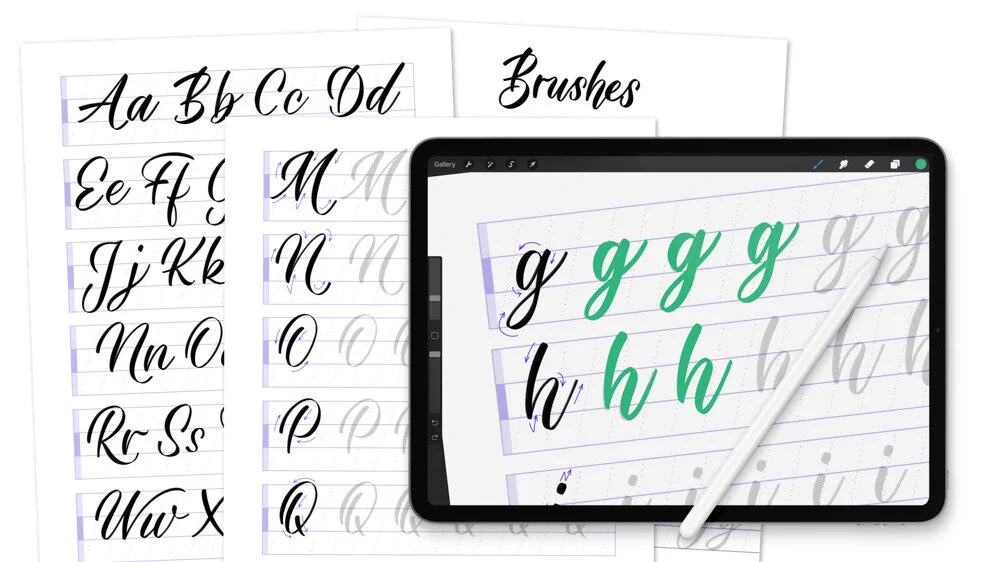
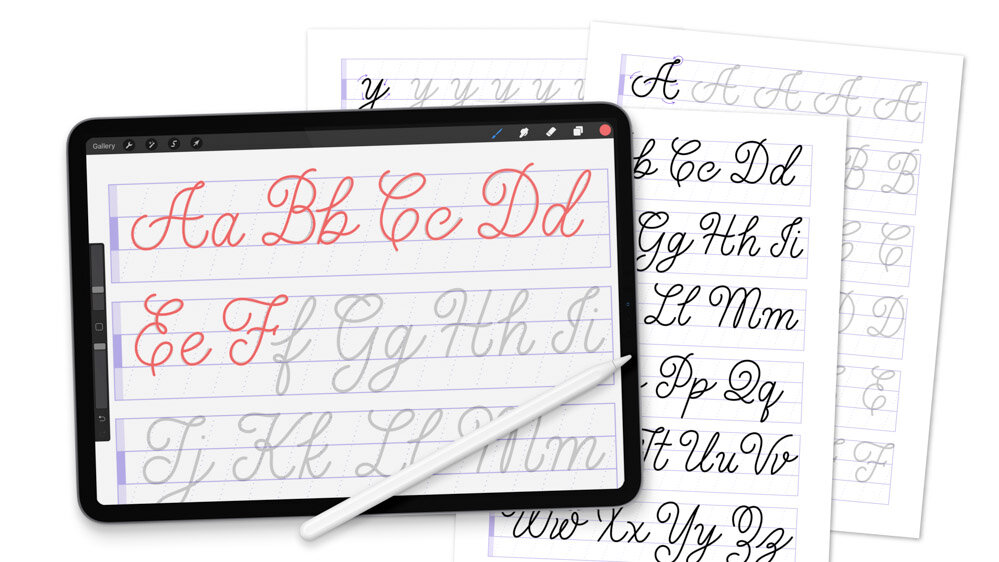
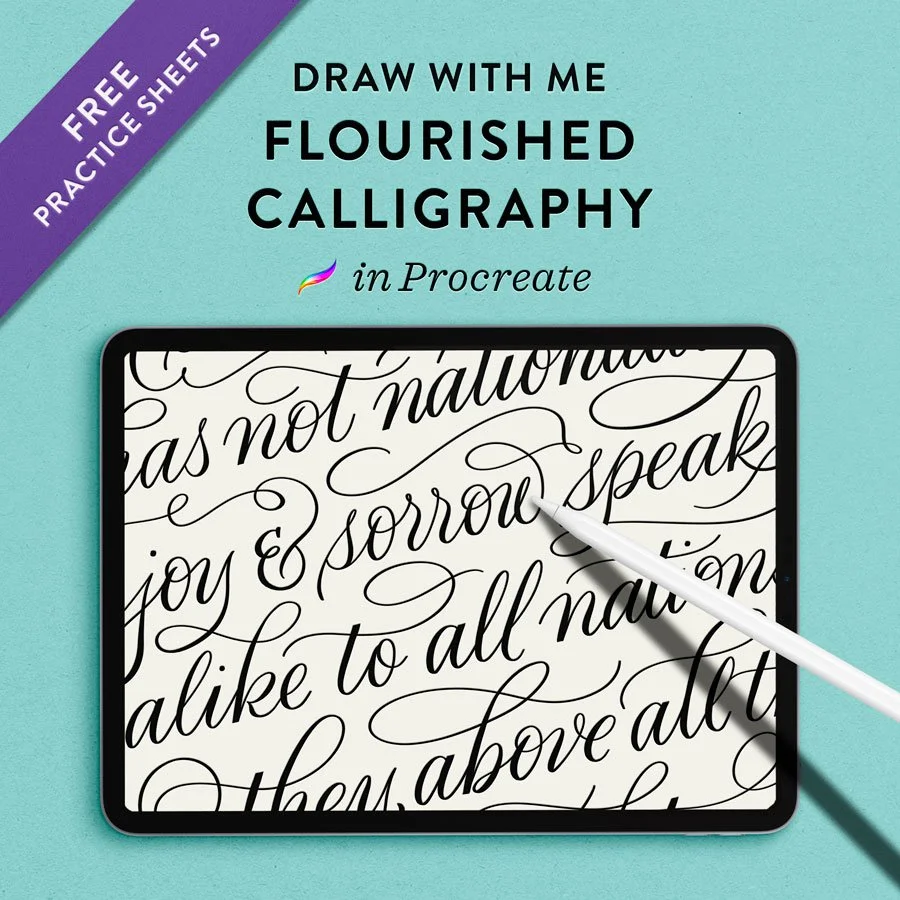
This set is not just for experienced professionals, so if you are new to pointed pen calligraphy, welcome! You’re in the right place because this kit includes calligraphy practice sheets, that come as three layered Procreate files and function like little workbooks.
These will teach you this beautiful flourished pointed pen style, but will also teach you all the fundamentals you need to start using pointed calligraphy pens like a pro. So if you’ve never used a pointed pen before, start with the basics, where you will learn how pointed pens work based on pressure sensitivity and direction. Follow the arrows to learn the essential strokes before even moving on to letterforms.
The other sheets in the set are for lowercase and uppercase letters, which also have arrows to show you the stroke direction, and break down the different strokes that combine to form each letter.
⭐ ⭐ ⭐ ⭐ ⭐
“I’m stunned by this brush kit! The pointed calligraphy pens mirror working with real, flexible pointed nibs.”
— Sarah Richardson / @sarahscript
Author, Copperplate Calligraphy from A to Z
Streamline Settings
Before we keep going, I need to share what is possibly the most important – but sometimes confusing setting for any well-programmed lettering brush in Procreate. This is a setting called streamline, and you may already be familiar with it.
Streamline was created to counteract the effect of the plastic Apple Pencil tip against the glass screen. A real pen is able to grip the paper to stabilize itself, but since the iPad can’t do that, streamline was created as a digital solution.
Streamline is really important for lettering because it makes all the difference in how smooth and uniform your strokes are. This goes for any type of lettering brush, by the way, not just calligraphy.
All my brushes are meticulously programmed with custom streamline settings. It’s one of the most crucial aspects of programming for me. However, making the most of streamline requires writing really slowly and carefully, exactly as you would on paper. I know I told you before about writing slowly, but I’m saying it again because I really can’t emphasize it enough.
In my work, Streamline is essential to get the lettering strokes that I want. No matter the speed I write or how carefully I exert pressure, without streamline, I cannot properly emulate ink on paper. However, you may be someone who finds Streamline cumbersome, because it can cause a very subtle drag on the pen if you try to writer too quickly. So I want to show you how to adjust streamline yourself, should you want to customize that one aspect of my brushes.
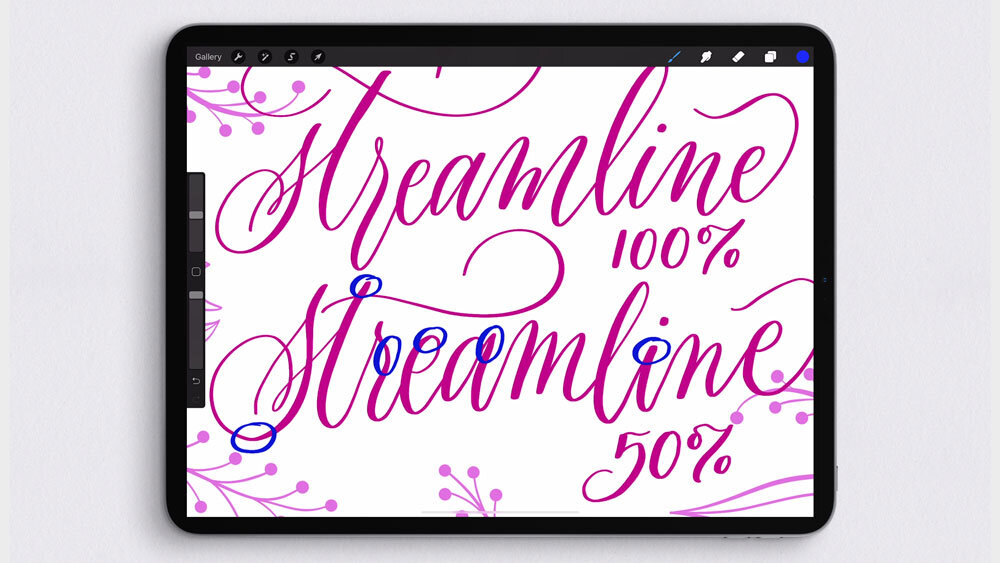
Above, I have drawn the word ‘streamline’ using maximum streamline strength. Note the speed at which I wrote, and how smooth the strokes are. Now I’ve tapped on the brushes (but you can open absolutely any drawing or lettering brush you want) and I adjusted the streamline strength to 50%. Then I’ve written the same word again. Just look at how the transitions from downstroke to upstroke – in other words the transition from exerted pressure to released pressure – becomes rough and clumsy when there is no compensation for the Apple Pencil on the smooth screen. The strokes are more wriggly and uneven, even though I wrote at the same speed.
So if you are an artist who doesn’t mind if your strokes aren’t smooth, and wants to make fast writing easier, by all means, customize the streamline setting. You will not need to customize any other settings on these brushes, though, for beautiful lettering strokes.
Watercolor Pens
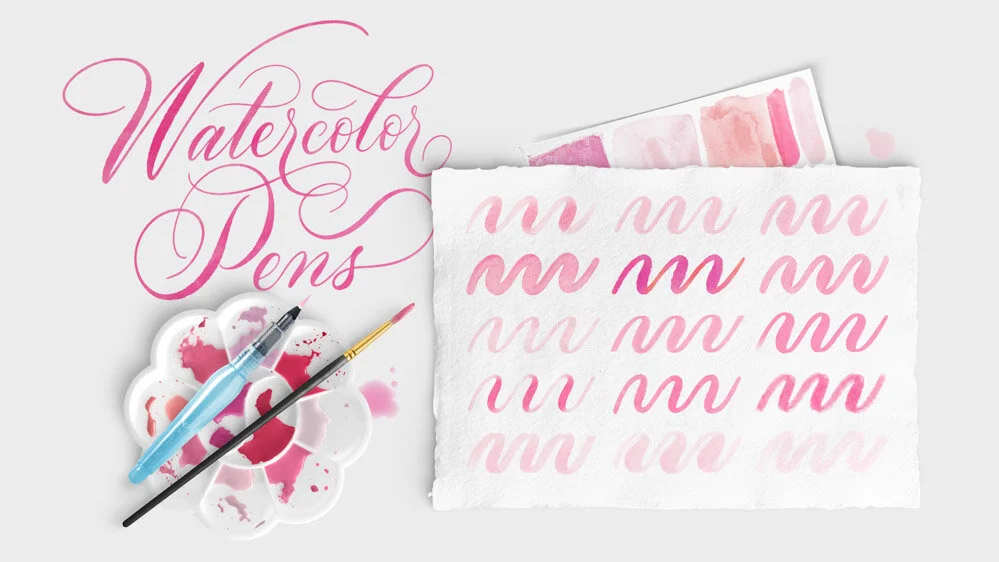
The Watercolor Pens are a set of 16 brushes, optimized for calligraphy and lettering. They are elegant, ethereal watercolor writers with different strokes, textures, and opacities.
This is the set that possibly took me the longest time to perfect, as I worked really hard to make hand-crafted textures that emulate real pigment, paper, and watery translucency.
In addition to the pens themselves, you will get three wash brushes, as part of the Textures brush set, which are wonderful for drawing backgrounds, and watery accents. Play with the opacity of these brushes to create more or less pigment in the watercolor wash.
You’ll get my Watercolor Pens Quick Guide, too, to help you make the most of the watercolor set. You’ll learn my own techniques for blending, softening, and layering, plus a traceable practice sheet for you to test out the different brushes.
Lettering Markers
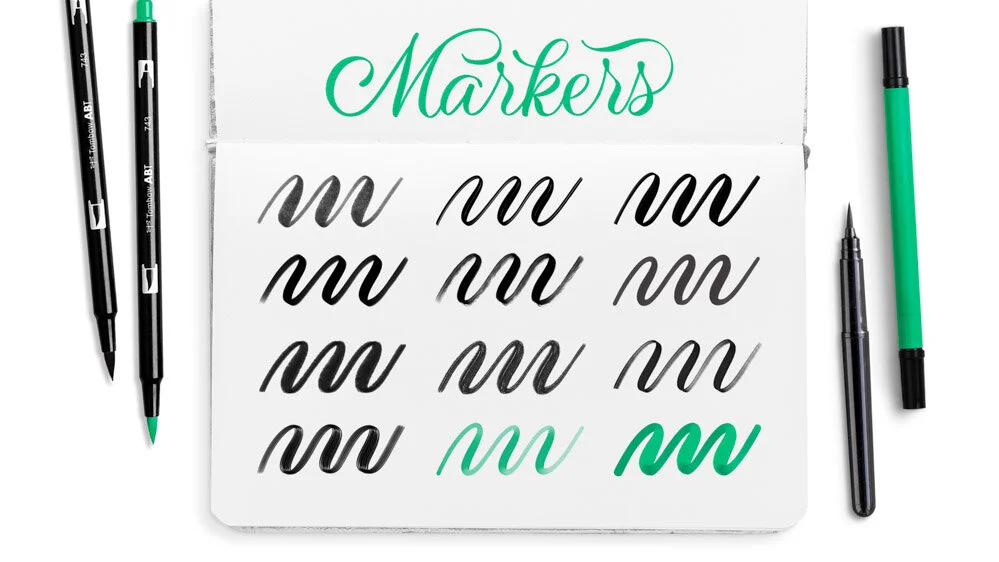
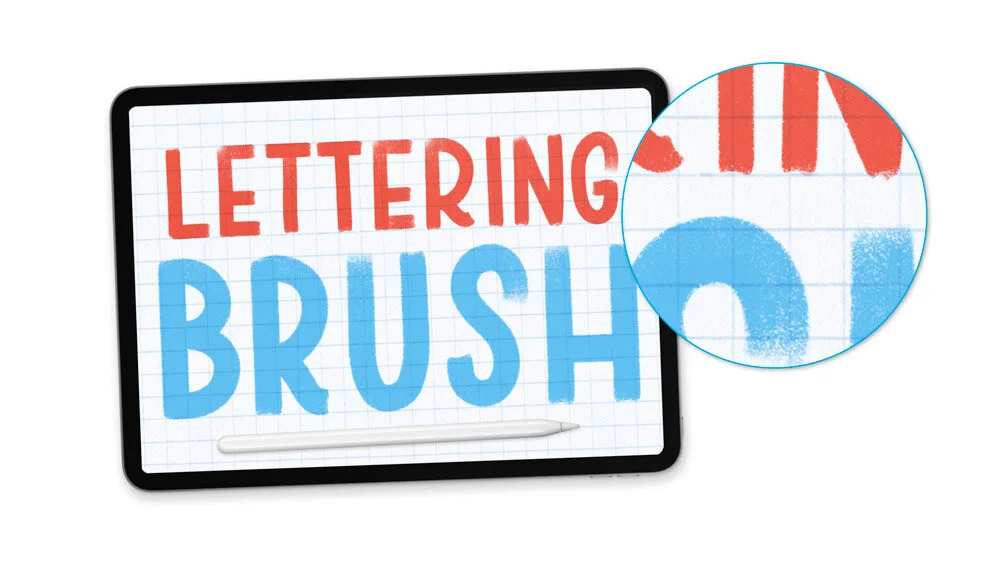
My marker set includes 12 felt tip and brush lettering tools, each of which mimics a different kind of marker. These range from soft brush pens to felt chisel tips to round alcohol markers.
One of my personal favorites is the Washable Felt Tip Marker, which I designed to be reminiscent of Crayola kids’ markers. This brush even emulates the layerability of real washable markers, where you can clearly distinguish each stroke when you color with them. I don’t know if you’re like me, but I still love using kids’ markers for lettering, even as an adult!
Brush Lettering Practice Sheets
To get started using the marker brushes with lettering, turn to the Brush Lettering Practice Sheets that come in the kit. You can use any of the 12 lettering marker brushes to practice this style, and even see a sample of each brush and its unique look and feel. Here, I used the Silky Ribbon Marker.
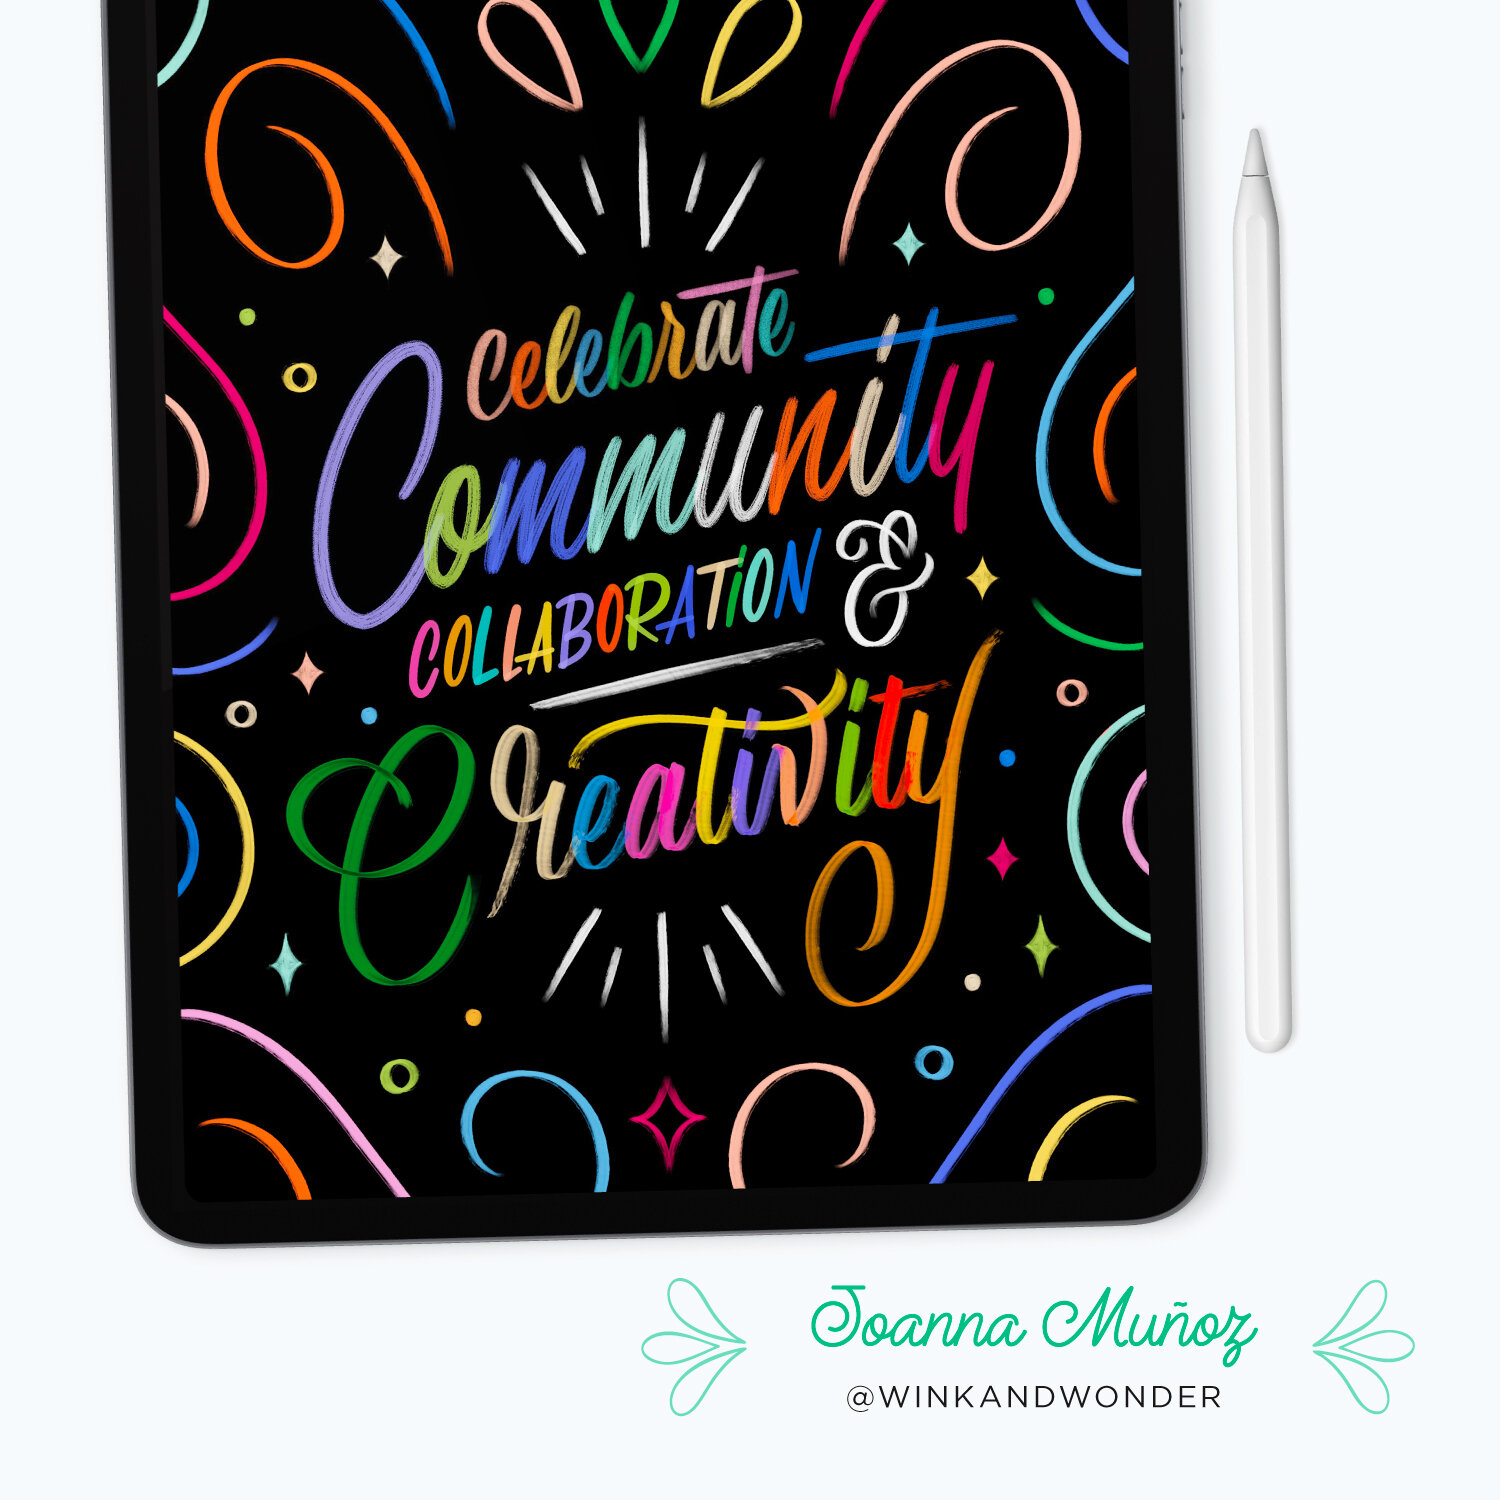
“These brushes are a lettering artist’s dream! The Lettering Markers are, hands down, some of the best I’ve ever used.”
— Joanna Muñoz / @winkandwonder
Author, The Art of Hand Lettering for Beginners
Letter Inkers
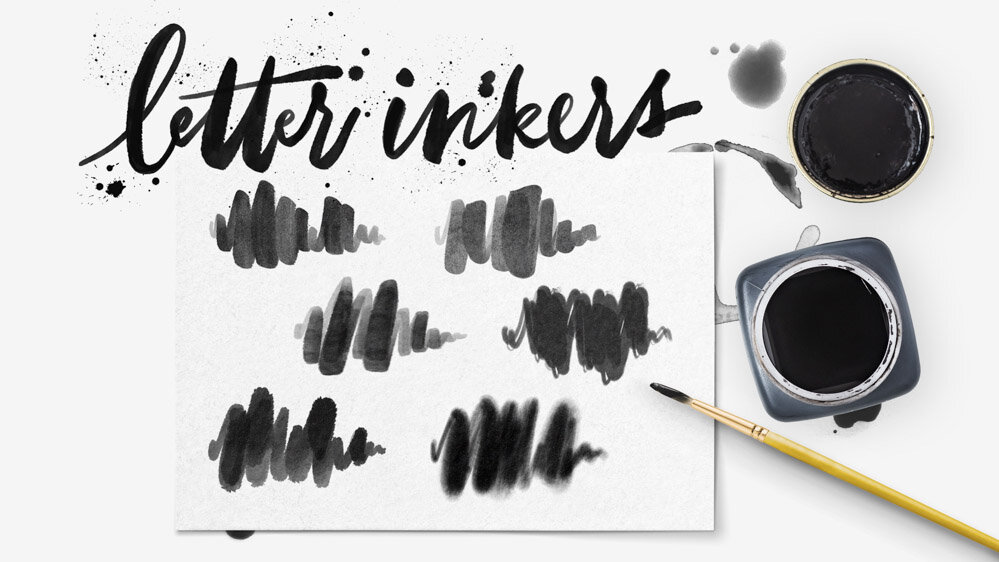
My Letter Inkers are one of my personal favorites, for their unique flow and character. This is a set of 12 gestural ink brushes and real ink splatters. They mimic the carefree, irregular look of soft paint brushes dipped in ink, and are beautifully translucent – like fountain pen ink – so you can build up layers in your lettering.
But the best part about Letter Inkers is that no two strokes will ever be the same. These brushes are highly responsive, so varying your pressure and speed even a little bit will affect the width and the opacity. This makes the resulting artwork have a really unique, organic, handmade look.
As a finishing touch, use the five ink splatter brushes to complete the composition. These are sampled from real ink droplets and sprays. By varying their brush size, these five brushes can be combined to make endless ink splatter combinations.
This set is about having fun. Unlike some other brushes, such as the pointed calligraphy pens, the Inkers are all about letting loose, and not striving for specific, regimented letterforms. I do not use guidelines when I draw with these brushes, and I aim for variation in my letters, rather than uniformity.
Like for the Watercolor Pens, you’ll also get a Letter Inkers Quick Guide to introduce you to the Letter Inkers. This is a layered Procreate file with samples of the Inkers and even a practice sheet for guided experimentation with the brushes.
Chalk Writers
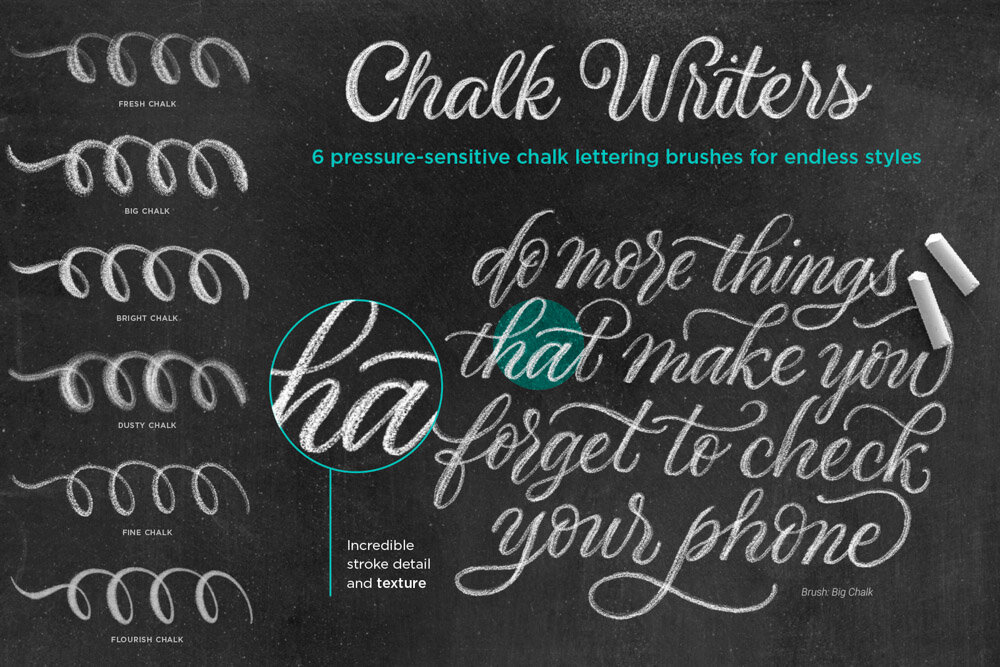
The Chalk Writers set contains six pressure-sensitive chalk lettering brushes, plus four detail brushes for adding chalk dust, shading, dots, and smudges. In designing these brushes I really focused on getting the most realistic texture possible, and making sure it was high-resolution texture, so that it translates beautifully into print.
You can see that each of the six Chalk Writers have very different characteristics, which mimic sharpened and dull sticks of chalk, dry and dusty chalk, and chalk writing on different textures of boards. These different stroke effects make it possible to create any style of lettering, from big and bold to fine and flourished.
The kit also comes with two chalkboard background brushes, which I'll demonstrate later, so you can complete your chalk compositions with realistic slate texture.
Monoline Lettering Pens
I think lots of people turn to monoline pens for drawing line art, but I personally love monoline for lettering, too. There is something so fresh about a simple monoline alphabet, which really appeals to me.
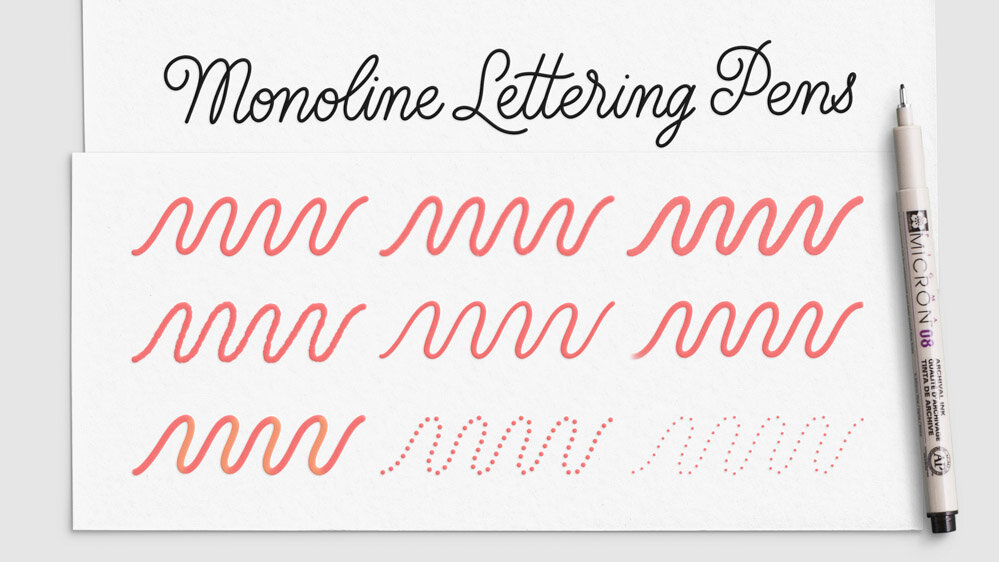
This kit contains nine Monoline Lettering Pens for lettering and also fine drawing and outlining. Because monoline pens are so crisp, I love using them to outline lettering that needs to be extremely precise or even vectorized later.
Each monoline brush has a different texture, and I've even included an ombré monoline pen which changes color as you write. You’ll also find two styles of dotted line pens, which I personally love to use for drawing decoration on other types of lettering, like the inner lines in this all-caps ribbon style.
Monoline Script Practice Sheets
For learning monoline lettering, use the Monoline Script Practice Sheets, which you can pair with any of the nine monoline pens in the kit.
I designed these sheets to introduce you to the basics of monoline script lettering, and then teach you a beautiful style, reminiscent of mid-century cursive.
Sign Painter’s Brushes
The Sign Painter’s Brushes mimic the stiff, square paint brushes used in hand-lettered signage. Like a lettering paintbrush, these have flat, monoline ink flow, even around curves, so you get smooth, even strokes without much effort. They work beautifully for big, all-caps styles, and for funky, bold script, too.
Like the Letter Inker set, no two Sign Painter’s brush strokes are ever exactly the same. From start to finish, each stroke has random texture, making them extremely realistic. For added realism, they all have brushy effects at the beginning of each stroke and bristly edges at the ends.
Parallel Pens
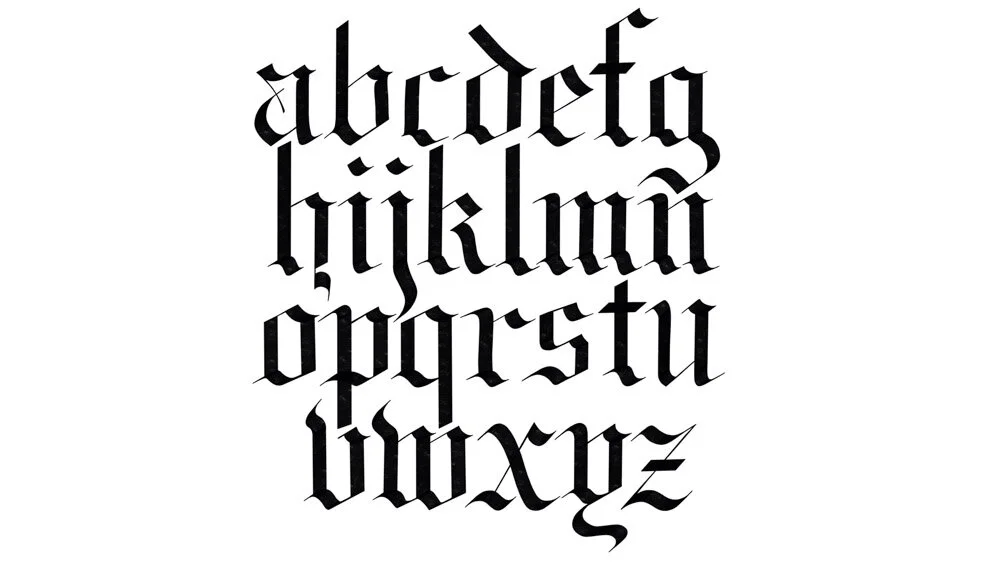
These are a collection of nine broad tip calligraphy pens for traditional calligraphy styles, such as Blackletter. The Parallel Pens are divided into four stroke shapes – solid stroke, center split, side split, and triple stroke. Each shape also comes in different textures, for a wide variety of styles.
These Parallel Pens, just like their analog counterparts, are entirely dependent on your pen angle. Here is a sample of a Blackletter-inspired alphabet using the solid, classic Parallel Pen. You can see that this calligraphy combines thick downstrokes with extremely thin upstrokes, and again, those widths are created by two different pen angles.
So if you have never used a broad tip pen before, it may take you just a little bit of practice to learn what angle your arm needs to be at to create a thick stroke, and then how you should change your arm’s angle for the thin strokes.
Broad tip calligraphy is not easy, but it is fun and rewarding, so I urge you to practice your pen angles, and even look up traditional broad tip calligraphy for inspiration.
Ribbon Pens
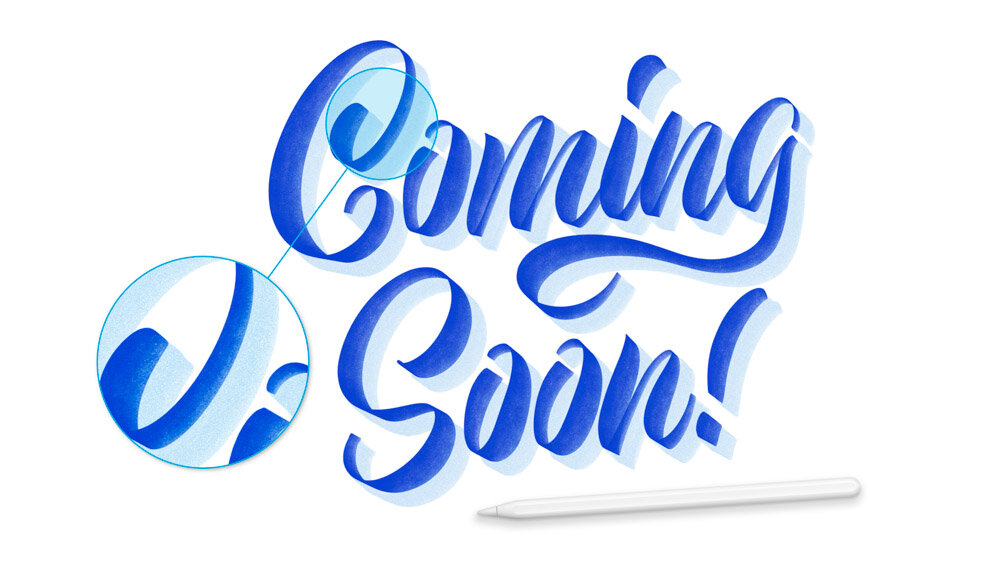
The third type of flat tip brushes are the three Ribbon Pens. These are really the perfect gestural brushes for big bold script lettering. The way that the pen angle changes as you write – a bit like folded ribbon – is what makes them different from your traditional marker brush.
These come in three different textures: solid, gradient, and noise. I love to combine and layer these pens, making the texture really the star of the show. In this example I use the Gradient Ribbon Pen for my script, and then the Noise Ribbon Pen to create a quick and easy drop shadow effect.
“These brushes are so amazing! I especially love the backgrounds and textures sets, and the digital calligraphy brushes are the best I’ve used!”
— Hayley Barry / @typeaffiliated
Lettering artist & muralist
3D Pens
Speaking of dimensional type, the next brush set is the 3D Pens. These write with instant dimension – no layering is required!
There are eight brushes in the 3D Pens set, divided between pressure-sensitive calligraphy pens and monoline strokes. Within those two categories, you have four different kinds of dimension: those with dimension cast to the right, cast to the left, and outlined versions of both.
It may seem almost like magic, but these brushes truly do draw letters with built-in dimension in just single stroke.
Whatever color you choose from your palette will be the primary lettering color, and the drop shadow will be a 50% lighter version of that color.
If you are not already familiar with drawing your own dimension in lettering, these pens may be a great way to learn and visualize the direction of dimension and drop shadows.
Novelty Pens
My collection of 14 Novelty Pens is like the grab-bag of the kit. All of these are whimsical brushes that are just plain fun. In this set you will find pens that write like a slinky, brushes with a mesh effect, and even really figurative pens like Bright Balloon and Neon Tube.
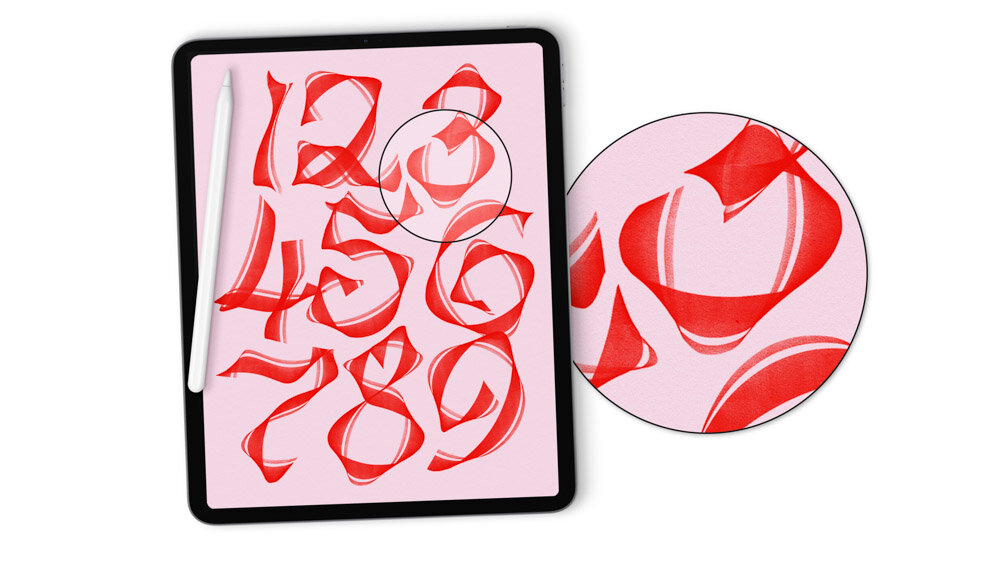
Here is the Twisted Ribbon Pen, which truly writes exactly like a folded piece of ribbon with just a single stroke! No adjustments or changes in angle are required to create this effect. I must say, I was pretty pleased with how this turned out, because I really challenged myself to create a brush that not only looks exactly like real ribbon, but can write in script as well.
Letter Guides
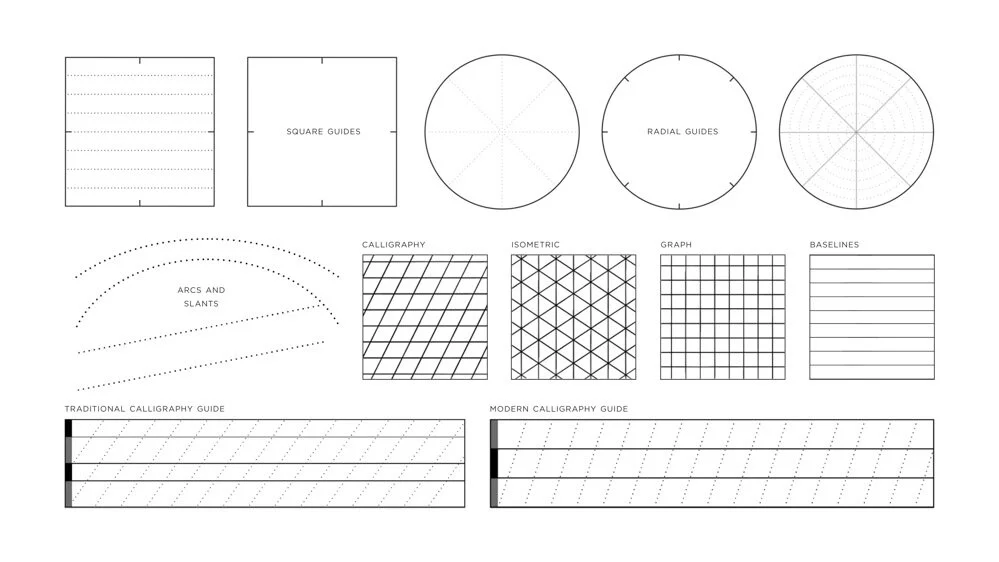
The set of Letter Guide brushes in this kit comes with ten guideline stamps for lettering layout designs and four guide pattern brushes for drawing your own grids at any size.
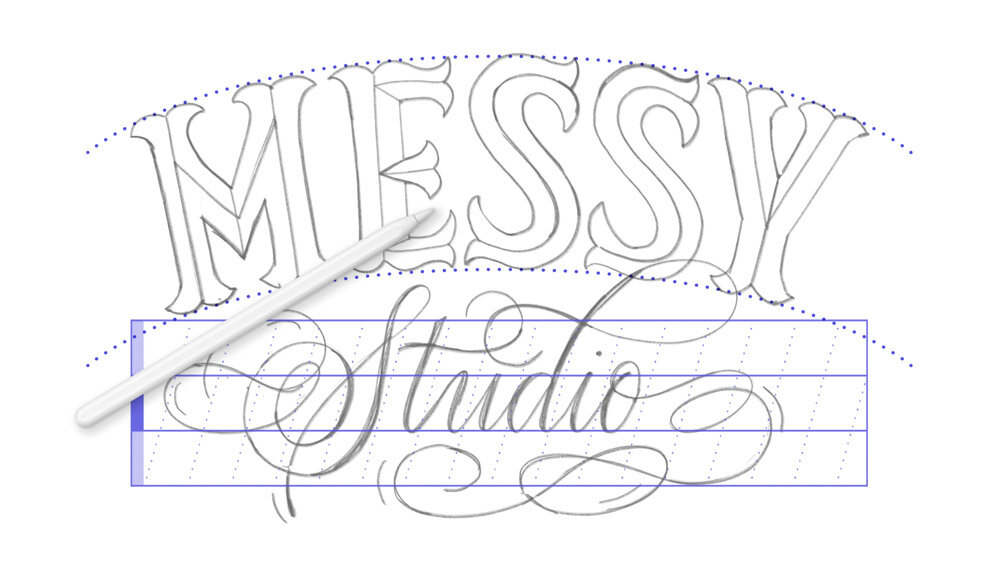
You’ll find stamps for square and radial guides, arced and slanted lines, and two calligraphy guide bars – one for traditional styles and another for modern styles. Combining these different stamp shapes allows you to create endless custom layouts for different lettering styles, sizes, and slants.
The pattern guide brushes include a calligraphy grid with slant and baselines, an isometric grid for drawing three-dimensional lettering, a graph paper grid for geometric styles, and a baseline pattern for freeform drawing.
All the letter guides are really high resolution, so even when using a large canvas, you’ll still be able to draw really crisp guidelines.
Pencils
I personally do a lot of sketching of my letters to really plot out the shapes and layout. This kit includes a set of five pressure-sensitive art pencils for sketching at various opacities and textures. You can easily sketch any lettering style with these – even flourished calligraphy – because you can press down harder to sketch your thick strokes, and reduce your pressure to sketch your fine hairlines.
Combining these art pencils with the letter guide brushes really makes planning lettering layouts a breeze.
Textures
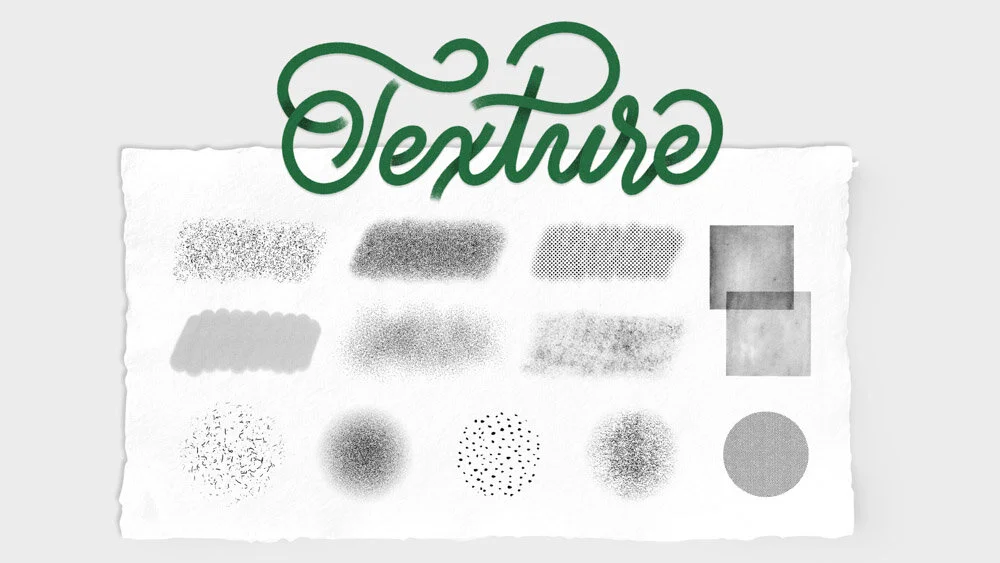
No lettering toolkit would be complete without brushes to add finishing touches to your compositions.
You’ll find 13 texture brushes in this pack: six detail brushes for shading and spot texture, and seven overlay brushes for texturizing your whole canvas.
In this example of the word ‘Texture,’ I created the illusion of three-dimensional strokes using the Grainy Shadow Brush to darken the areas where strokes overlap. The lettering itself was done with my Textured Sign Painter's Brush, so you will also find that many of the brushes themselves incorporate texture into the stroke.
Backgrounds
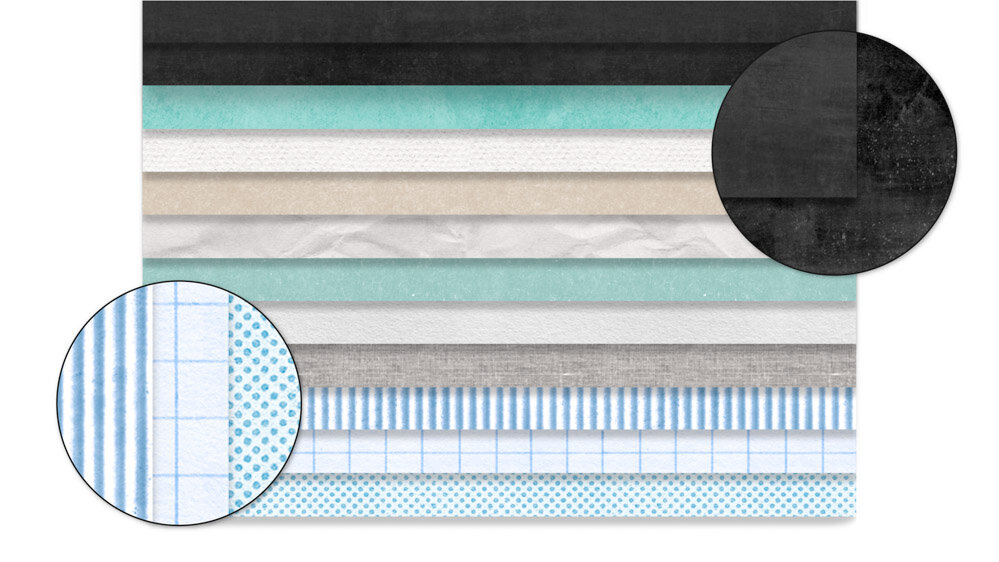
There are also 12 background pattern brushes in this kit, ranging from different types of art paper to chalkboards to fabric. Each of these brushes utilizes whatever color you select from your palette, and they are all translucent, making them perfect for combining and layering.
For example, to create a chalkboard background, simply select black from your canvas and draw with either of the two chalkboard background brushes.
The retro paper brushes are my personal favorites. You get the Retro Graph Paper and Retro Dot Paper, both of which have really realistic paper texture and colored printing that pulls from your color palette as well.
Bonus! Frames Brush Set
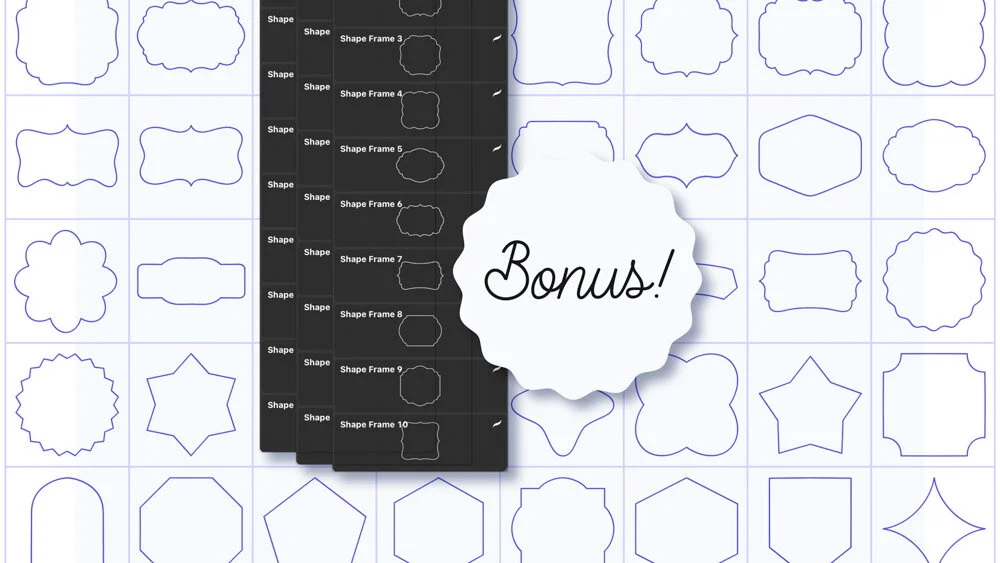
In addition to the 12 brush sets, 7 practice files, and 3 quick guides in this kit, you also get this bonus Frame Shapes Brush Set with 44 frame stamps.
These are great for combining with my lettering guides, to create even more decorative and unique layouts, or you can use them on their own as outlined or filled-in frames for your art
The Ultimate Lettering and Calligraphy Brushes
150+ calligraphy pens, lettering brushes, textures, practice sheets, guides, and more!

