Practice iPad Calligraphy with the Procreate Reference Window
In this video, I share one of the most useful little additions that arrived with the Procreate 5X update: the reference window feature. Designed for illustrators, it’s an incredibly powerful tool for calligraphy and penmanship practice as well.
The feature allows you to keep a separate reference image visible while you work, which opens up a number of new workflows for calligraphers who use an iPad Pro. For example, you can bring in letter exemplars to study while practicing freehand, much like keeping a calligraphy reference book open beside your desk while you work. I’ll show you how I use it for letterform drills, editing calligraphy layouts, and maintaining a cohesive lettering style across multiple files.
What I especially like about this new tool is that it helps develop muscle memory, stroke control, and pressure sensitivity without relying on tracing. You can study forms closely while still drawing independently, and without cluttering your Procreate canvas with imported images and extra layers.
Watch the video:
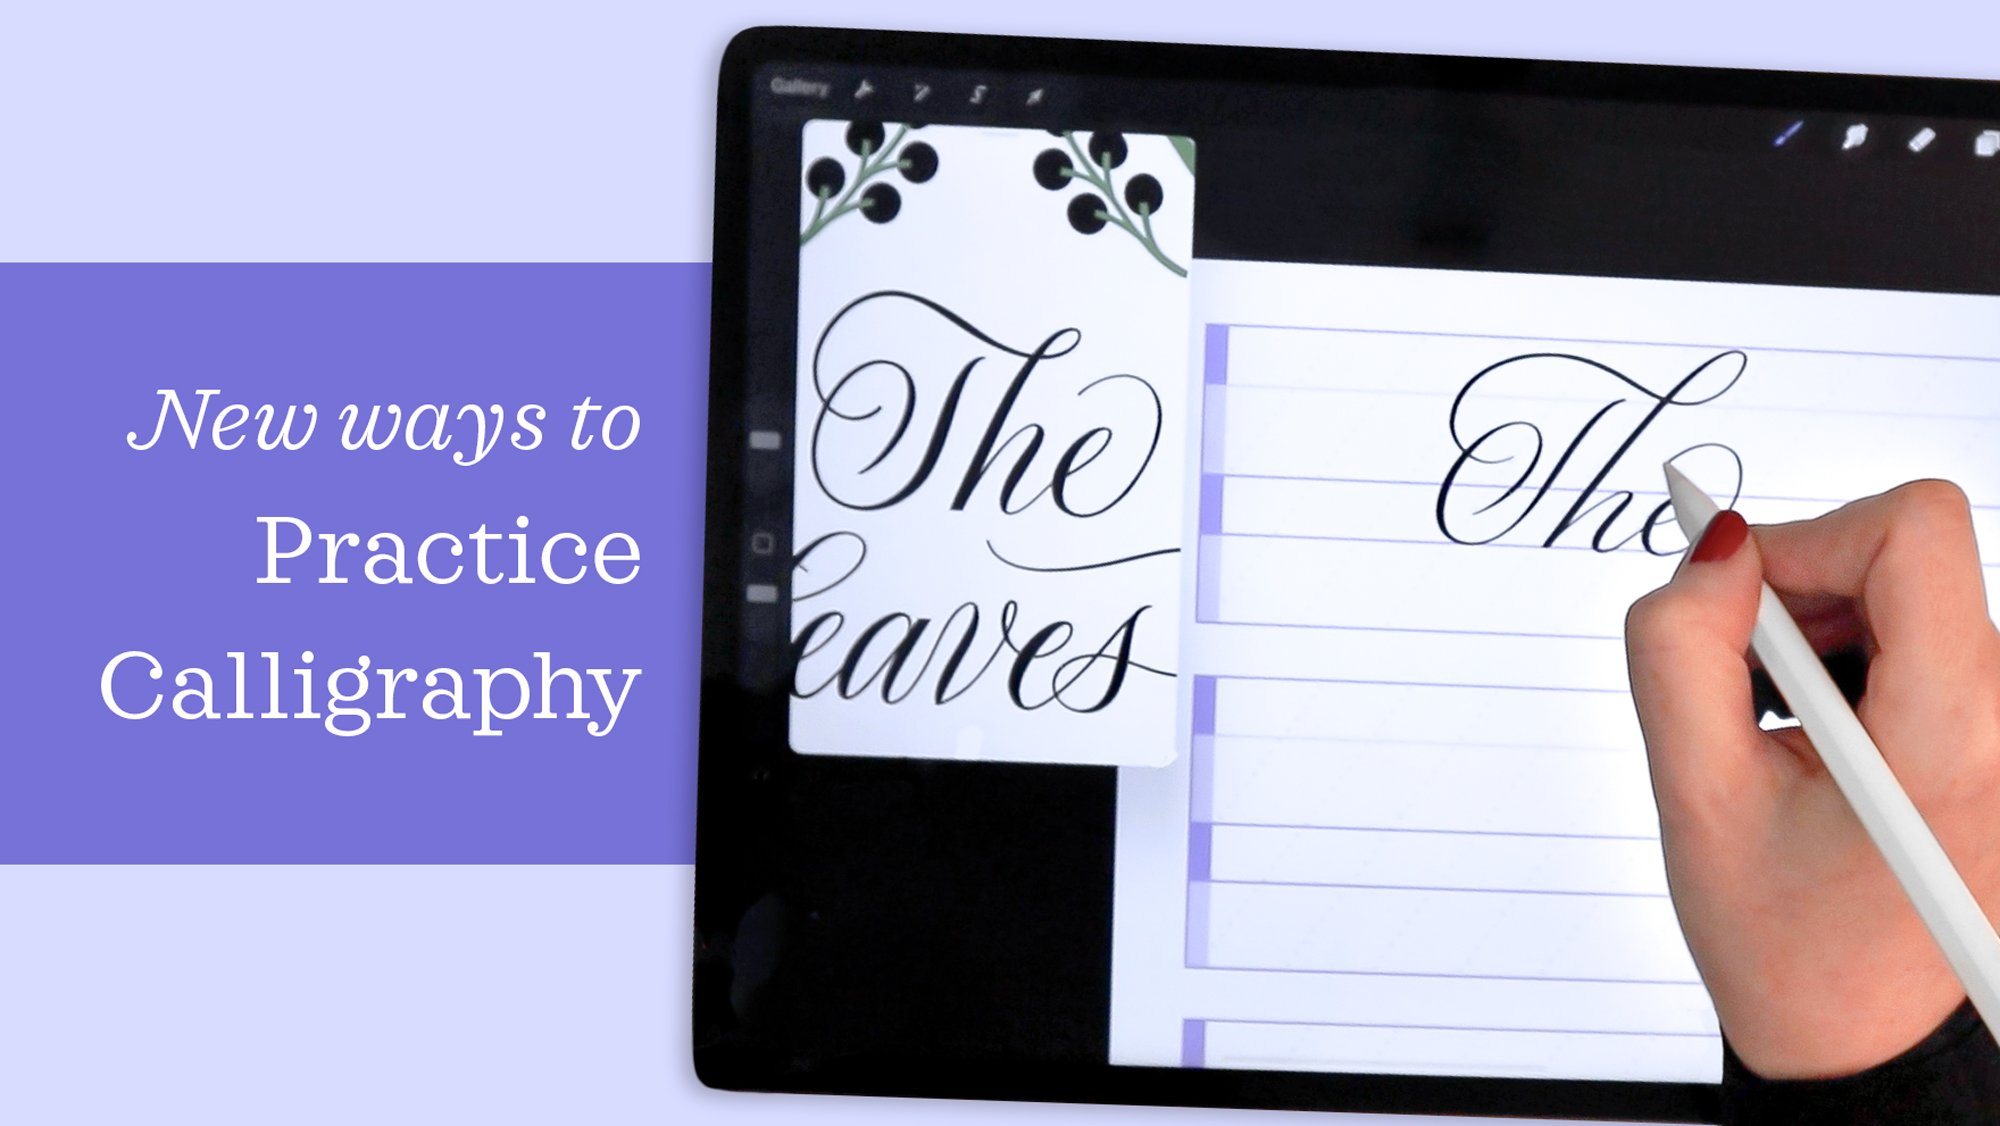
My favorite technique for practicing calligraphy in Procreate 5X on the iPad.
Read the transcript:
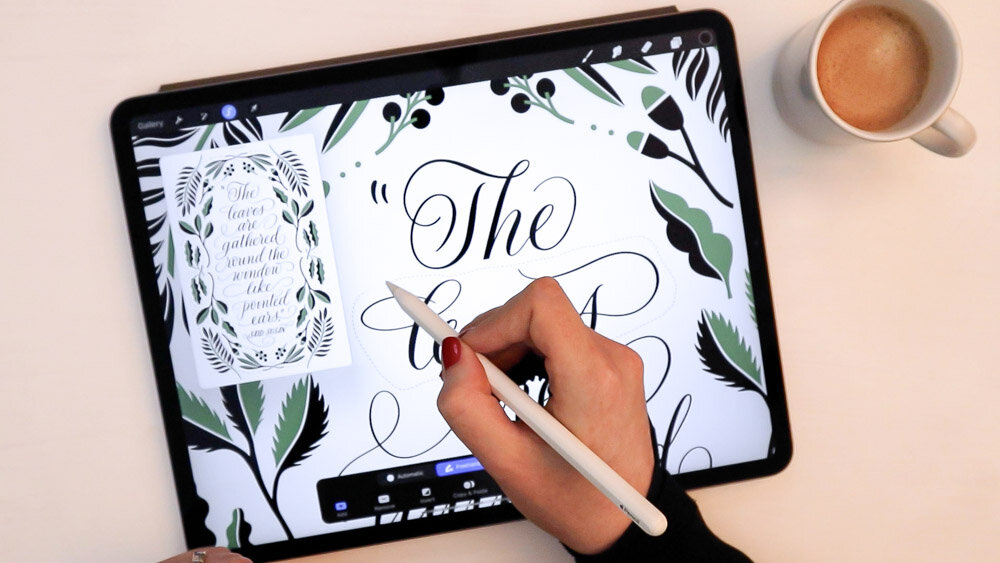
Come to Settings (the wrench icon) and turn on the reference window under Canvas Reference. You’ll see a little window pop up, floating over your screen independent of your canvas.
You can now zoom in and out of your canvas—and even turn it—without moving the view in the reference window.
The reverse of this, though, is usually even more helpful when you’re doing lettering and large compositions. I can adjust my reference window size according to my composition, and fill the reference screen with my whole composition. Then I can zoom into my canvas and work in detail while casting an eye over to see how the changes to the art are affect the overall composition.

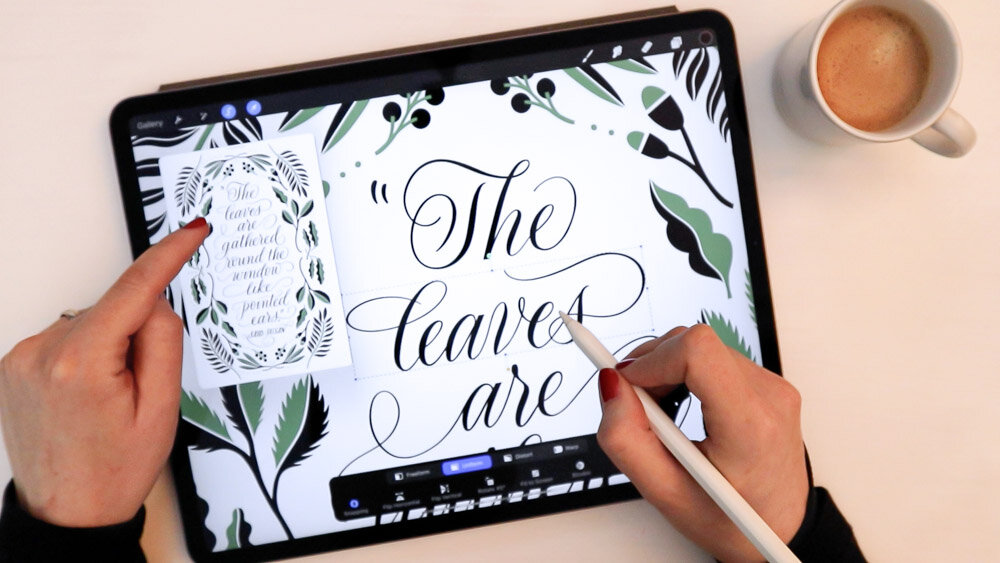
Let’s say I want to move this word “leaves” a bit over to the left. To get my perfect selection, I’m zoomed in here, I’m making the selection, and then I’m coming up to my direct select tool. When I move this around, it moves around live in the reference, too. So instead of looking at my selected artwork as am I centering, I actually look at my reference window, to see how I like the optical centering of that word.
So how can we use this for calligraphy practice?
I have a new blank canvas where I’ve added a calligraphy letter guide from my Calligraphy Composition Maker, which is a pack of Procreate guides for different calligraphy styles. But you can use a guide or not—that’s entirely up to you.
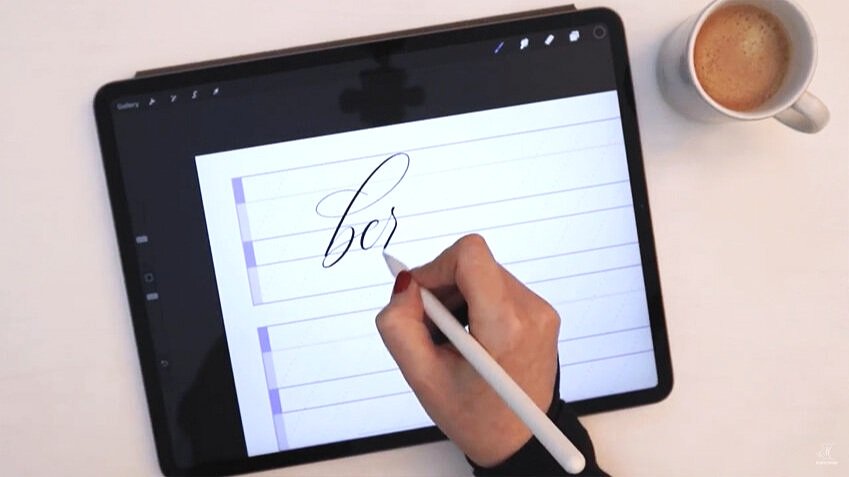
I have a blank layer over top of my guide, and I’ve selected black from the color palette. Then I select my “Fine Point Calligraphy Pen – Smooth” from my Calligraphy Nibs Brush Pack. This is a very pressure sensitive, realistic brush that draws fine upstrokes and—depending on your pressure—thick downstrokes.
I open my reference window. By default, it allows me to see my whole canvas, but this time, we’re going to change to this option. By choosing “Image” at the bottom, we’re able to import an image from our iPad’s camera roll.

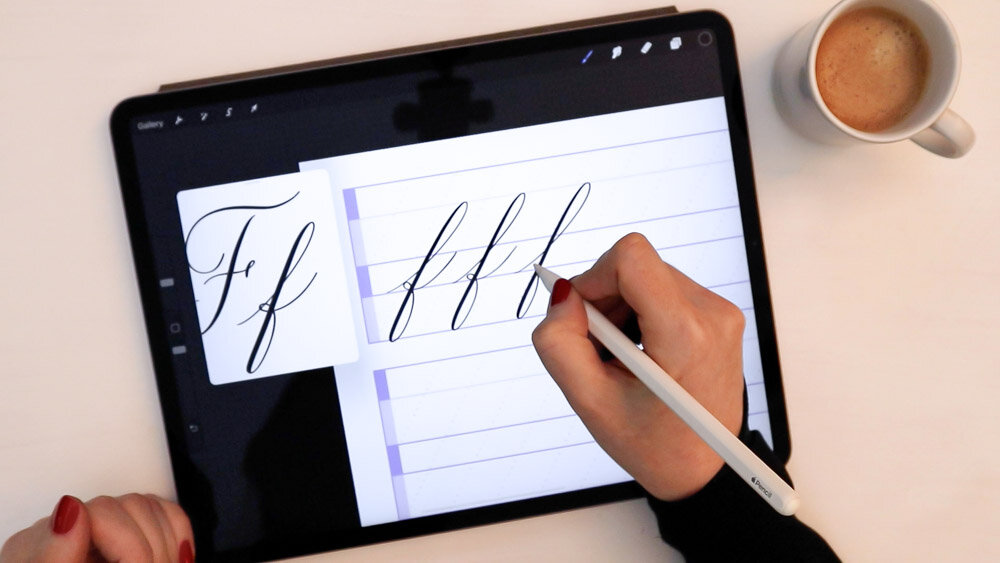
I’m going to import a lettering style that is part of my Free Lettering Toolkit, which I conveniently have saved in my camera roll. Remember how you can zoom in on the reference window image? I’ll do that and pan around, zooming in on “Ff” to practice the lowercase “f.” I can zoom in to make the “f” roughly the same size that I’ll write in my freehand practice.
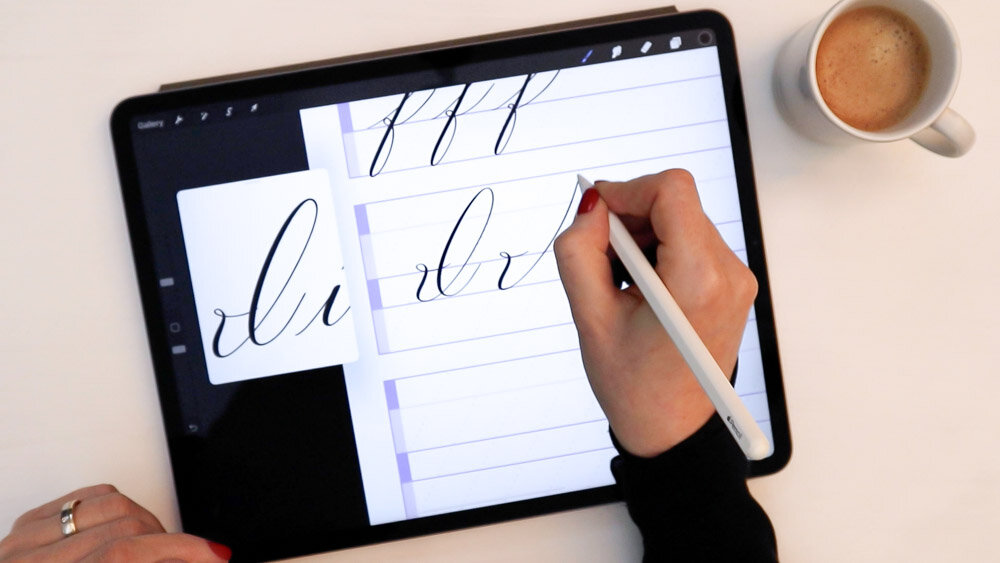
This is a wonderful method of building muscle memory, learning letterforms, practicing your strokes, practicing your pen pressure, and learning ratios—all without tracing. What’s cool is just how quickly you can move around the reference window again to practice different letters.
Let’s say I’m making this as part of a series and I want to be able to use these same letterform styles in my new design. I could save my canvas to my camera roll and pull it up in a reference window in my new file. Simply go to Share > JPEG. Save your image, and now it’s in the camera roll.
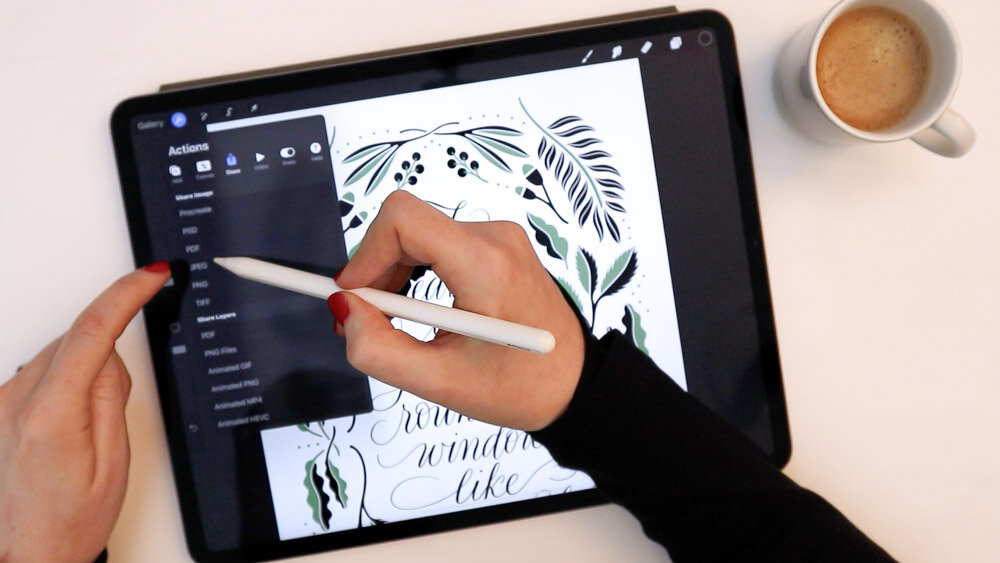
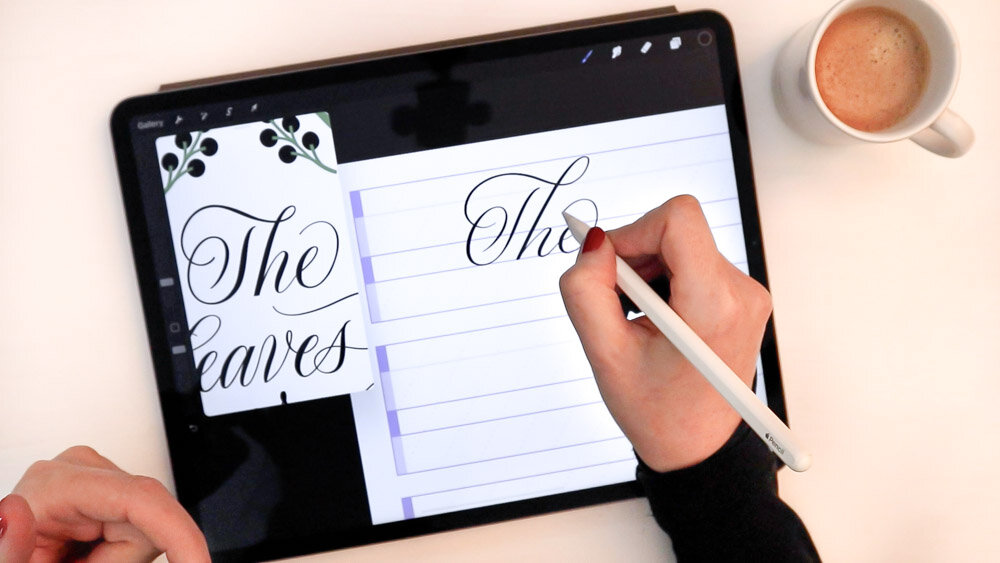
Return to that practice file and start a new layer. I’m going to clear my reference window, then I’m going to import the image I just saved. This way, I can zoom into specific letters I’ve already created and work with them again in some new composition that I’m creating. I’m able to more easily and accurately replicate my own work so that I can create consistency across multiple compositions.
Resources
Procreate Brushes Used:
Grid Brush:
“Copperplate 55 – 2:3:2:3°” from my Calligraphy Composition Maker for ProcreateCalligraphy & Illustration Brush:
“Fine Point Calligraphy Pen – Smooth” from my Calligraphy Nibs Procreate Brush Pack
iPad Tools Used:
Free Lettering Toolkit alphabet practice pages
Procreate App (version 5X)
Download my free calligraphy practice sheets
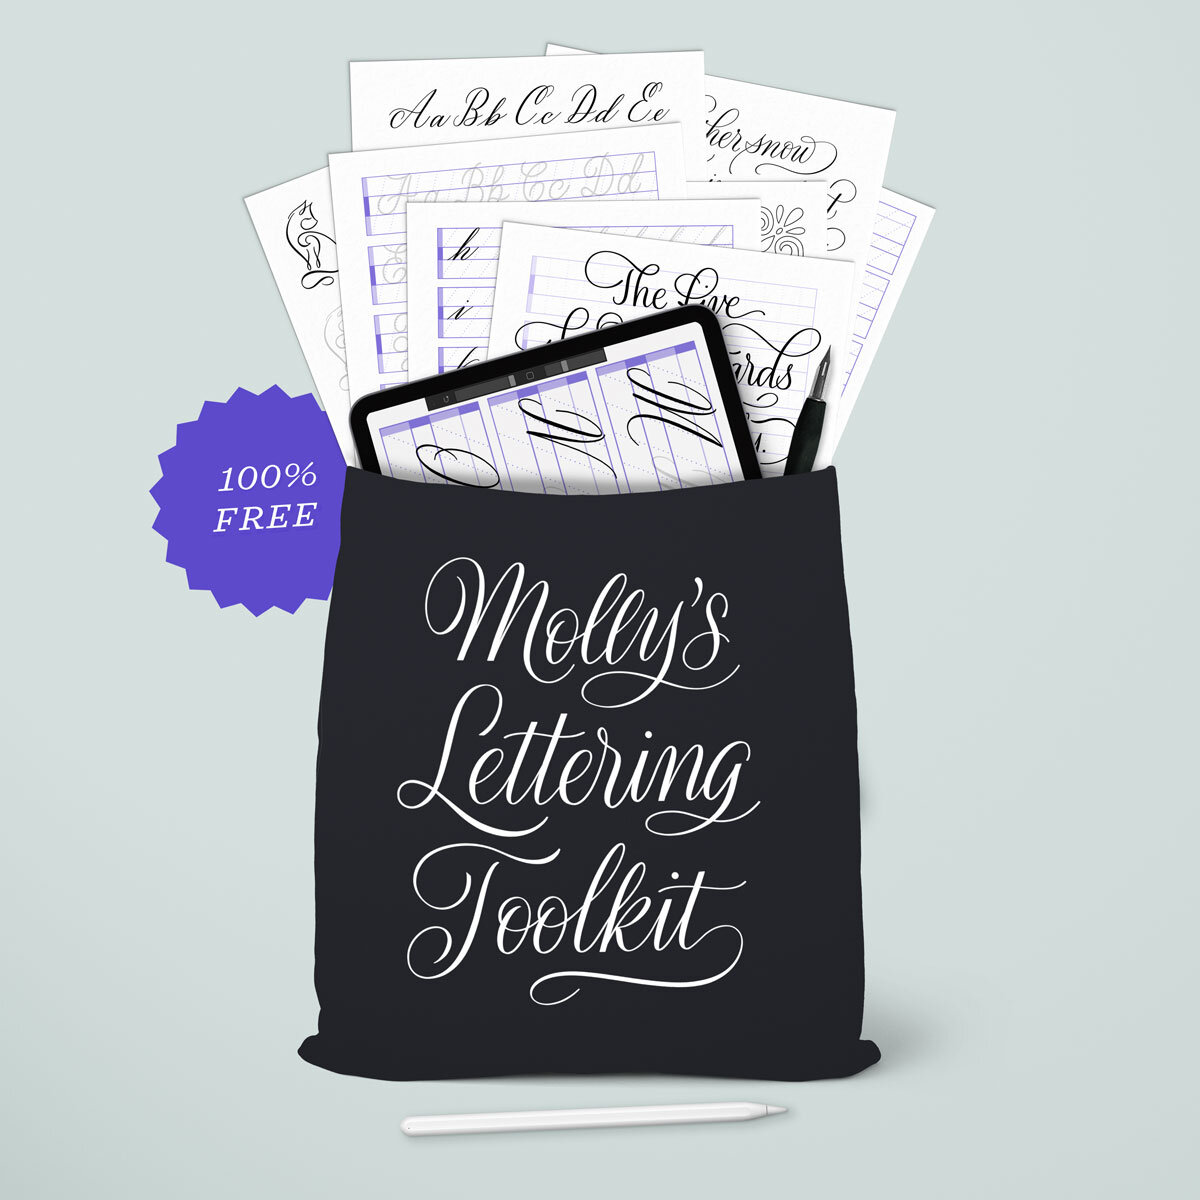


Molly’s Lettering Toolkit is my free, ever-growing archive of calligraphy and penmanship practice sheets and brushes. This is an exclusive perk for my subscribers, so use the button below to register today and gain lifetime access.
If you found this post useful, consider sharing it. That’s the best, free way to support artists and authors you appreciate. You could also buy me a coffee.