How To Use My Calligraphy Books with Procreate
I earn small commissions for purchases made through links in this post. Proceeds help me to continue producing free content.
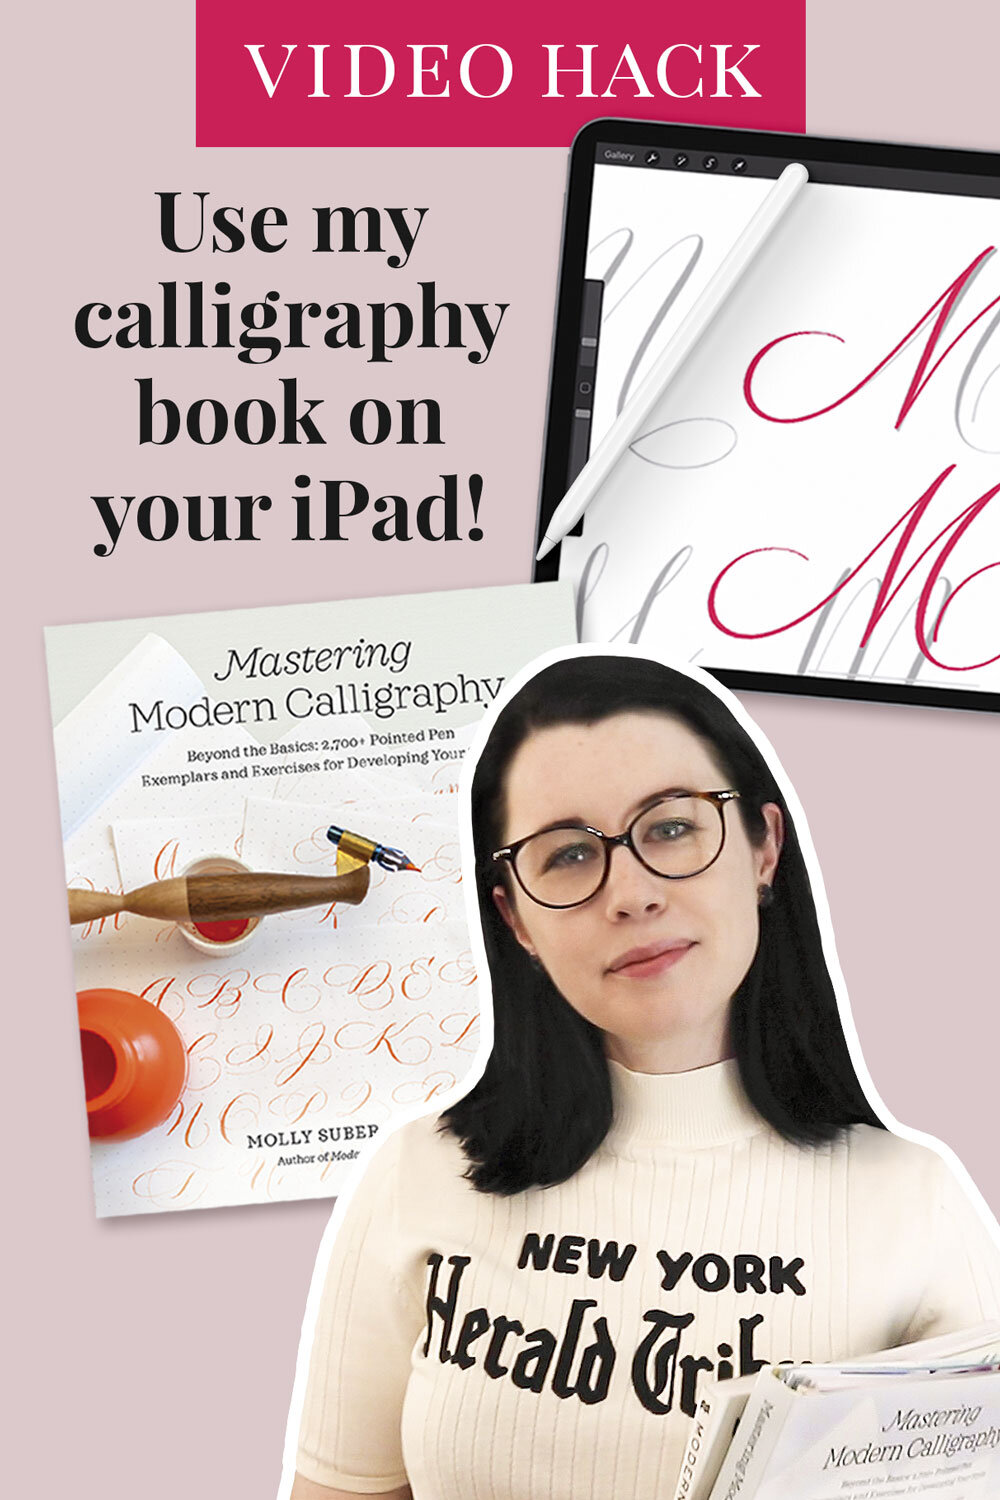
This easy hack will let you practice calligraphy from my books on your iPad in Procreate. It’s a perfect way to learn iPad lettering and ink on paper styles – I’ll show you why!
I’m using my latest book, Mastering Modern Calligraphy, in the tutorial, but this also applies to my first how-to guide, Modern Calligraphy. All the brushes, books, and apps shown in the video are linked at the end of this post.
Written Tutorial
Below is a transcript of the video above, edited only slightly for clarity in written form.
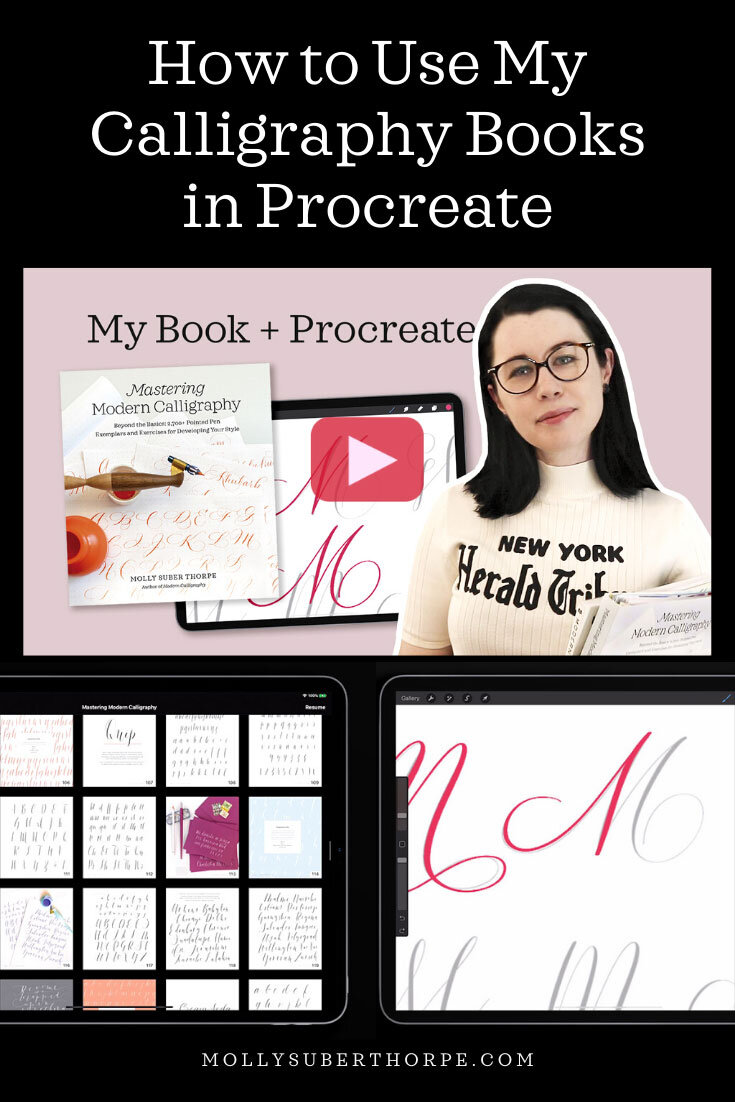
You may already know that I am the author of three books about calligraphy. The first, Modern Calligraphy, and the third, Mastering Modern Calligraphy, are how-to guides about modern script calligraphy styles. I’m frequently asked if there are ways to practice the exercises and letter exemplars from these books digitally, on the iPad in Procreate. The answer is a big, resounding yes! And I’ll show you how in this short tutorial. You can watch the video version, linked above, or read the written tutorial that follows.
But first, a quick disclaimer: All the content in my books is copyrighted, so when you bring any of their content into your iPad, it is for personal use only. You can’t turn any of the material into a commercial product like, say, practice sheets, that you sell or distribute publicly.
Step 1: Download one of my ebooks.
The first step for practicing from my books digitally is to own the ebook edition of it. All three of my books are available as ebooks on all of the major platforms (Apple Books, Kindle, Google Play, Nook, Kobo, etc). But if you are on an iPad, that means that you already have the Apple Books app. It comes directly on your iPad and connects through your iTunes store. So while you absolutely can buy my books on Kindle, and use them with the method I’m about to describe, I will be demonstrating with the Apple Books version.
Once in the Books app, I can search (in the bottom right corner of the home screen) for my name (Molly Suber Thorpe) or for the name of the book. If you don’t already own the ebook edition, this is how you can search and buy it directly through the app.
Today I’m going to demonstrate using my most recent book, Mastering Modern Calligraphy. (But again, this demonstration could work with Modern Calligraphy as well!)
Step 2: Browse the ebook for exercises you want to practice.
Opening the ebook in the Books app brings up the cover. Go to the hamburger menu icon in the top left of your screen. When you click that, the first thing you’ll likely see is the book’s table of contents. Toggle to the top left icon on your screen to see the page thumbnail view. Here you’ll see that every single page of the book is shown as a grid of thumbnails. (The numbers correspond to the pages of the print edition.)
Of course you can read the book right here in Books. It’s a great way to travel with it, or to set it up on your desk for ink-on-paper practice. But today, in order to import to Procreate, I’m going to scroll down until I find some letterforms that I really want to practice. I’ll choose the letter “M” for my name.
Just like in any iPad app, you can pinch and zoom into the page, which is pretty cool. You can tap an image to zoom into it, too. The way my publisher and I set up this book is by breaking up the images on a page so that you can zoom in separately to each one.
Now that I’ve chosen the first page to practice from, I’ll bookmark the page – using the ribbon icon in the top right – so that it indicates to me that this is a page I’ve already saved and used.
Zoom out until the whole page fits in the screen. Then take a screen capture by pressing the power button and volume-up button simultaneously. Just click them once and a screen capture should appear in the lower left corner of your screen. It automatically saves this image to the Photos app on your iPad!
Step 3: Import your screen capture into Procreate.
Once in the Procreate gallery, you could create a new art file and place the screen capture into it. But an even easier method is to go to top right of the gallery screen and click Photo. Then browse your photo library and open your screen capture that way. Procreate will automatically create a new art file for the photo, in exactly the right size. If you go to the Layers palette, you’ll see that the screen capture is on its own layer, above the background.
Turn the photo layer’s opacity way down. You want to be able to see the letter strokes and the directional arrows (where applicable), but you also want to be able to trace over the image with ease.
Next, swipe left on the photo layer and tap Lock. The reason for this is that Procreate will give you an error if you try to write on a locked layer. This means that you will preserve this photo layer and won’t accidentally write on it while you practice.


Step 4: Practice by tracing.
Create a new blank layer above the screen capture layer. Pick a color to use for your tracing. (I chose pink.) I am using a brush from my Calligraphy Nibs Procreate Brush Pack, but you can use any brush you like. It does not have to be one of my brushes!
With your brush and color selected, making sure you’re on the blank layer, you can start practicing by tracing over the calligraphy in the screen capture. Experiment with your brush size for different effects!
You have a couple options when it comes to moving around the page. First, you can move from one letter (or word) to the next, tracing each letter one by one, and then go back and do it again on a new blank later. But let’s say you really want to master a particular letter or shape. In that case, start by tracing it once. Then tap the selection tool and just move your first version out of the way, and do your tracing again. I keep my left hand hovering over the selection cursor tool, so I can quickly tap the selection and move my fresh tracing down. It is a very efficient method for tracing the same letter over and over and over!
Can digital calligraphy practice help my ink-on-paper calligraphy?
A lot of people ask me, Does digital practice help with ink-on-paper calligraphy, and vice versa? My answer is always yes! Even though the tools that you use – the pens and the surface texture – are different, I do think that one benefits the other. The reason has a lot to do with pressure. The pressure that I exert when drawing in Procreate, using a pressure sensitive calligraphy brush, is pretty much the same as the pressure I exert when using a metal pen nib on paper.
So practicing letters on my iPad means that when transition to ink on paper, the pressure practice that I did on the iPad will carry over. My hand and brain will remember what they learned about pressure for each stroke, because of the repeated muscle memory practice.
Step 5: Consider practicing at the same scale as ink-on-paper calligraphy.
If you are using the iPad to practice but know that you will apply what you learn to ink on paper, then consider practicing at a realistic size for ink-on-paper calligraphy, rather than zoomed in and enlarged. Drawing at scale is very helpful from a muscle memory standpoint. It assures that your hands, fingers, wrist, and arm are learning the right movements to make a letter of that size!
You can zoom out of your screen capture until you see that the letters are roughly the same height as if you were drawing it on paper. I like to imagine addressing an envelope, and ask myself whether the letter size on the screen is equivalent to the letter size I’d use on an envelope.
If you’re here just to learn digital lettering, though, then zoom in and practice letters at any size you like!
Step 6: Keep practicing!
If you want to add another practice sheet from the book, you can repeat the exact same process as before. Or, you can go to the ebook, take a screen capture of the page you want, come back to your Procreate practice file, and insert it as a photo through the Add menu. I prefer the second method, since it keeps my practice all in the same place. It’s helpful if you're trying to practice a number of letters at once and keep them in the same file for quick reference.
I hope that this tutorial and video has inspired you, and given you insight into new methods for practicing calligraphy digitally.
BOOKS & TOOLS USED:
Mastering Modern Calligraphy eBook:
• Apple Books
• Kindle
• About the book
Modern Calligraphy eBook:
• Apple Books
• Kindle
• About the book
iPad Tools:
Calligraphy Nibs Procreate Brush Pack
Procreate App
12.9" iPad Pro (4th Generation)